We’re just starting to dig in to the gospel of Mark and today we chat about what the Holy Spirit is bringing to the forefront for us as we begin to comb thru this book. We talk about the great compassion Jesus had for those who crossed his path and how his heart for them was to set down the world, turn, and follow. And boy, that seems like a daily calling, doesn’t it? To set down what we’re gripping so tightly and turn our faces back to One who we were made for…
We also talk about how Jesus continually modeled getting alone with the Father. We talk about solitude, the quiet, and how stealing away moments within our day and seeking His face can take us deeper into relationship with Him.
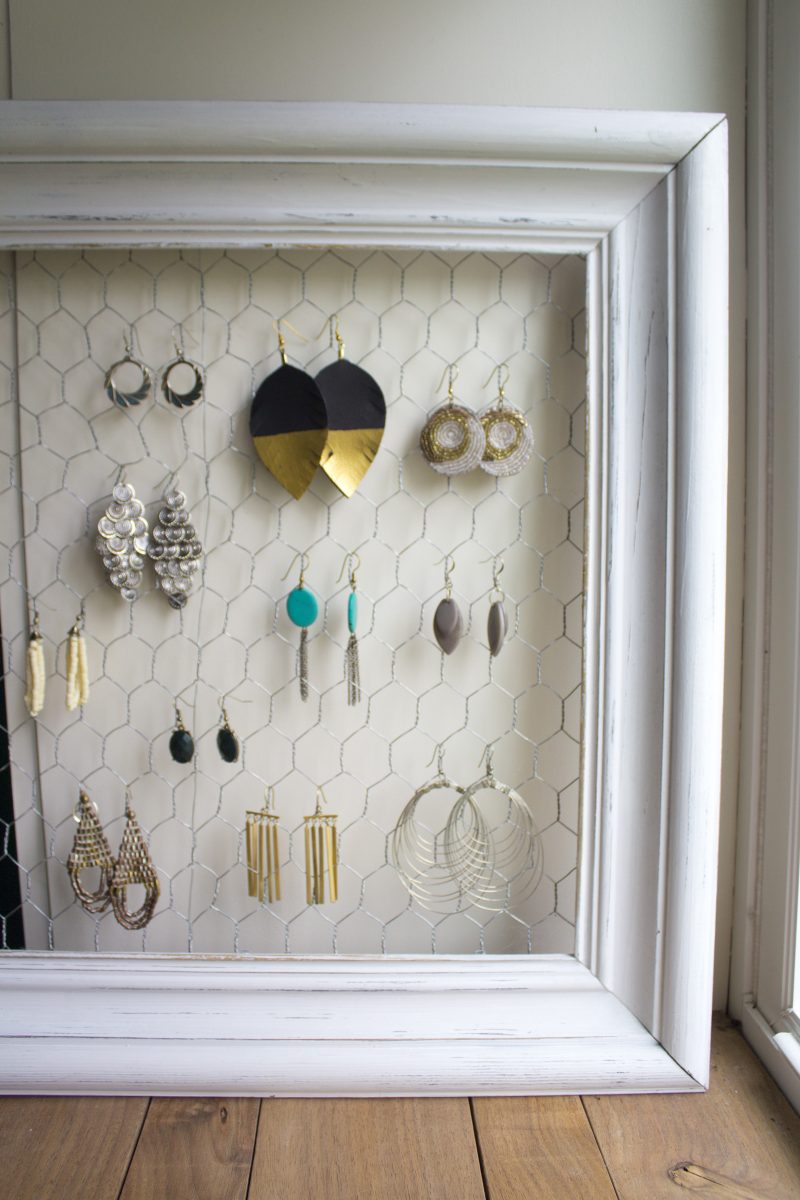
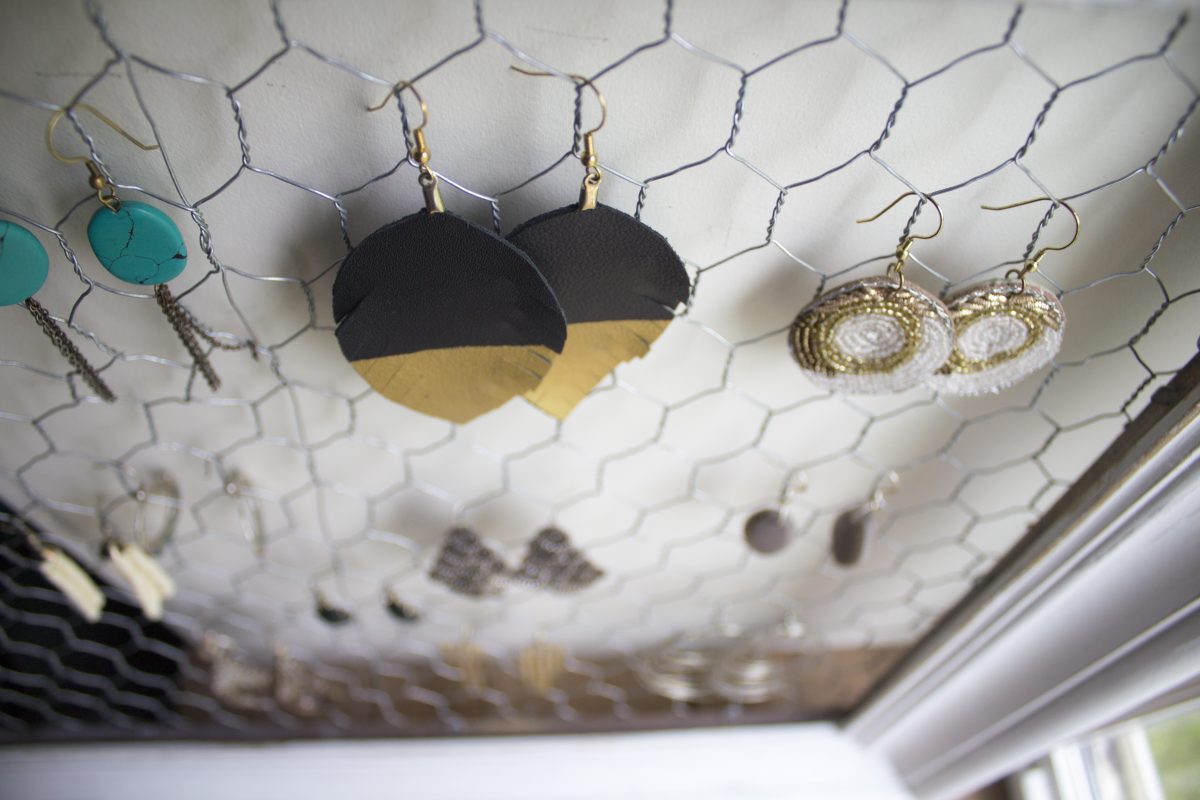
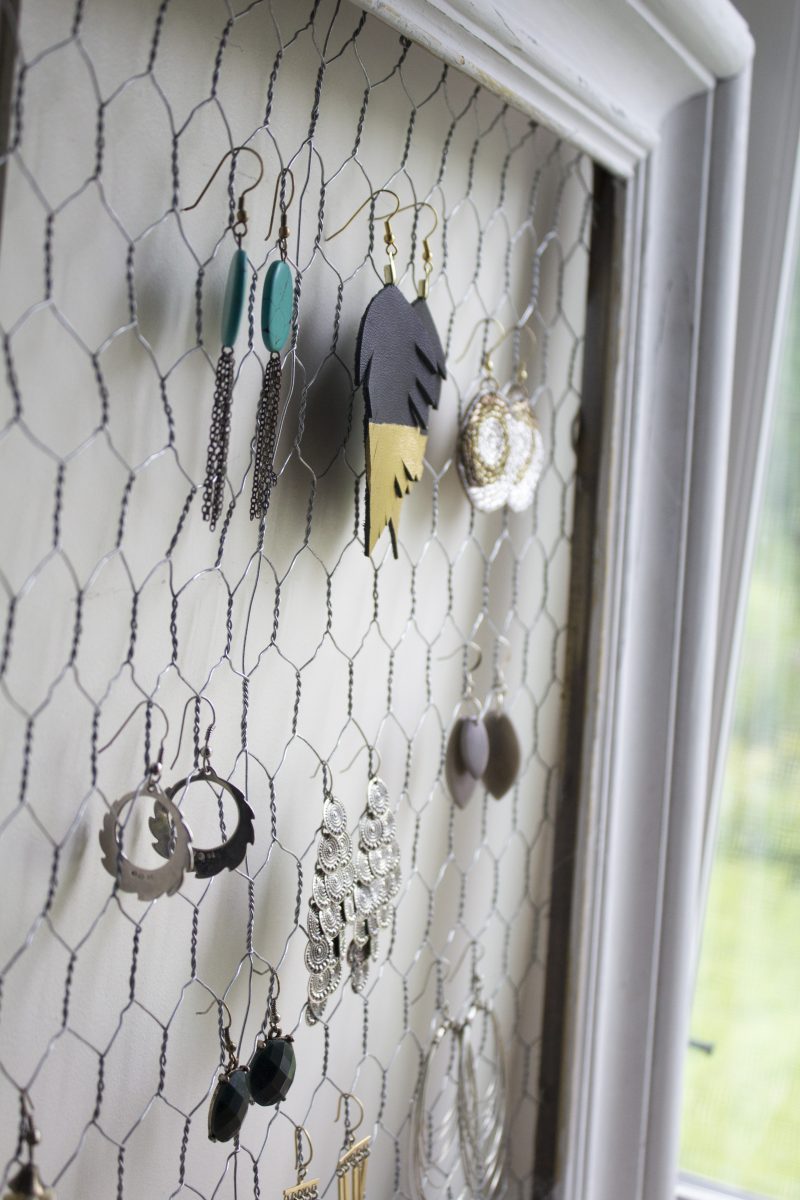
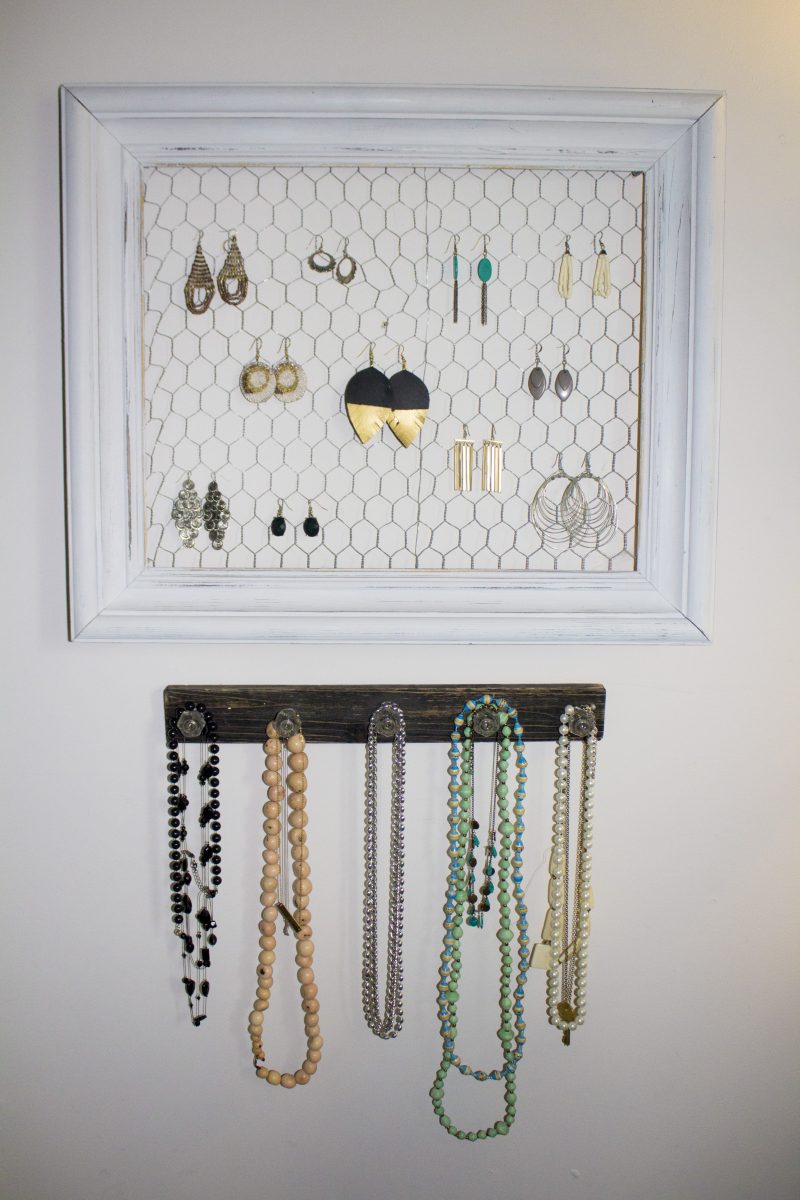
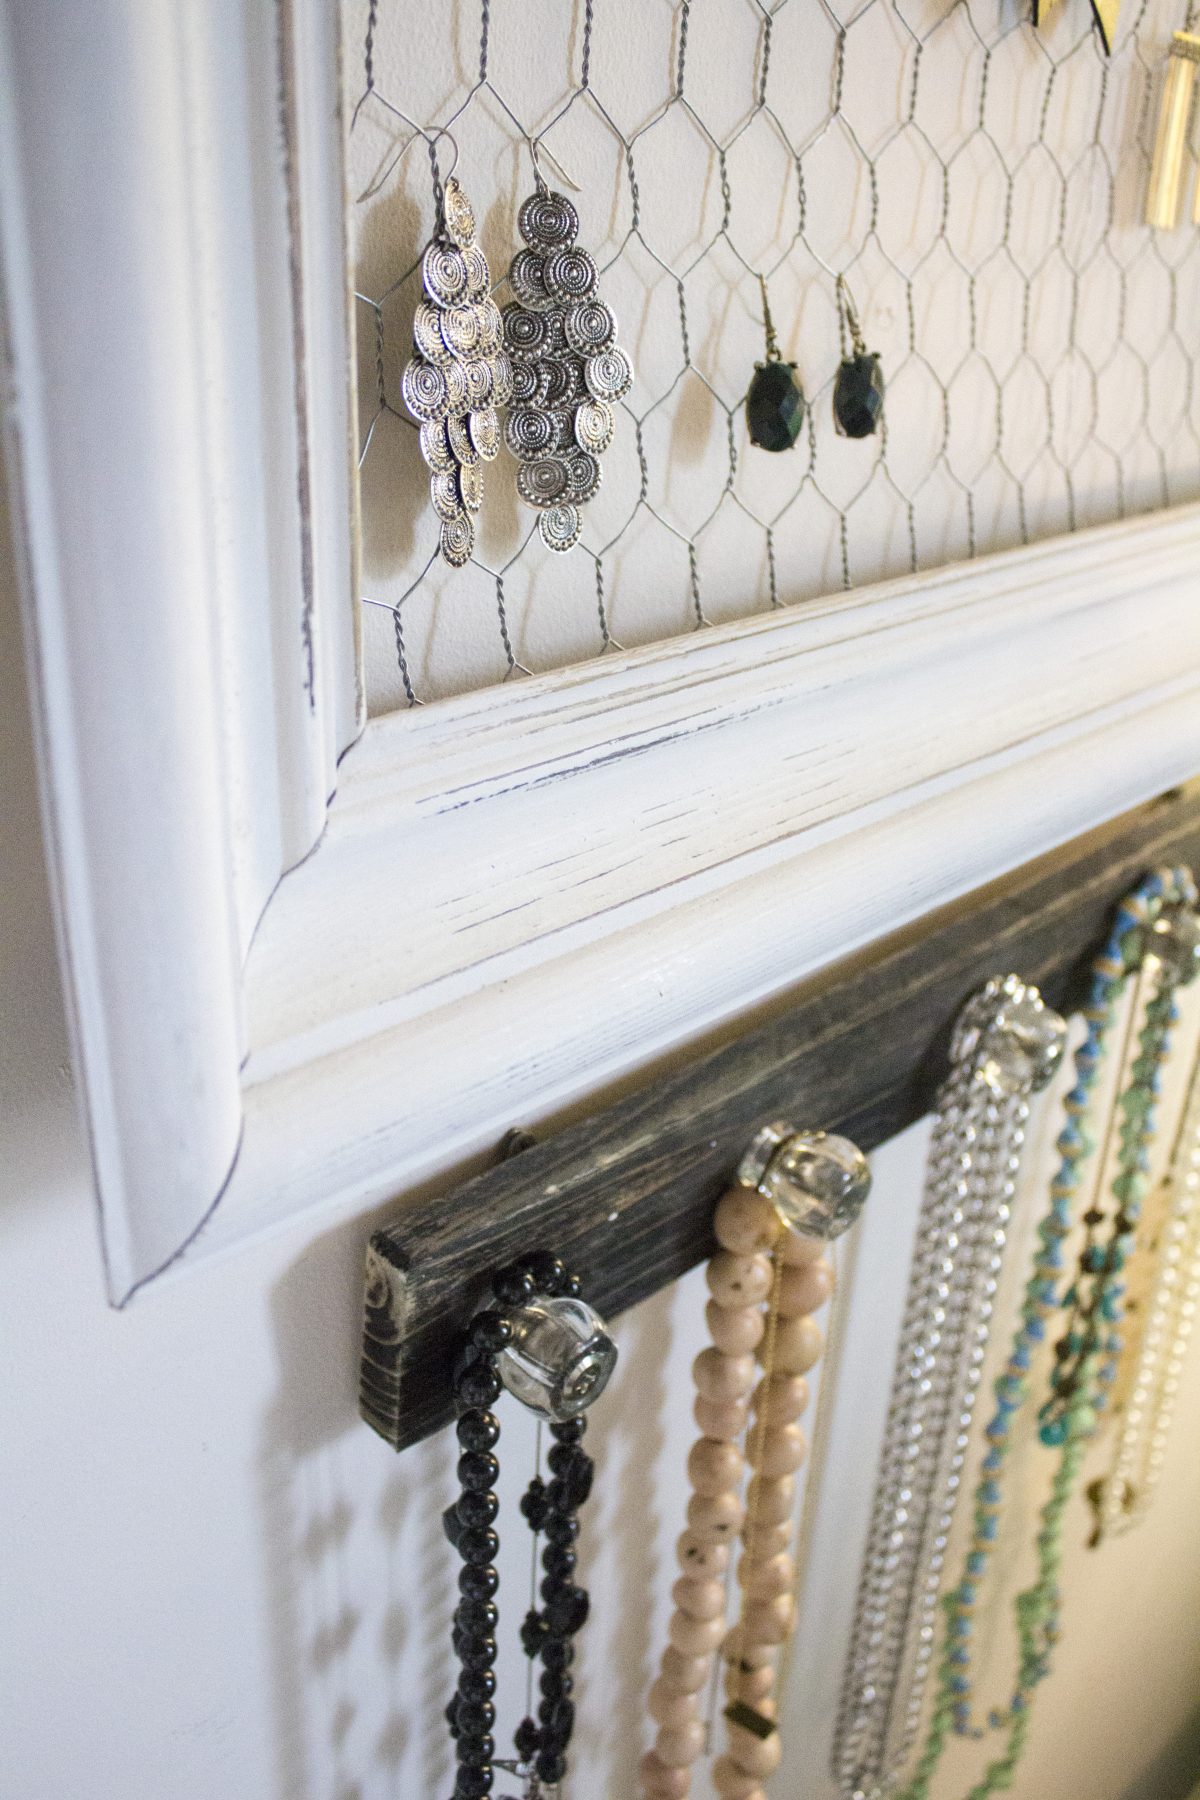
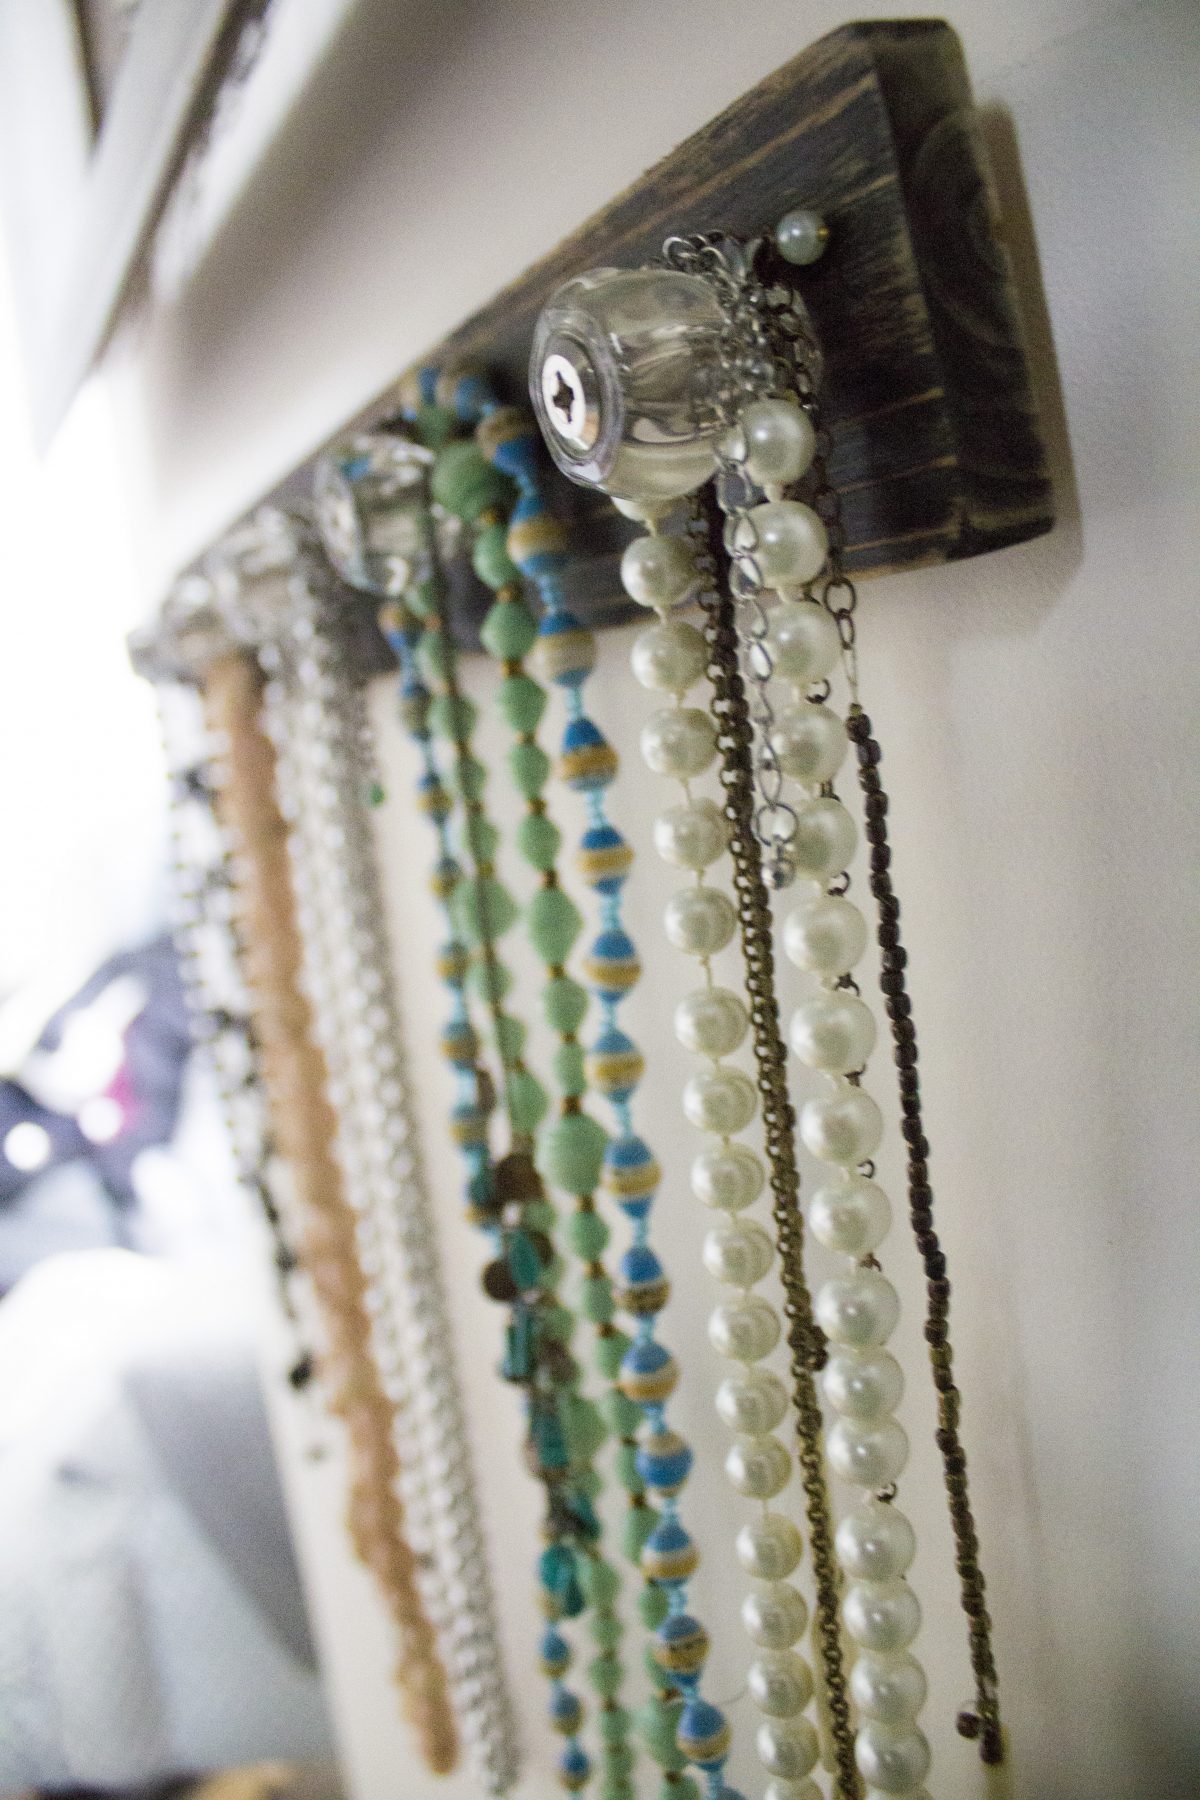
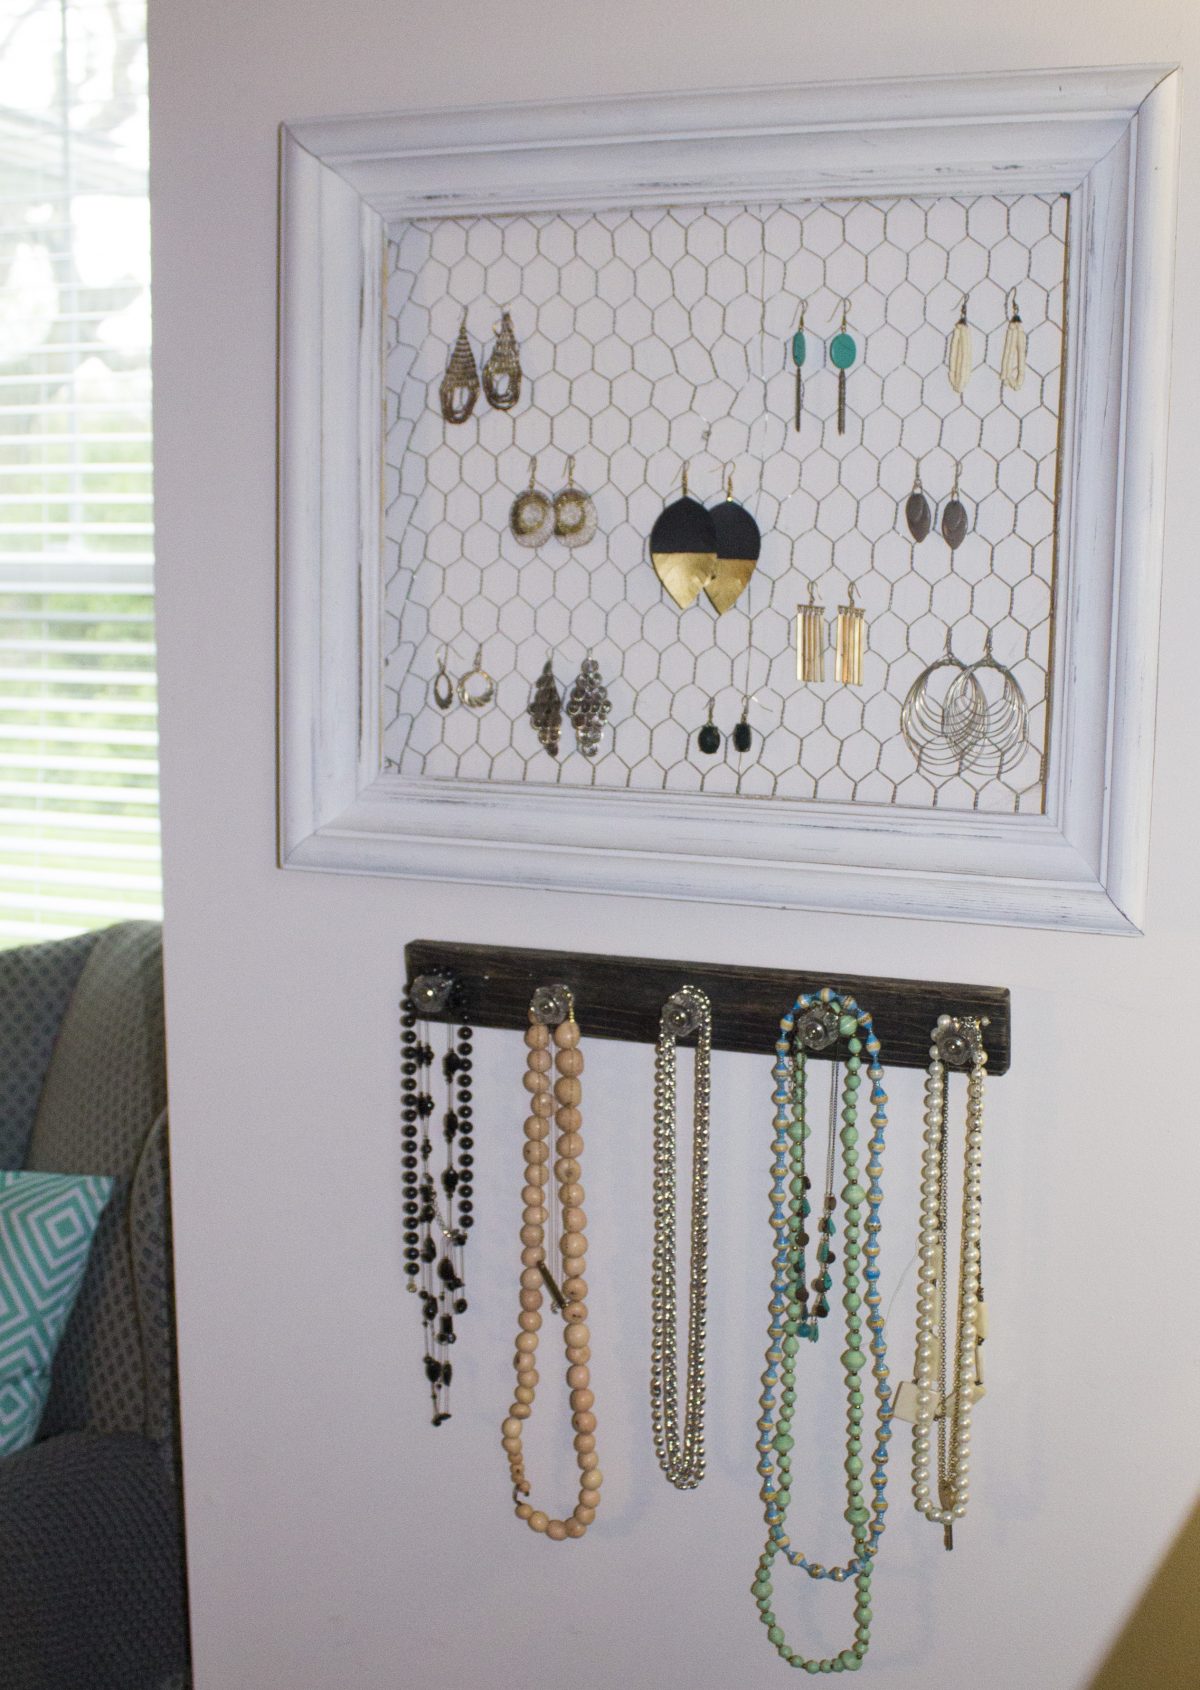
The design portion of this one is also a fun earring holder diy! It’s super easy by the way; one any of you can handle. So be sure to check our website for details and more pics.
And thank you so so much for listening, guys! We are blessed to be able to do this, and thankful for those of you that comment and follow, who are seeking to know God more and grow right along with us.
xo,
Lyn & Dannette
•••
LINKS & THINGS
{by design} pinterest board: https://www.pinterest.com/bydesignpodcast
The Lord is my shepherd, I lack nothing. He makes me lie down in green pastures,
he leads me beside quiet waters, he refreshes my soul.He guides me along the right paths for his name’s sake. Even though I walkthrough the darkest valley, I will fear no evil, for you are with me; your rod and your staff, they comfort me. You prepare a table before me in the presence of my enemies. You anoint my head with oil; my cup overflows. Psalm 23:1-5 {emphasis ours}
the Mark study we’re doing right now // Lisa Harper – The Gospel of Mark thru Lifeway
Earring Frame DIY
For this little diy, you’ll need the following:
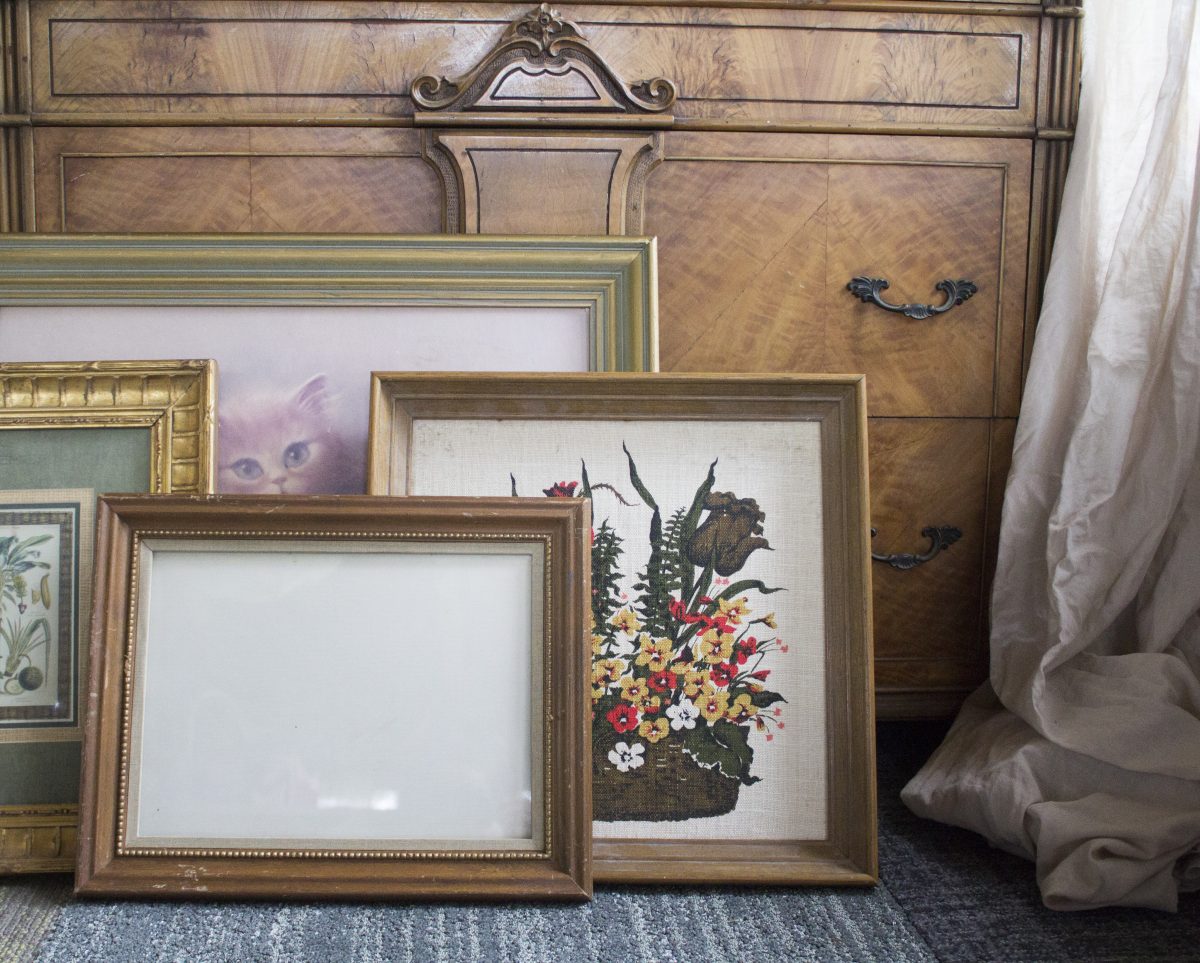
- an old frame
- paint and sandpaper (if you want to paint freshen up the frame at all)
- wire cutters or some serious scissors
- chicken wire or window screen
- staple gun or hot glue gun
- sharpie (of course!)
1. GRAB YOURSELF AN OLD PICTURE FRAME
- 8×10 or larger is best. Since some earrings dangle {we like the big feather ones that our sweet friend Joanna makes, you can buy them here}, we would recommend the frame to be at least 10″ (so at least an 8×10 frame) so they can hang nicely.
- If you bought the frame at Goodwill and there’s an old picture in it that’s unsightly, RIP IT OUT. Don’t feel guilty. Odds are that artwork served it’s time well in this world. It’s ok. Really 😉
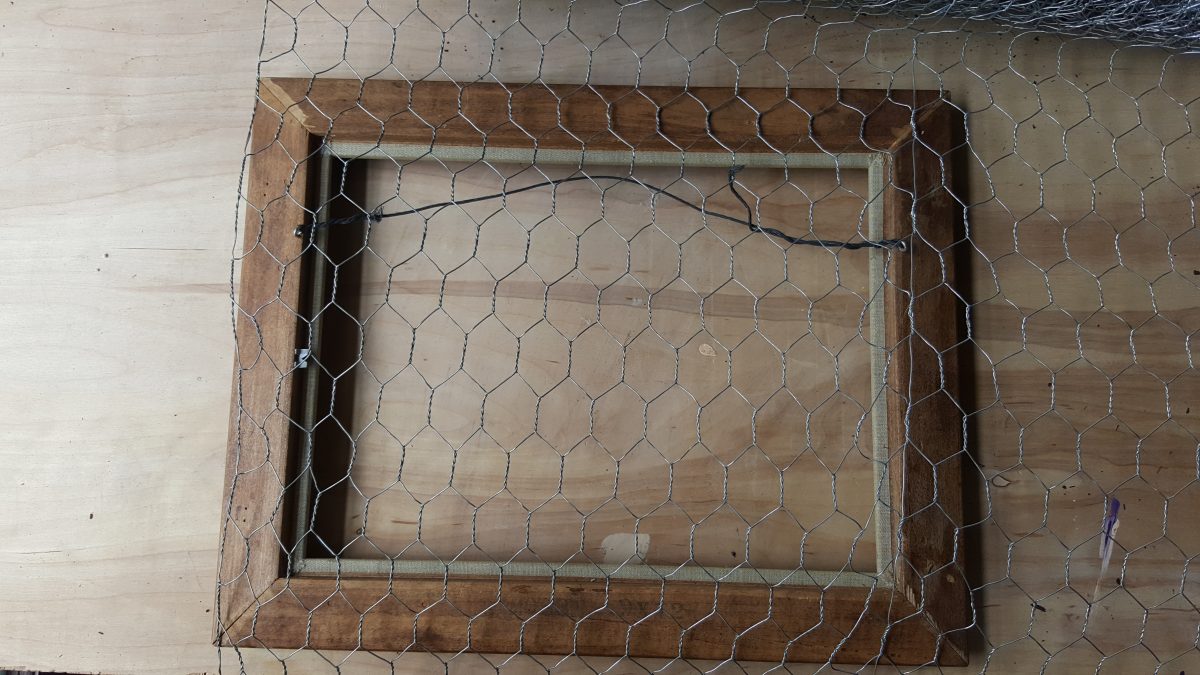
2. CUT THE CHICKEN WIRE OR WINDOW SCREEN TO FIT
- Lay out your piece of screen or chicken wire flat on your worksurface, then slip the picture frame under it, face down.
- This will help you LAYOUT where you will need to snip or cut the wire/screen.
- Move and ALIGN THE FRAME to the edge of the wire or screen if possible, so you will not have to cut at least one side.
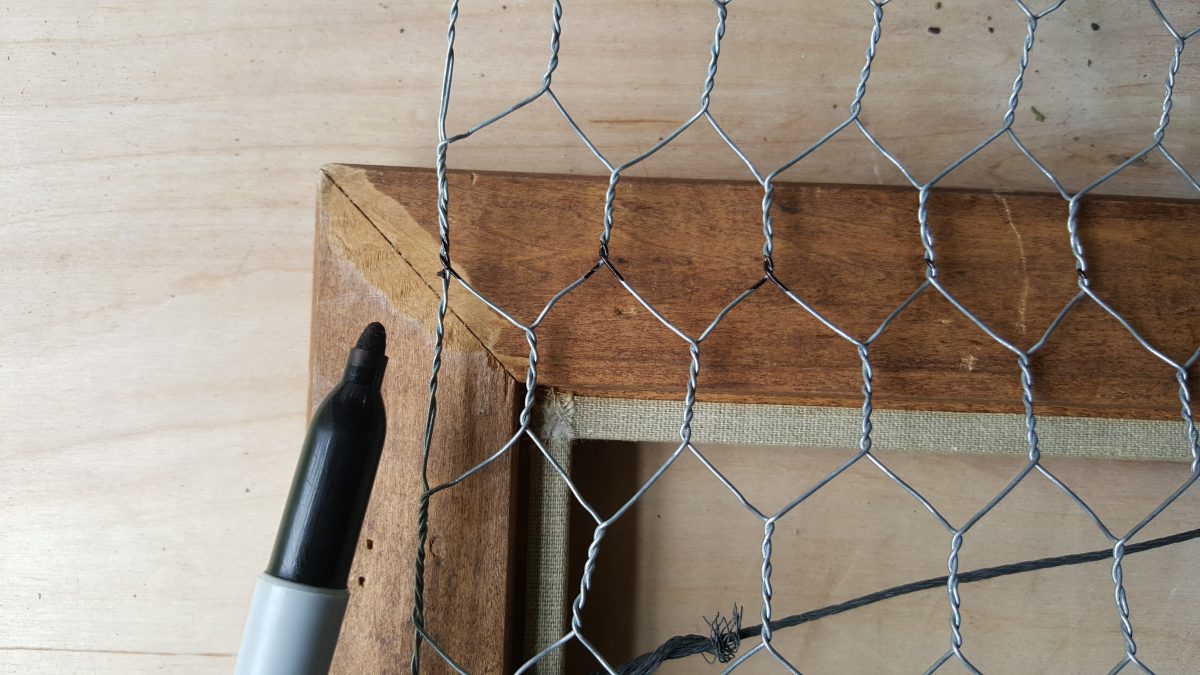
- Carefully go around the perimeter of the frame and using your sharpie, MARK ON THE WIRE/SCREEN where you need to cut the wire.
- I usually like to line up the edge of wire/screen somewhere in the middle of the frame width, so it won’t be visible from the front.
- Then CUT along your sharpie marks. Or if you’re in a rush, have your hubby step in and help. That’s what happened when I made these!
3. PREP THE FRAME
- If you’re going to paint the frame, now is the time!
- WIPE DOWN the frame down and do any light sanding if needed.
- Then crack open a can of paint and go to town! We like to use Annie Sloan chalk paint because it dries quick (like in 10 minutes!) and we love the finish.
- You can do one or two coats. There are many times I only have time for one coat. I sometimes even sand some of it off so the wood beneath it shows thru. There’s no shame in that!
- Do some light sanding and voila, it’s ready for the wire!
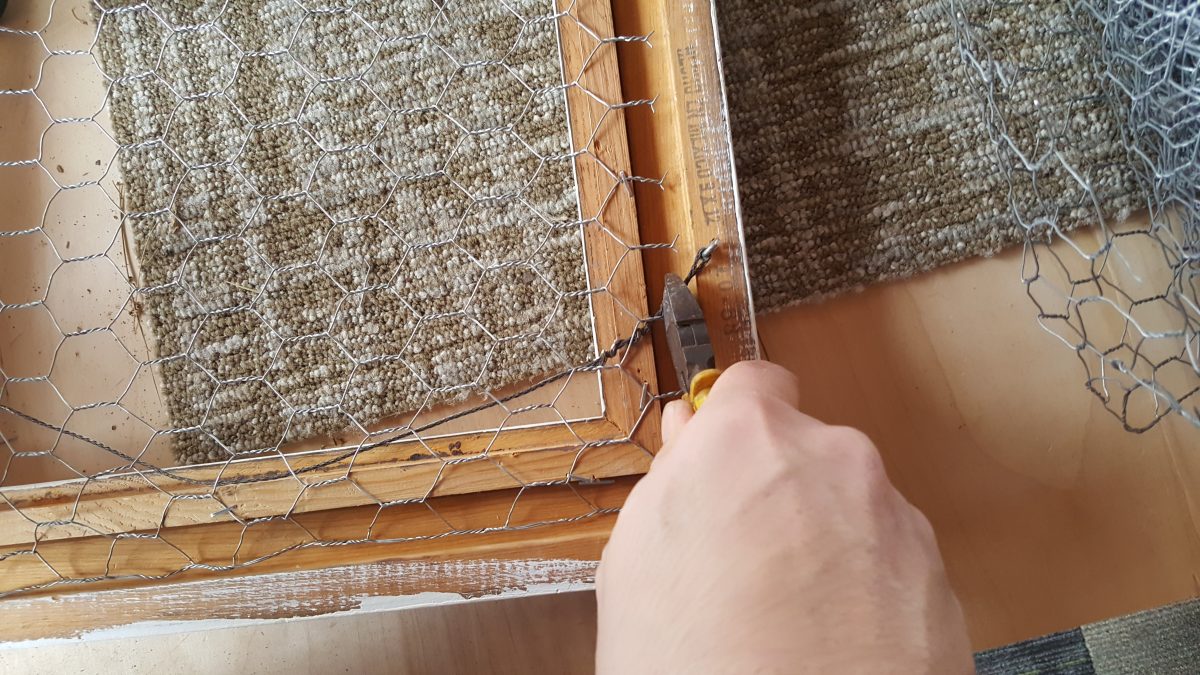
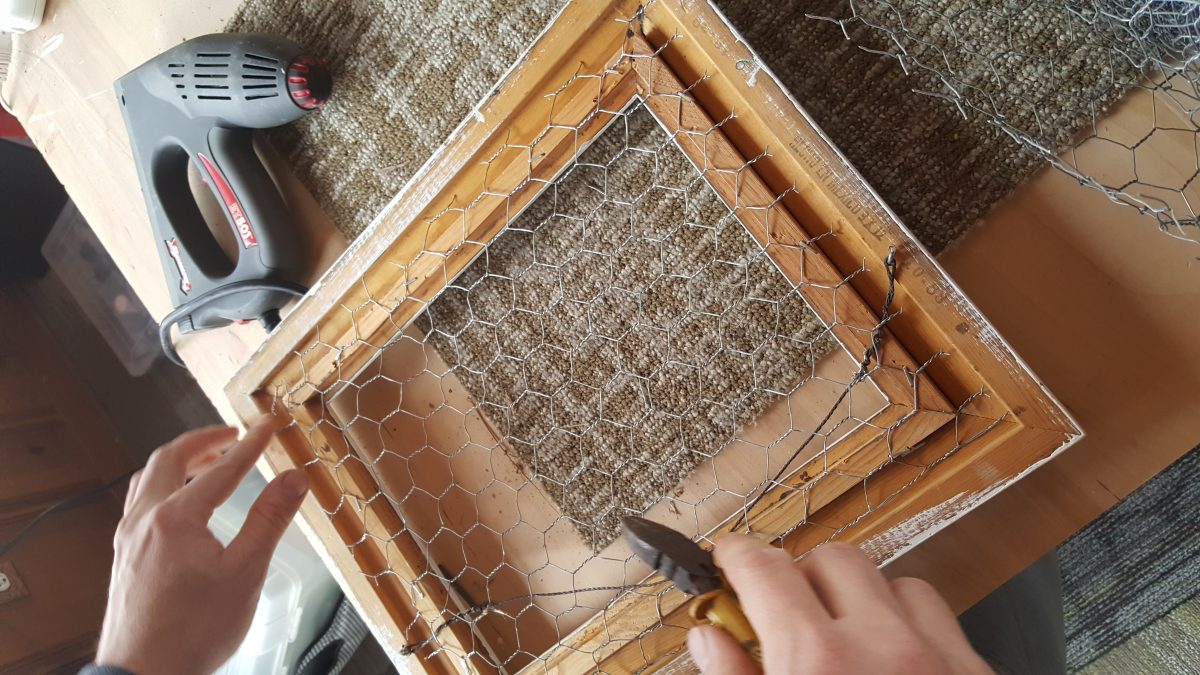
4. STAPLE OR GLUE THE CHICKEN WIRE OR SCREEN IN PLACE
- Lay the frame face down again, exposing the back. Be sure to lay it on something soft so the nicely prepped face doesn’t get scratched.
- Grab the chicken wire/screen you just cut and lay it in place.
- You can use a staple gun or hot glue gun to attach the wire to the frame.
- After you’ve attached the wire, go around with a pair of snips or pliers and fold in all the sharp wire edges, if any are poking out.
5. ALL DONE. NOW HANG AND ORGANIZE THOSE EARRINGS!
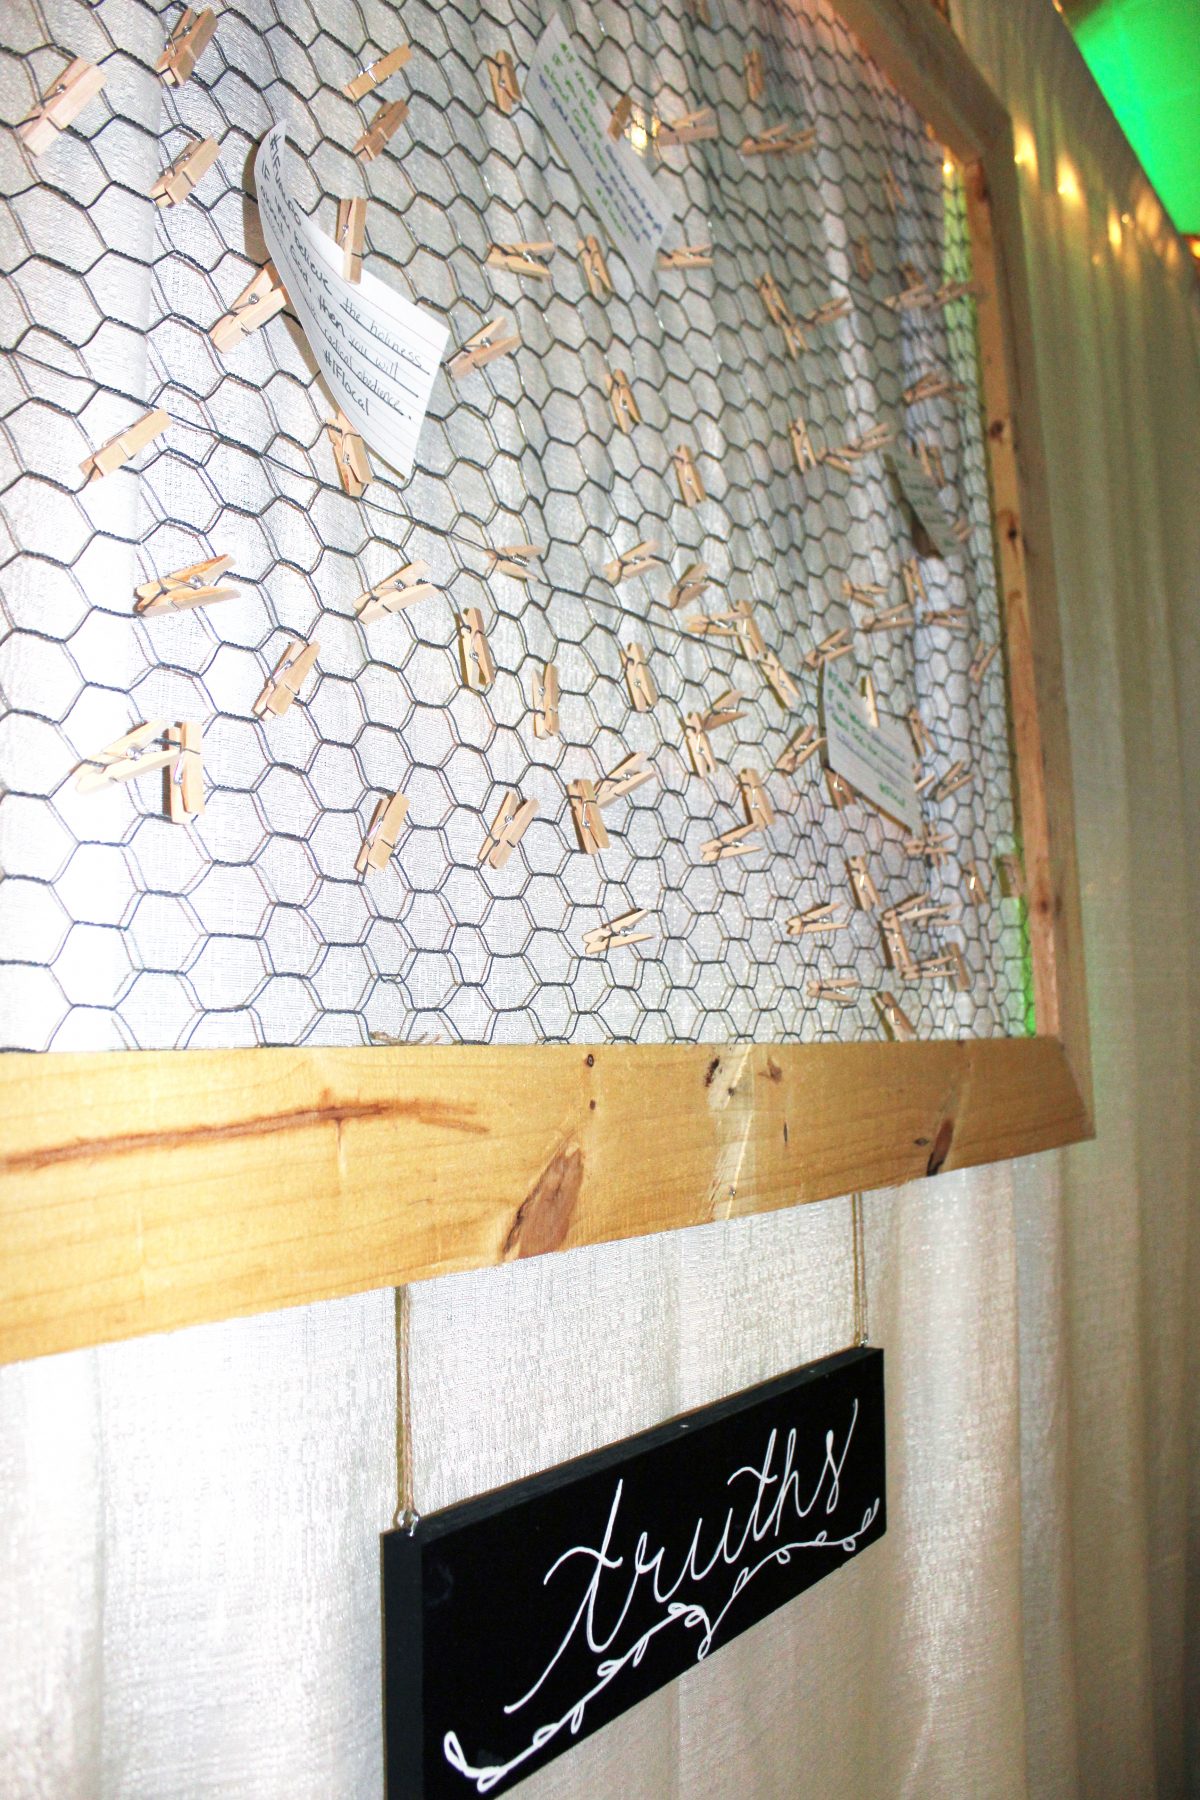
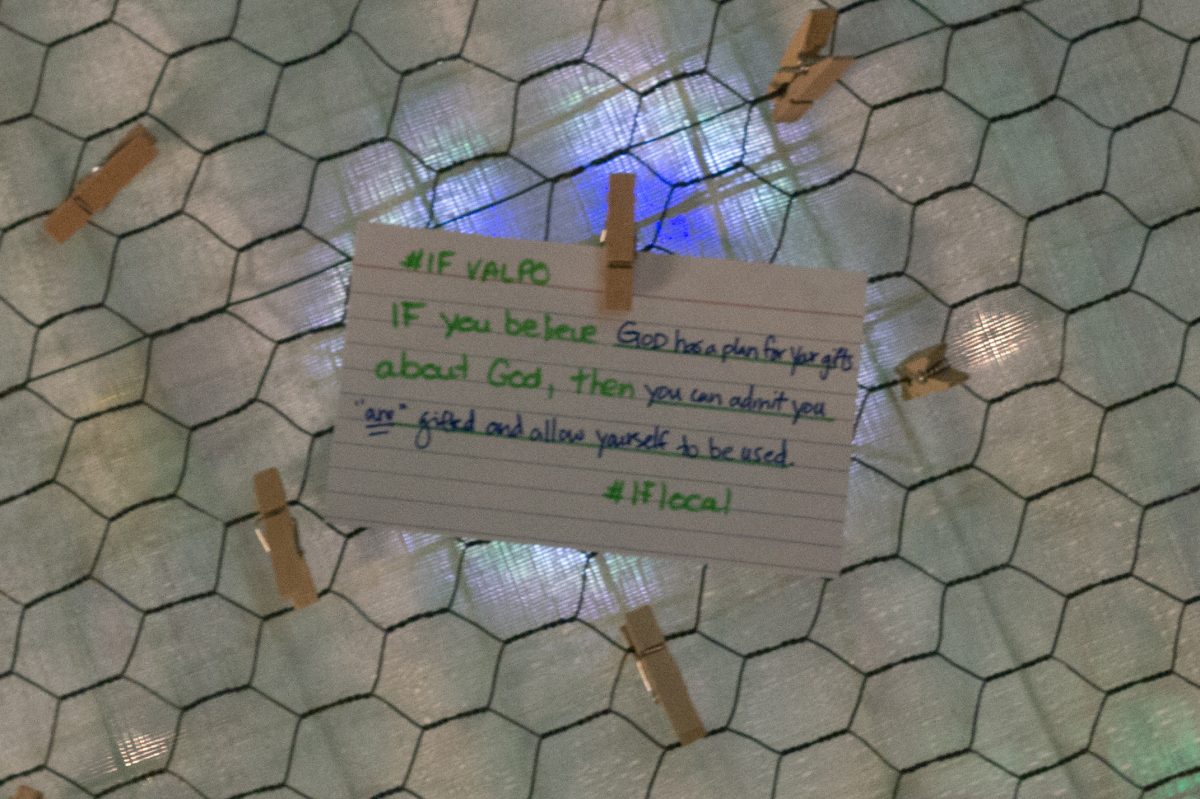
And here is the giant chicken wire frame we made for a recent IF: Gathering event // we talked about in the episode and promised to share a few pics:
{ you can listen here or thru the player below ↓↓↓ }
Podcast: Play in new window | Download
Subscribe: Apple Podcasts | Google Podcasts | Email
New episodes every Tuesday!
All you have to do is SUBSCRIBE and automatically get new episodes on your podcast app! To subscribe:
- iphone/iTunes users, just click here
- Android users, click here to subscribe (and listen using podcast app like Podcast Addict or Podbean)
FOLLOW us on social media for weekly updates! Instagram // Facebook
And we would love it if you would comment or share this episode or our podcast!
