Hey friends…SO on today’s episode we laugh alot! Dannette shares a snake story, attempts a Chewy impression, and we discover that Lyn had a wrong and hilarious understanding of “stoning” in the bible…for what, 25 years??? a.k.a. “Hans Solo-ing”… {Seriously, we don’t make this stuff up!}
We do get serious and talk about a friend’s very real struggle with family and how she’s dealing with untrue things being said about her. Dannette also shares a bit about what she’s been learning in the book of Acts, and we chat about what it looks like to turn the other cheek in real love and leave a little room for God to fight for us and plead our case. He’s the one who really has the power to bring the truth to light and change the hearts of those who hurt us anyway, right?
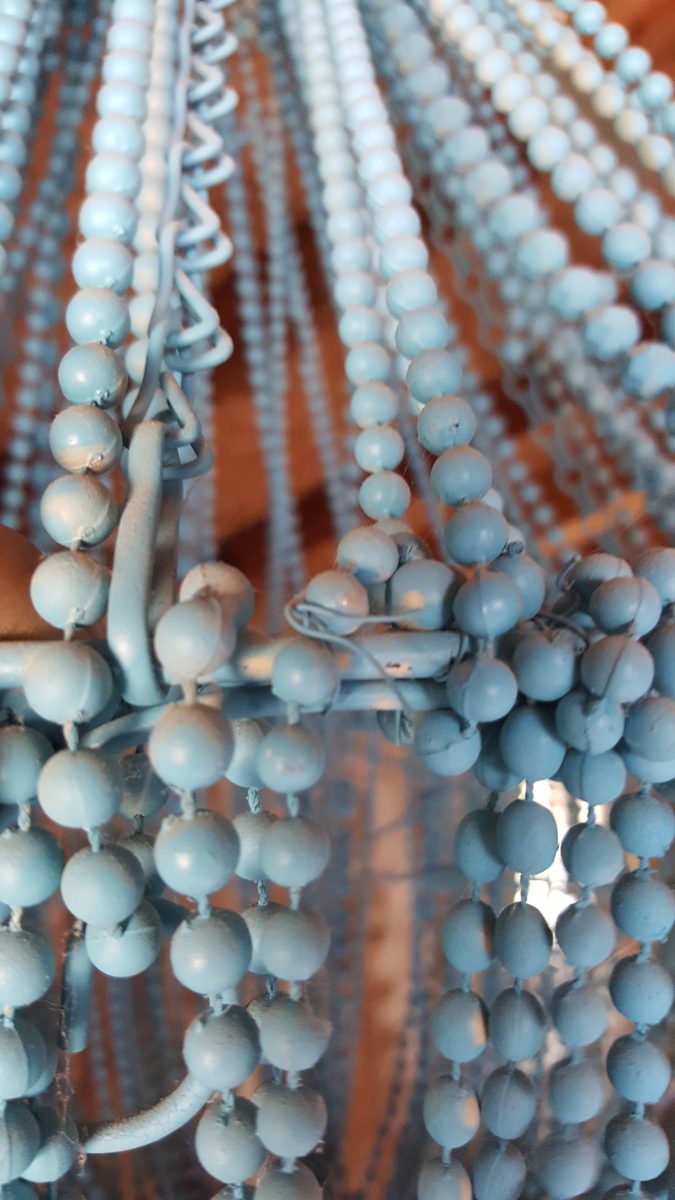
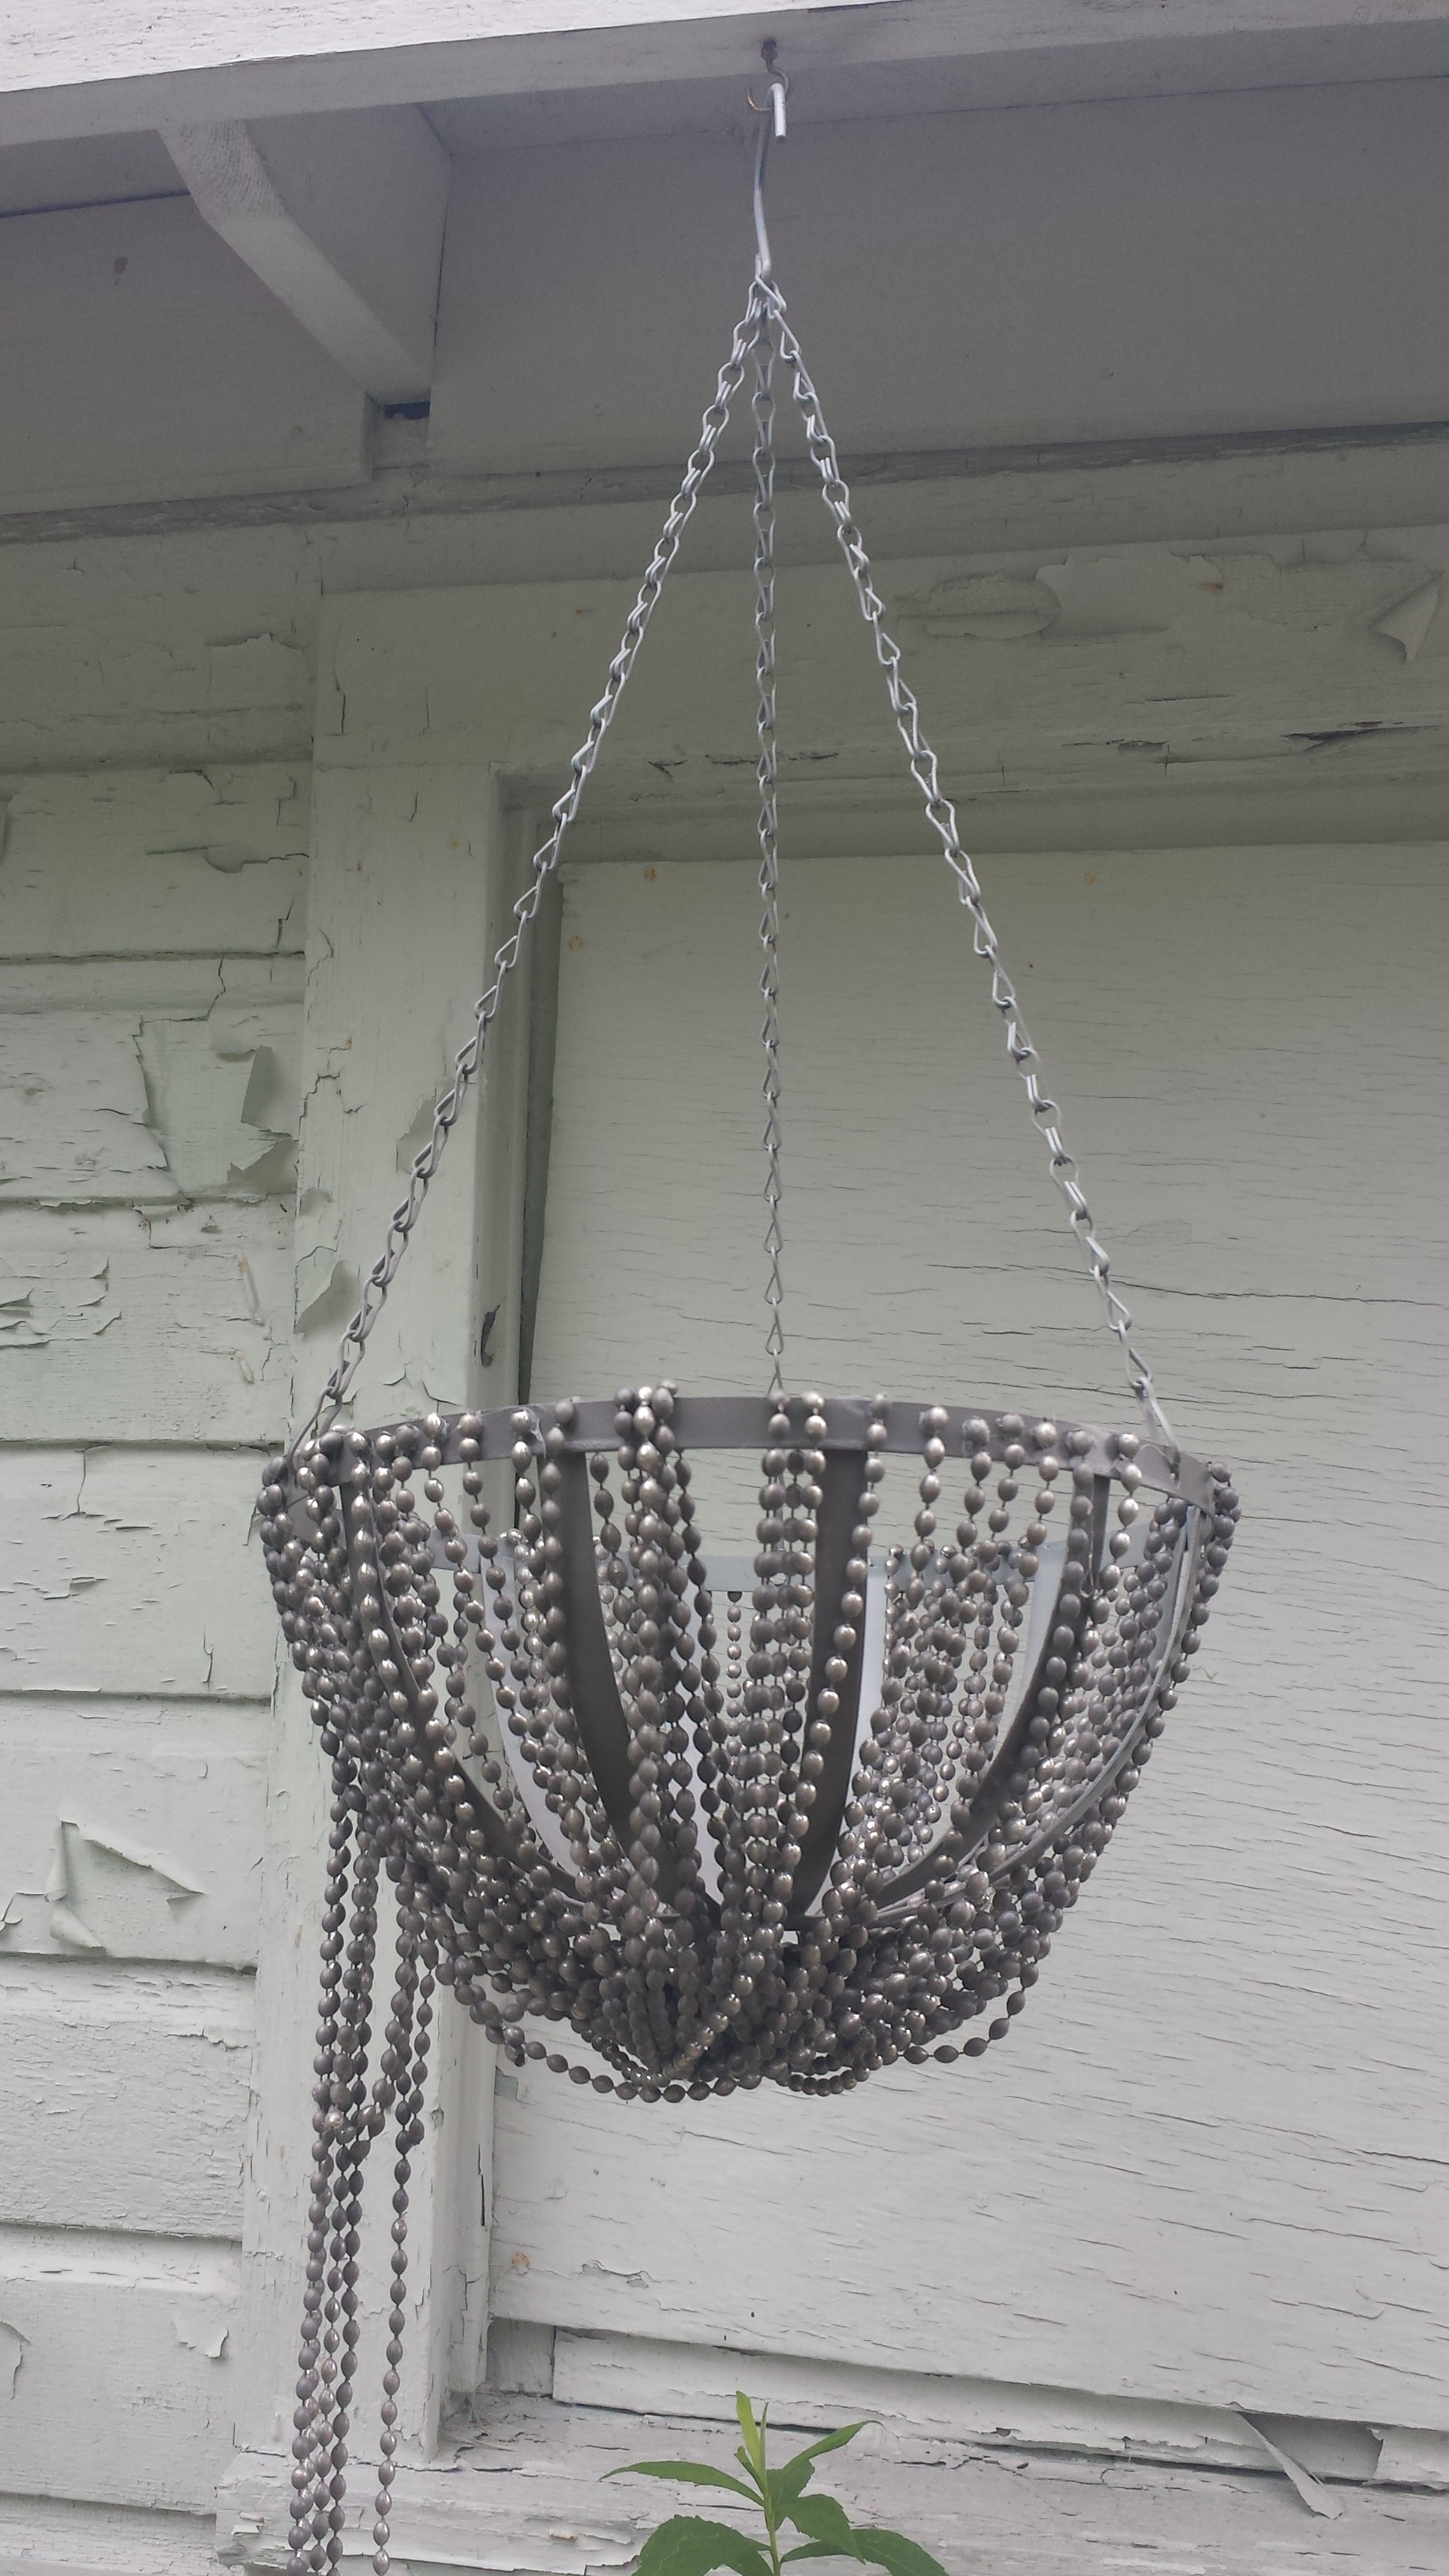
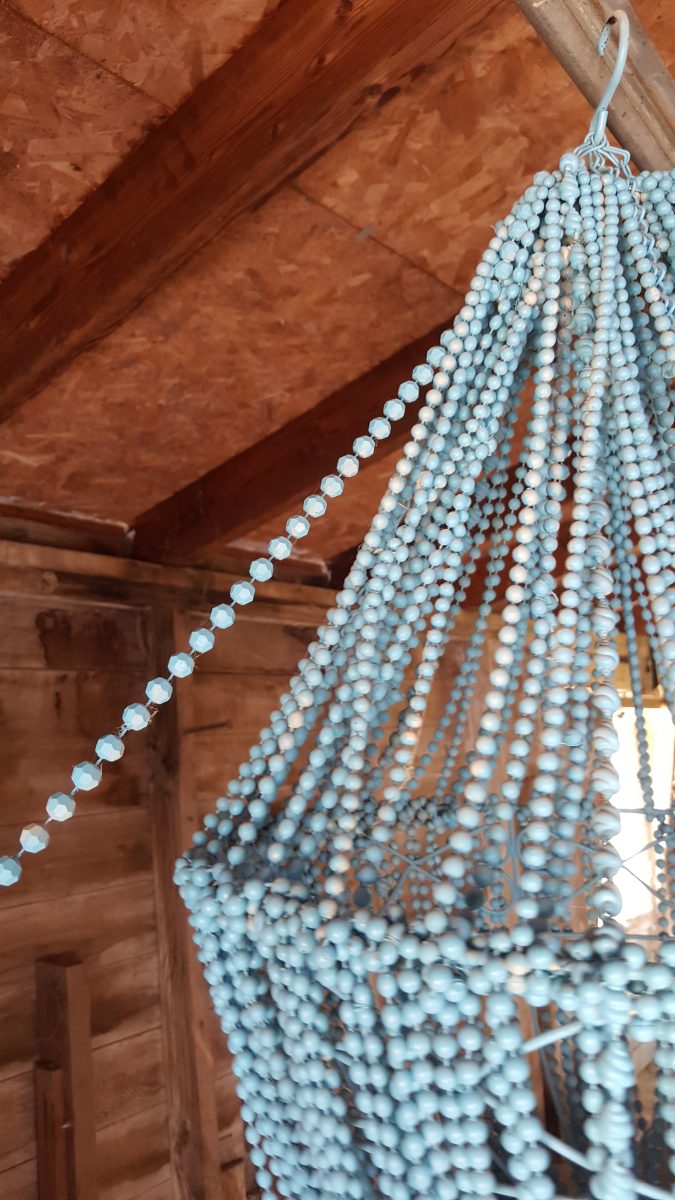
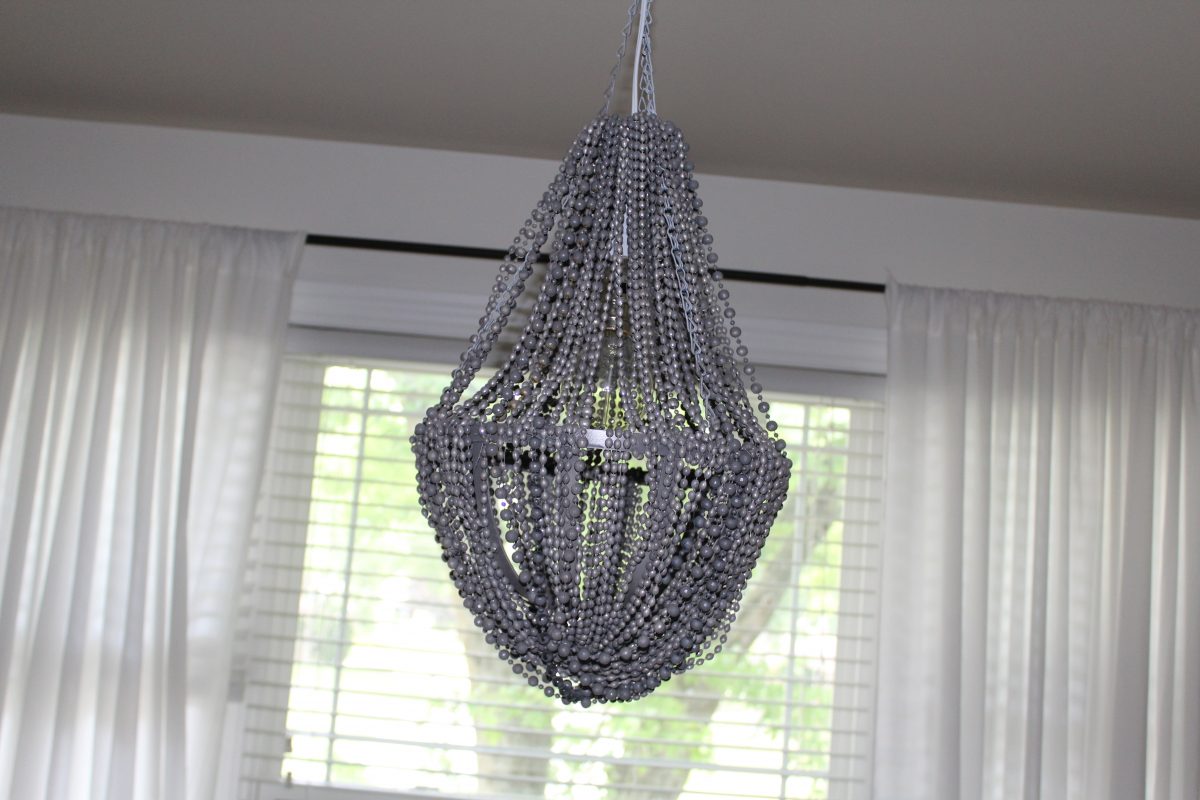
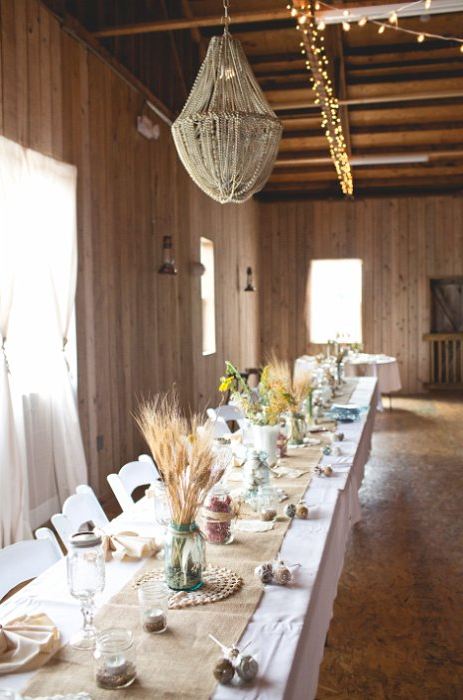
We also share a little DIY on beaded chandeliers. Listen in and then check out our website for all the deets!
Don’t forget to leave a review and subscribe on iTunes if you’re enjoying this! It helps others find us easier, and keeps it visible in the search query! And of course, make sure to follow us on insta, our fave social media platform… @lynfelsman @dannettegora and @bydesignpodcast
Enjoy!
Lyn & Dannette xo
{ you can listen here or thru the player below ↓↓↓ }
Podcast: Play in new window | Download
Subscribe: Apple Podcasts | Google Podcasts | Email
* * *
LINKS & THINGS WE TALKED ABOUT
Pastor Josh Reasoner The Gospel: Changing Lives Forever
Psalm 37:6 “Commit your way to the Lord; trust in him and he will do this: He will make your righteousness shine like the dawn, the justice of your cause like the noonday sun.”
read all of Psalm 37 … such good stuff!
Lyn’s pretend bff… Jen Hatmaker
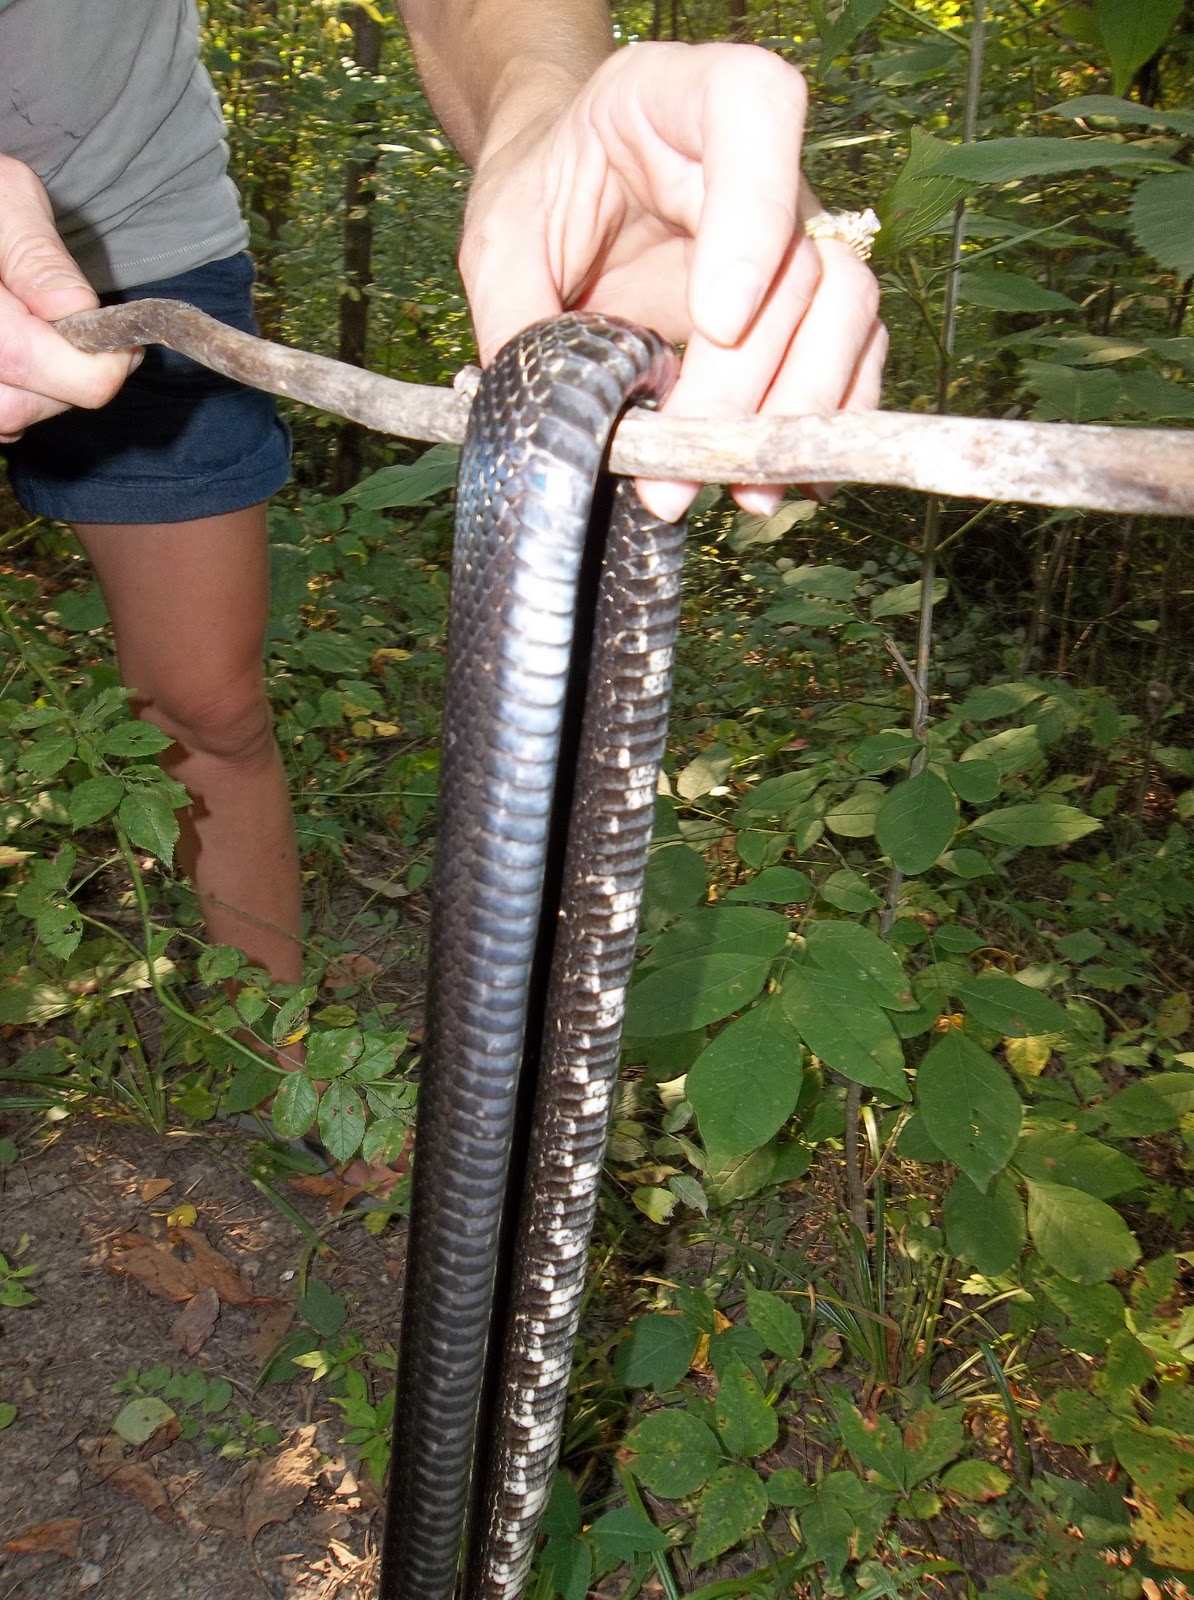
Pics as promised…the camping incident that involved a certain snake, a large tree, two toddlers, and a momma who was just NOT having it…
* * *
DESIGN CHAT: Beaded Chandelier DIY
SHOPPING LIST
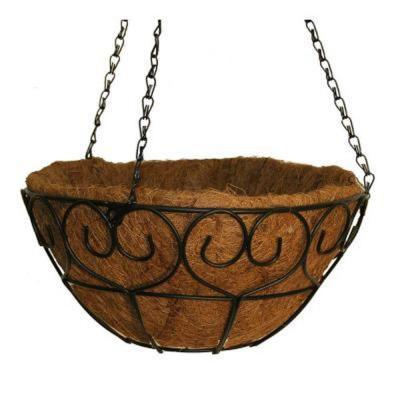
- Hanging garden wire basket from Home Depot … they’re only like $12 !
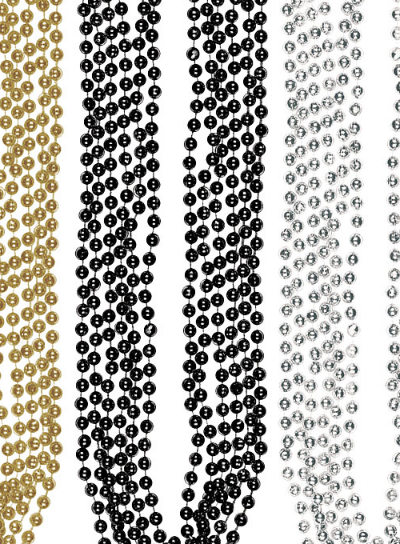
- Beaded necklaces…lots and lots of them
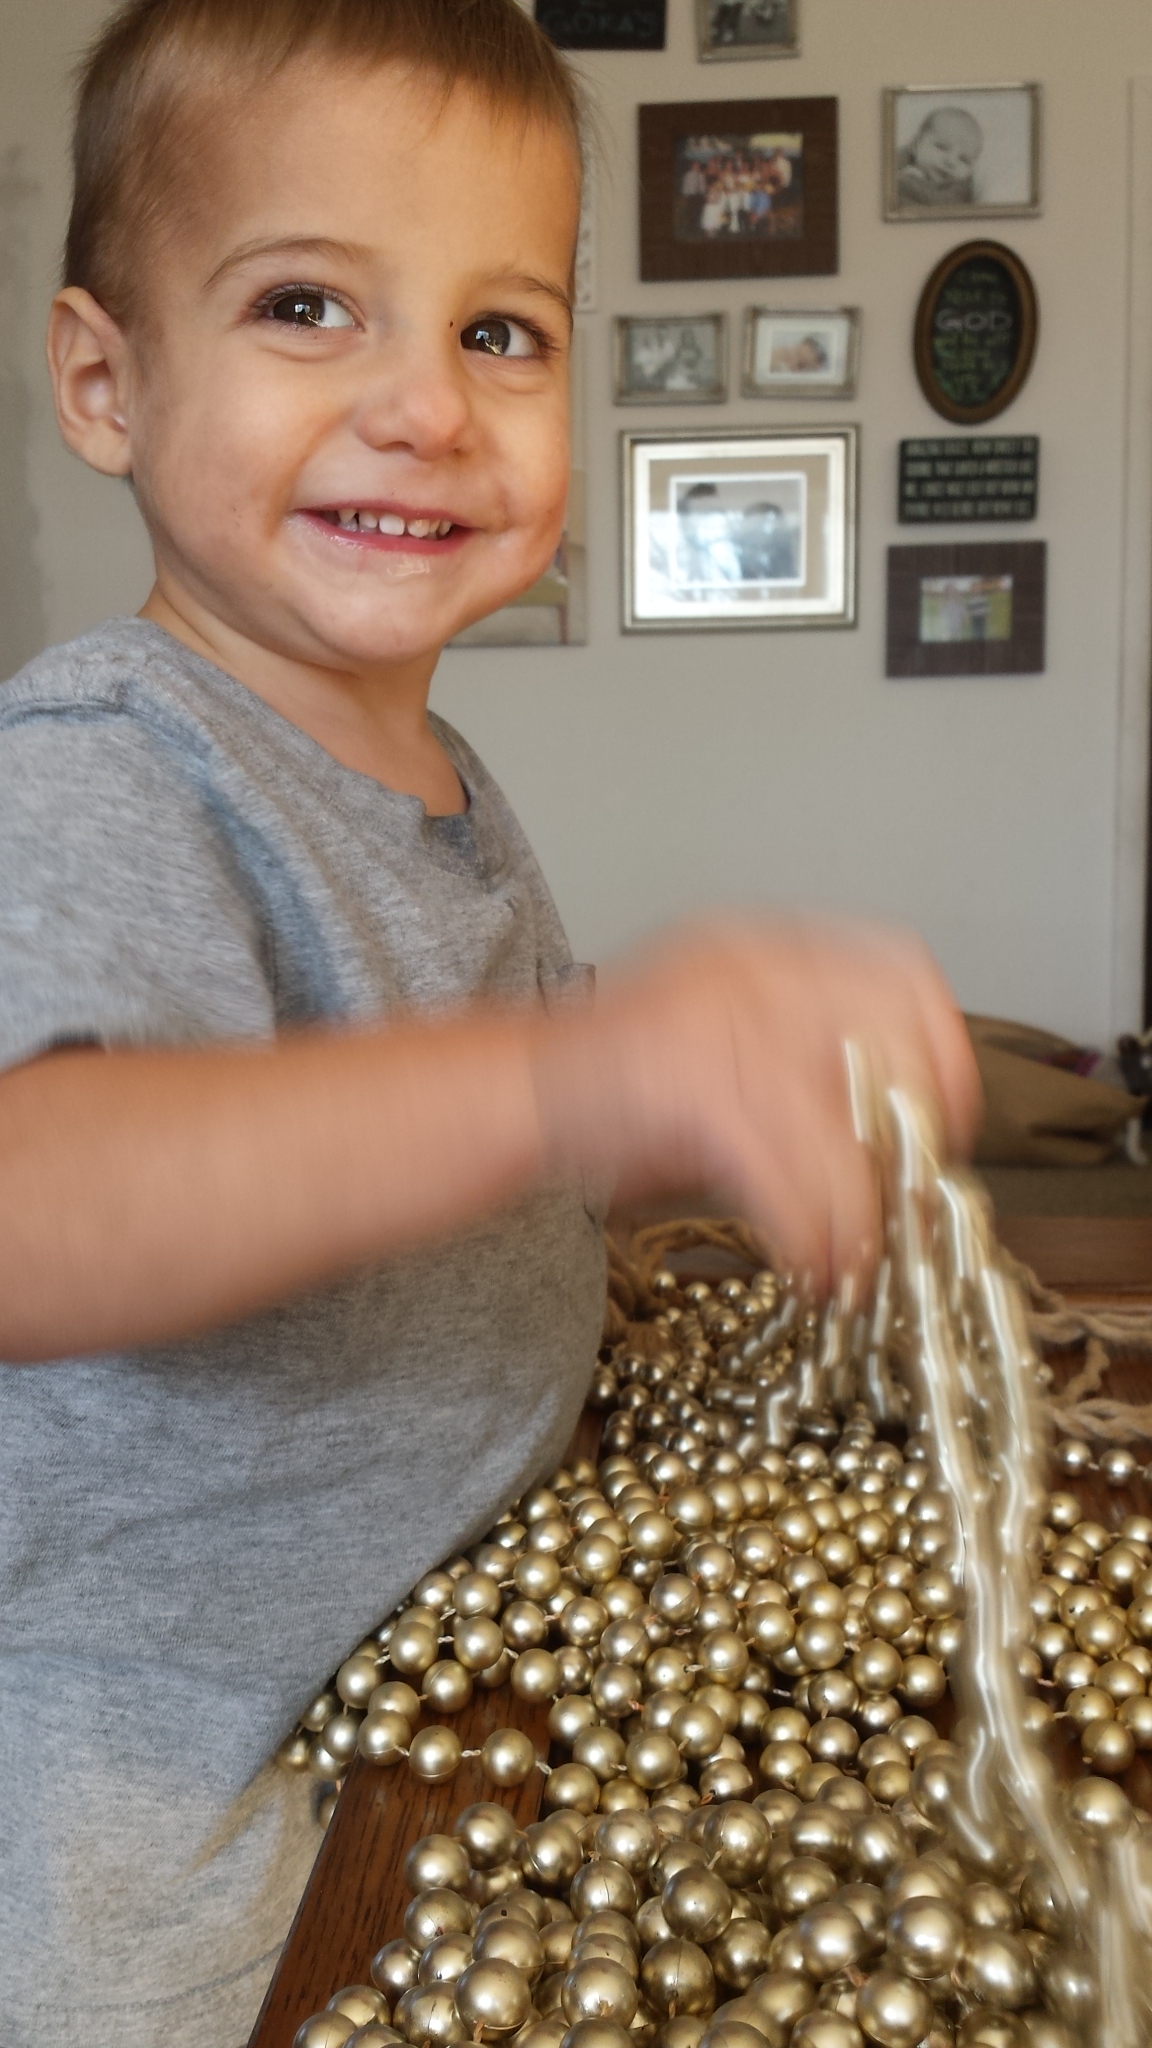
- We like to get ours at Party City because you can buy them in large quantities.
- Picking a light color is usually best because it’s easier to spray paint. We also prefer black, gold, white or silver beads.
- Or if you see a color of bead you like as is, no need to paint!
- Spray paint…whatever color you want your chandelier to be.
- Silver floral wire and/or hot glue. You can get it at Michaels, Joanns, Hobby Lobby…or really any craft store.
- Dannette prefers to hot glue the beads instead of tying floral wire, but do whatever is easiest for you.
- Wire Clippers
- A heavier gauge wire or string {to use to drape the beads over while spray painting}
STEP 1 – PAINT THE BEADS & THE HANGING BASKET
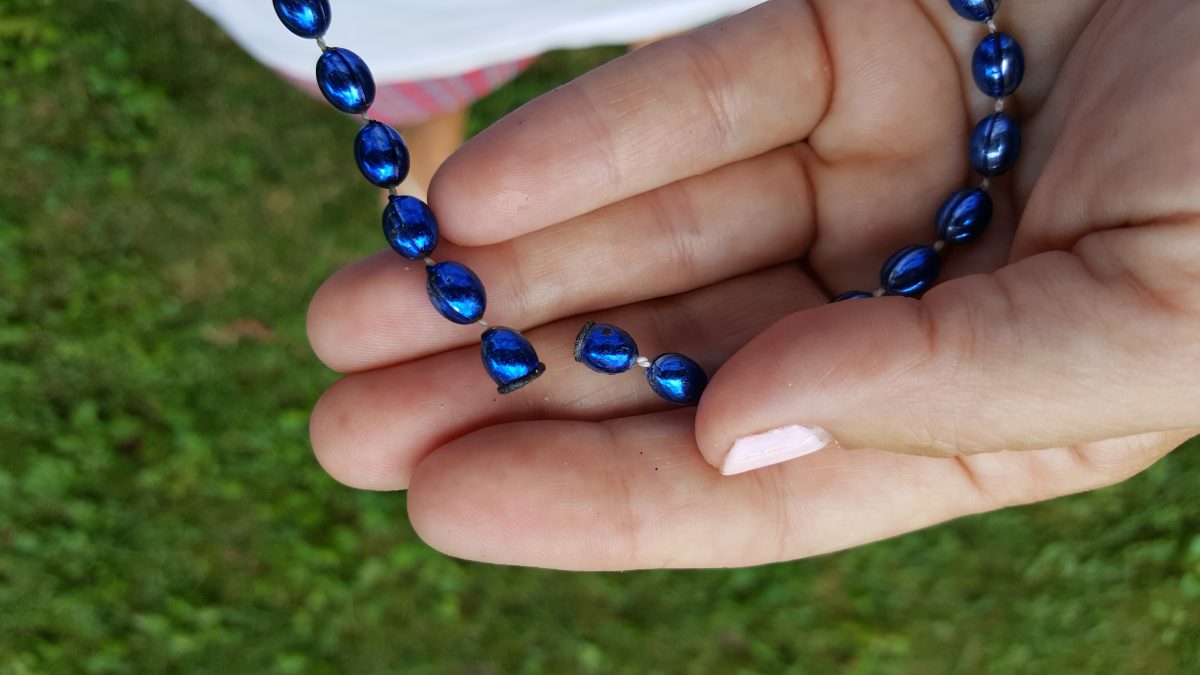
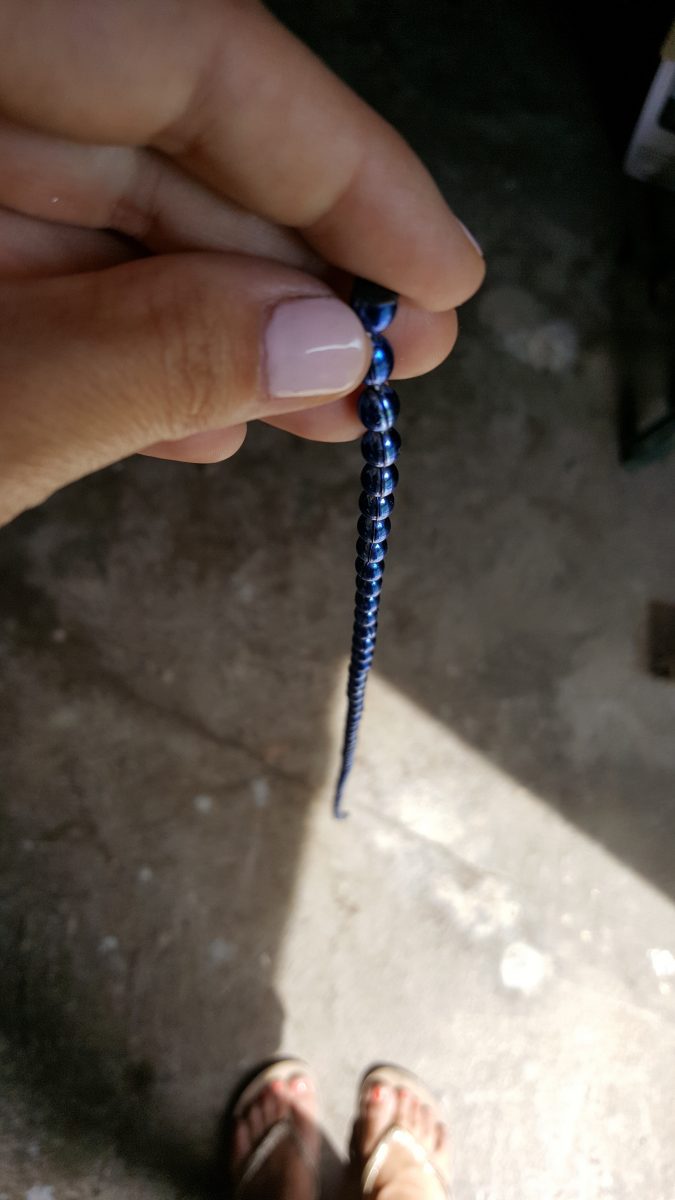
- Find the connecting point of each beaded necklace and use the wire clippers to snap the necklaces so that each one becomes one long strand of beads.
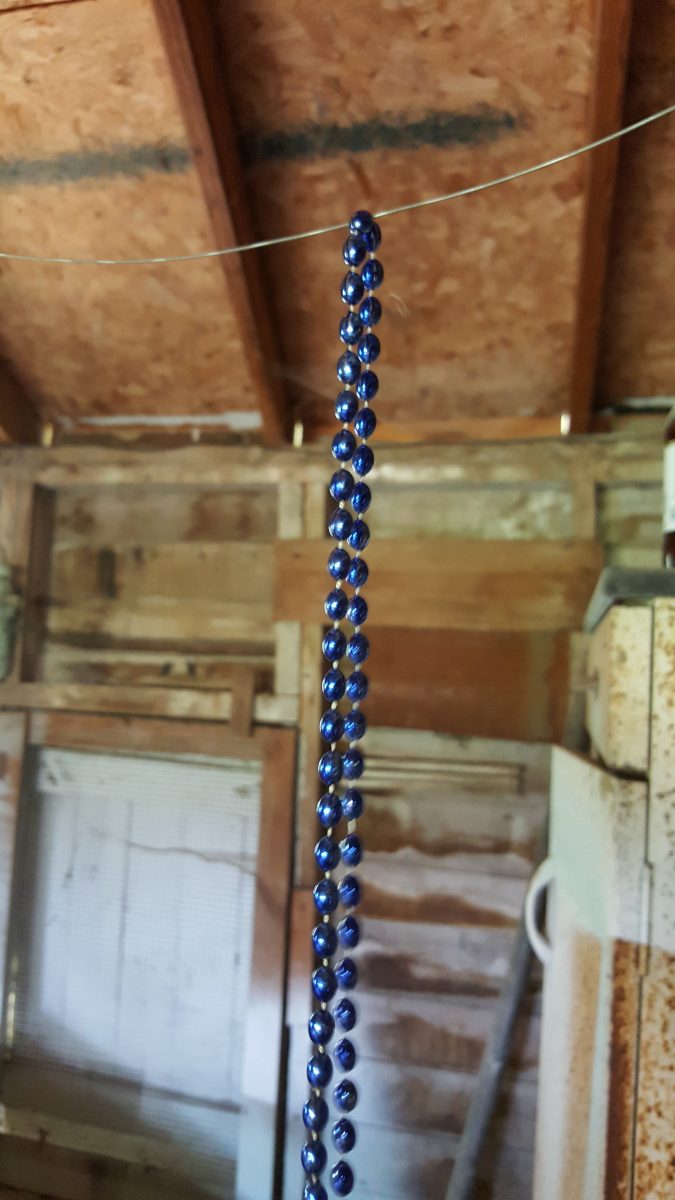
- Hang the heavier gauge wire or string from wall to wall in the area you want to paint.
- Drape the beads over the wire so they don’t slip.
- Spray paint your beads and let dry. Do another coat for good coverage if necessary.
- Do the same for the wire basket {paint one or two coats as necessary}.
- Make sure you remove the planting liner first.
- I usually paint my beads and the basket at the same time, and always the same color so the look is seamless.
STEP 2 – ASSEMBLE THE CHANDELIER
- Hang your wire basket at a height that will be easy for you work at while assembling the beads to it. {I’ve hung mine from a ladder, the overhead garage door frame, or from a hook on the side of our old barn}.
- Start by attaching the beads at the center rim of the wire basket to create the bottom part of the chandelier.
- Do this by gluing or using floral wire to attach the end of the first drape of beads to bottom ring of the wire basket.
- Glue one end of the strand, and then drape under the basket to the opposite side, trying to stay parallel or directly across from where you started.
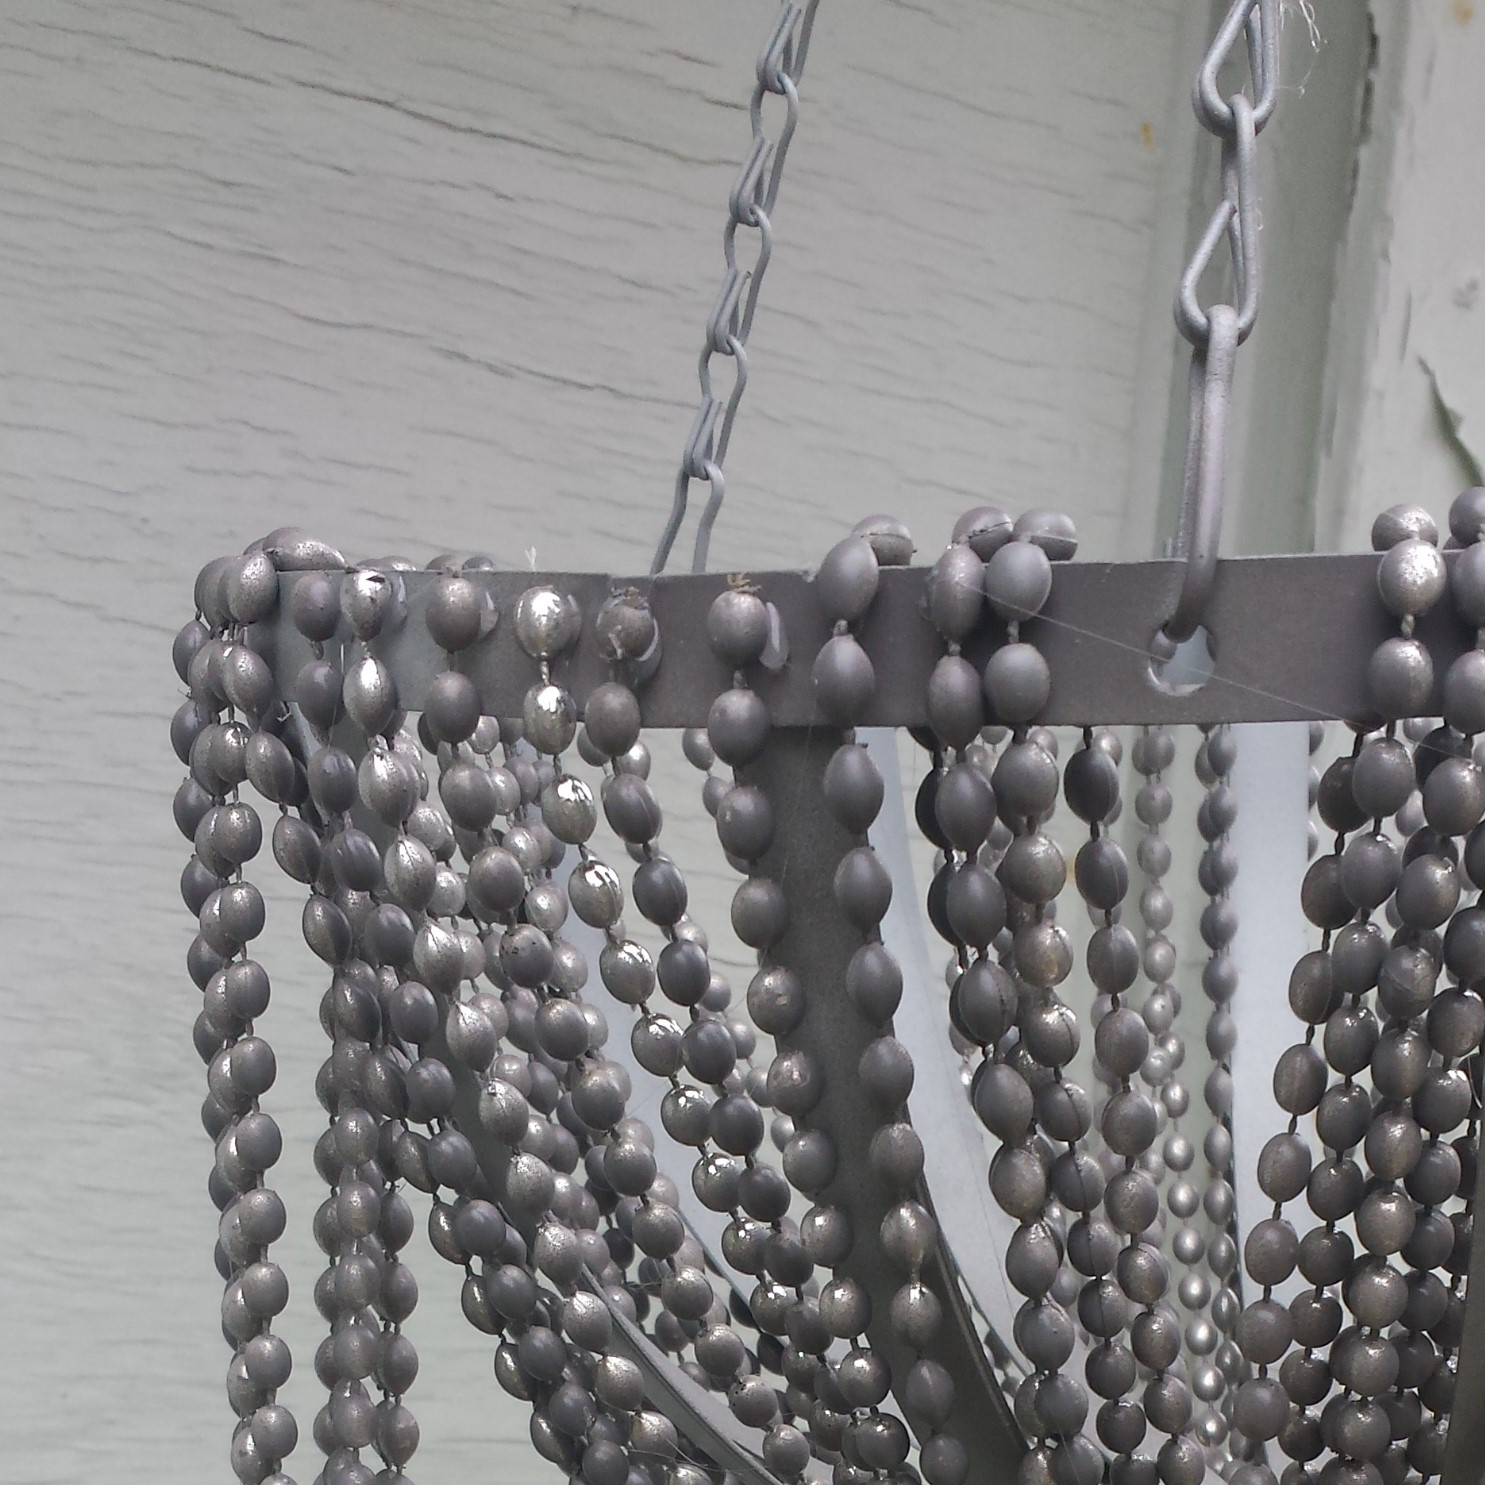
- Or use the floral wire and tie the end of the strand to the basket rim…
- Continue strand by strand around the circumference of the basket rim until you have a full and happy set of beads around the entire bottom.
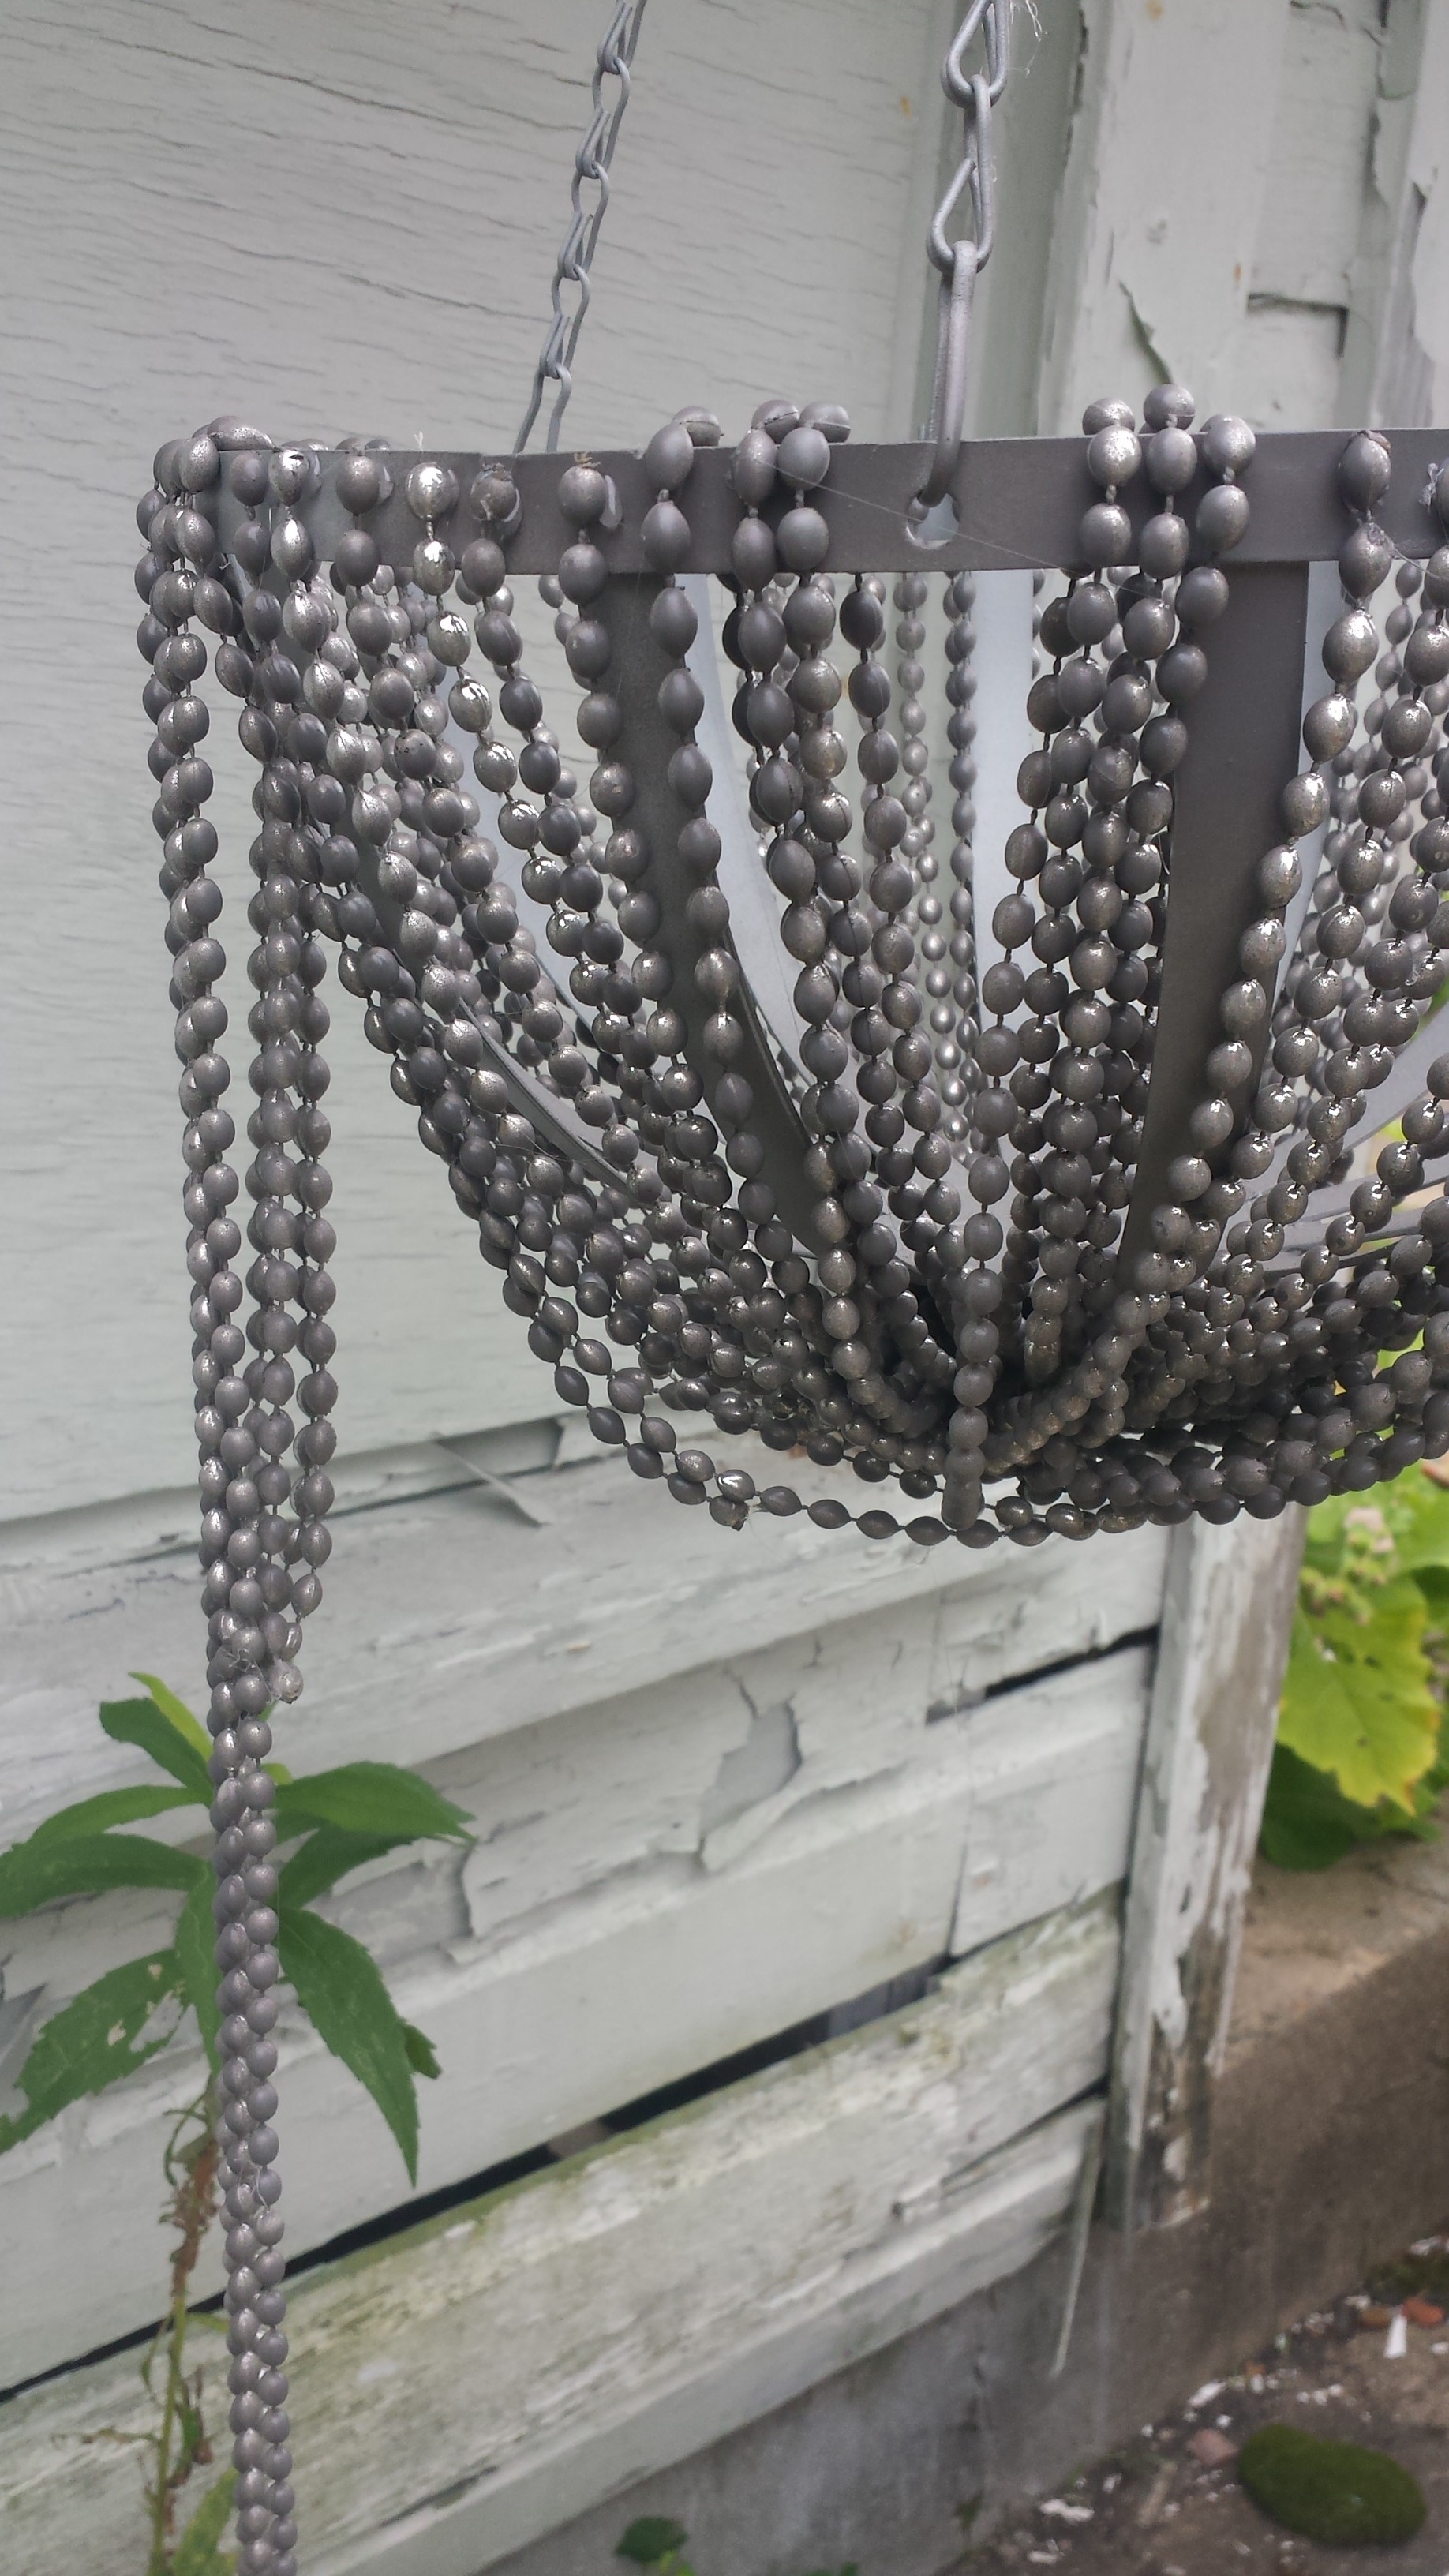
- Next attach the beads from the top ring of the basket to center rim, using the same method as you did for the bottom.
- Make sure you swag them nicely, leaving a little slack so they drape nicely from top to bottom.
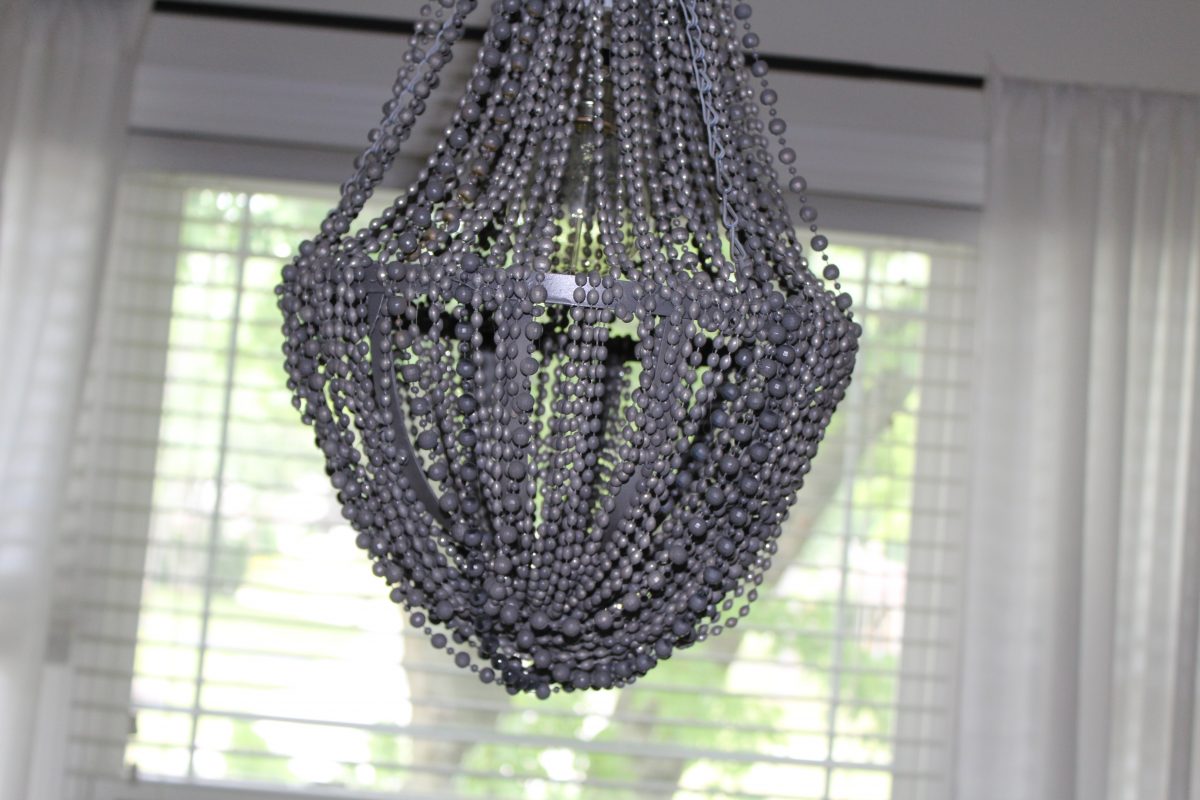
STEP 3A – ADD A CEILING MEDALLION AND A LIGHT KIT TO MAKE A FUNCTIONAL LIGHT
See Lyn’s gray chandelier below…(This part requires the help of an electrician or a handy hubby.)
- You can either purchase light kit (without the shade / globe) from Home Depot or Lowes or really any home improvement store.
- Have someone qualified install the light kit and the ceiling medallion at the same time.
STEP 3B – HANG YOUR CHANDELIER AS AN ACCENT PIECE WITHOUT USING A LIGHT BULB.
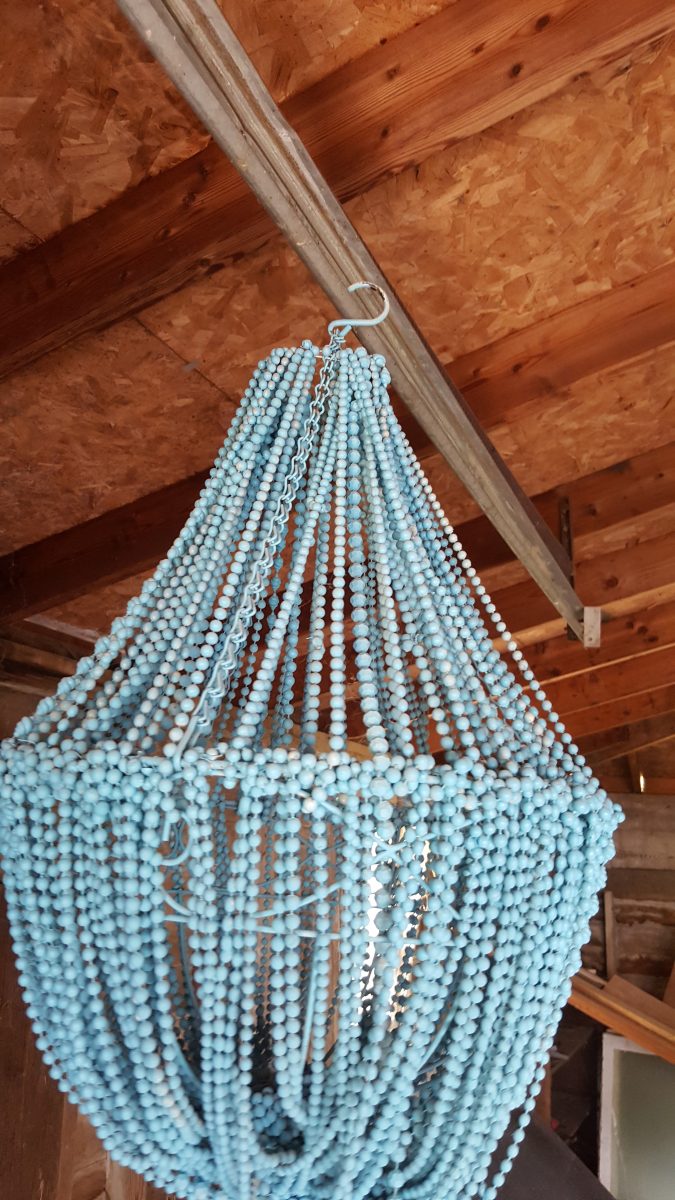
See Dannette’s blue chandelier below…
- If you plan to use your chandelier only as an accent piece or decor, you can skip the light kit part and just hang yours from the hook it came with. So easy 🙂
- And you can always re-paint it if you want to change the color. It just takes a little more time painting it fully assembled to get all sides of the beads consistently.


