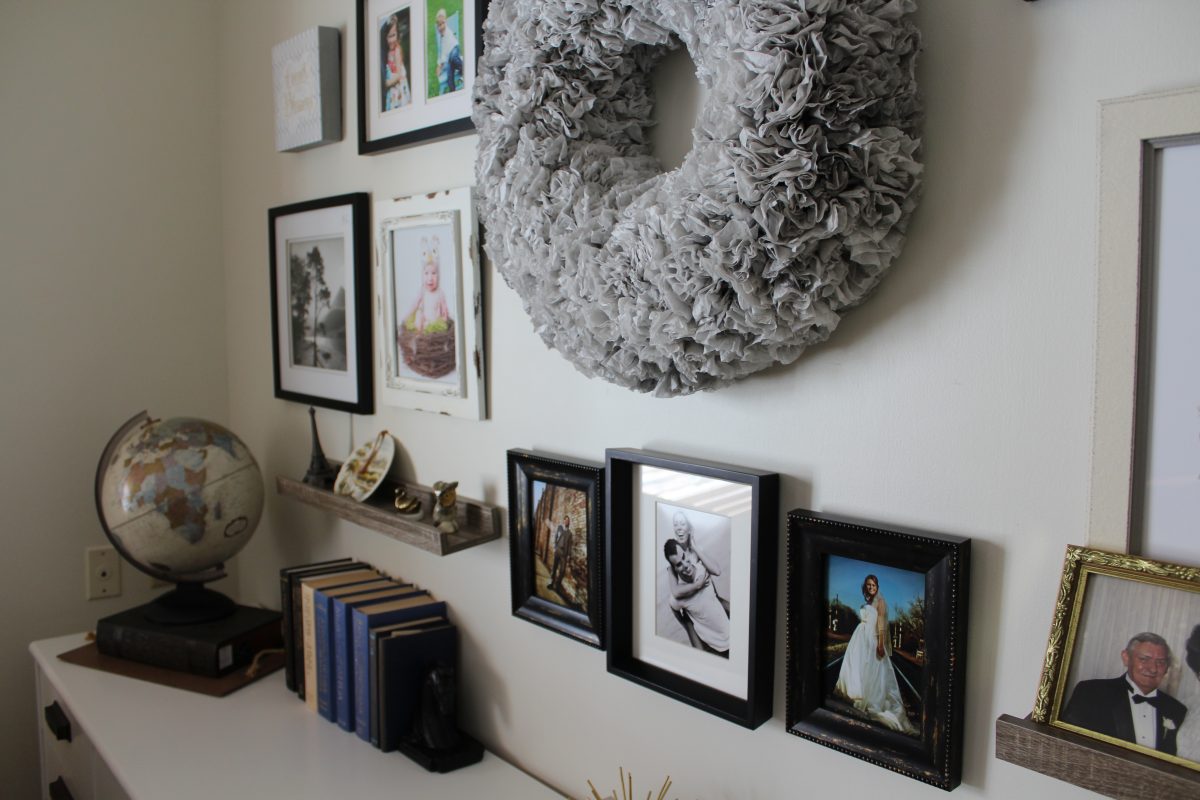
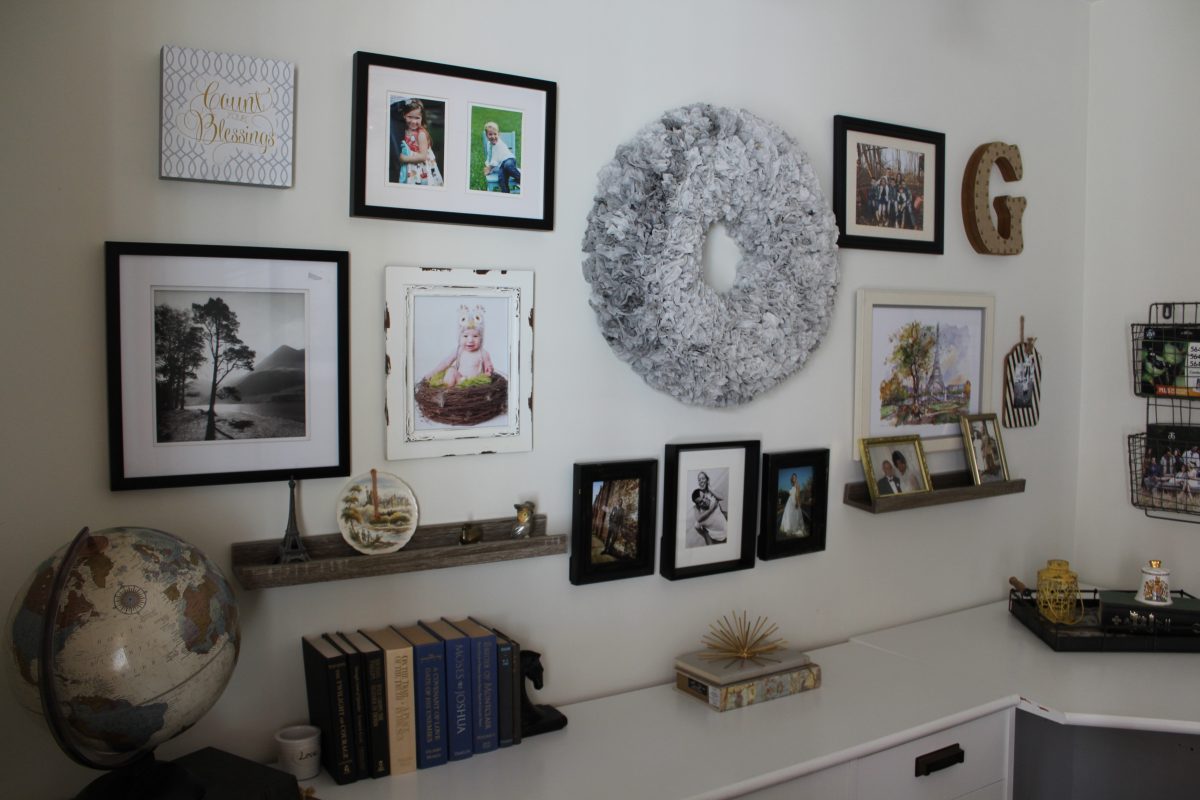
Today we share a wreath diy because Spring is almost here, and we needed some light and airy inspiration ? Dannette shows us how to make a tissue wreath using coffee filters, and she also shares a little bit about what she’s been learning about the Lord’s Supper as she re-reads Tim Keller’s book “The King’s Cross”.
Thanks so much for listening!
xo,
Lyn & Dannette
•••
LINKS & THINGS
- {by design} pinterest board: https://www.pinterest.com/bydesignpodcast
- Pre-order Everybody Always Bob Goff’s new book!!!
- Cat Herding commercial
- The King’s Cross by Tim Keller
COFFEE FILTER WREATH DIY
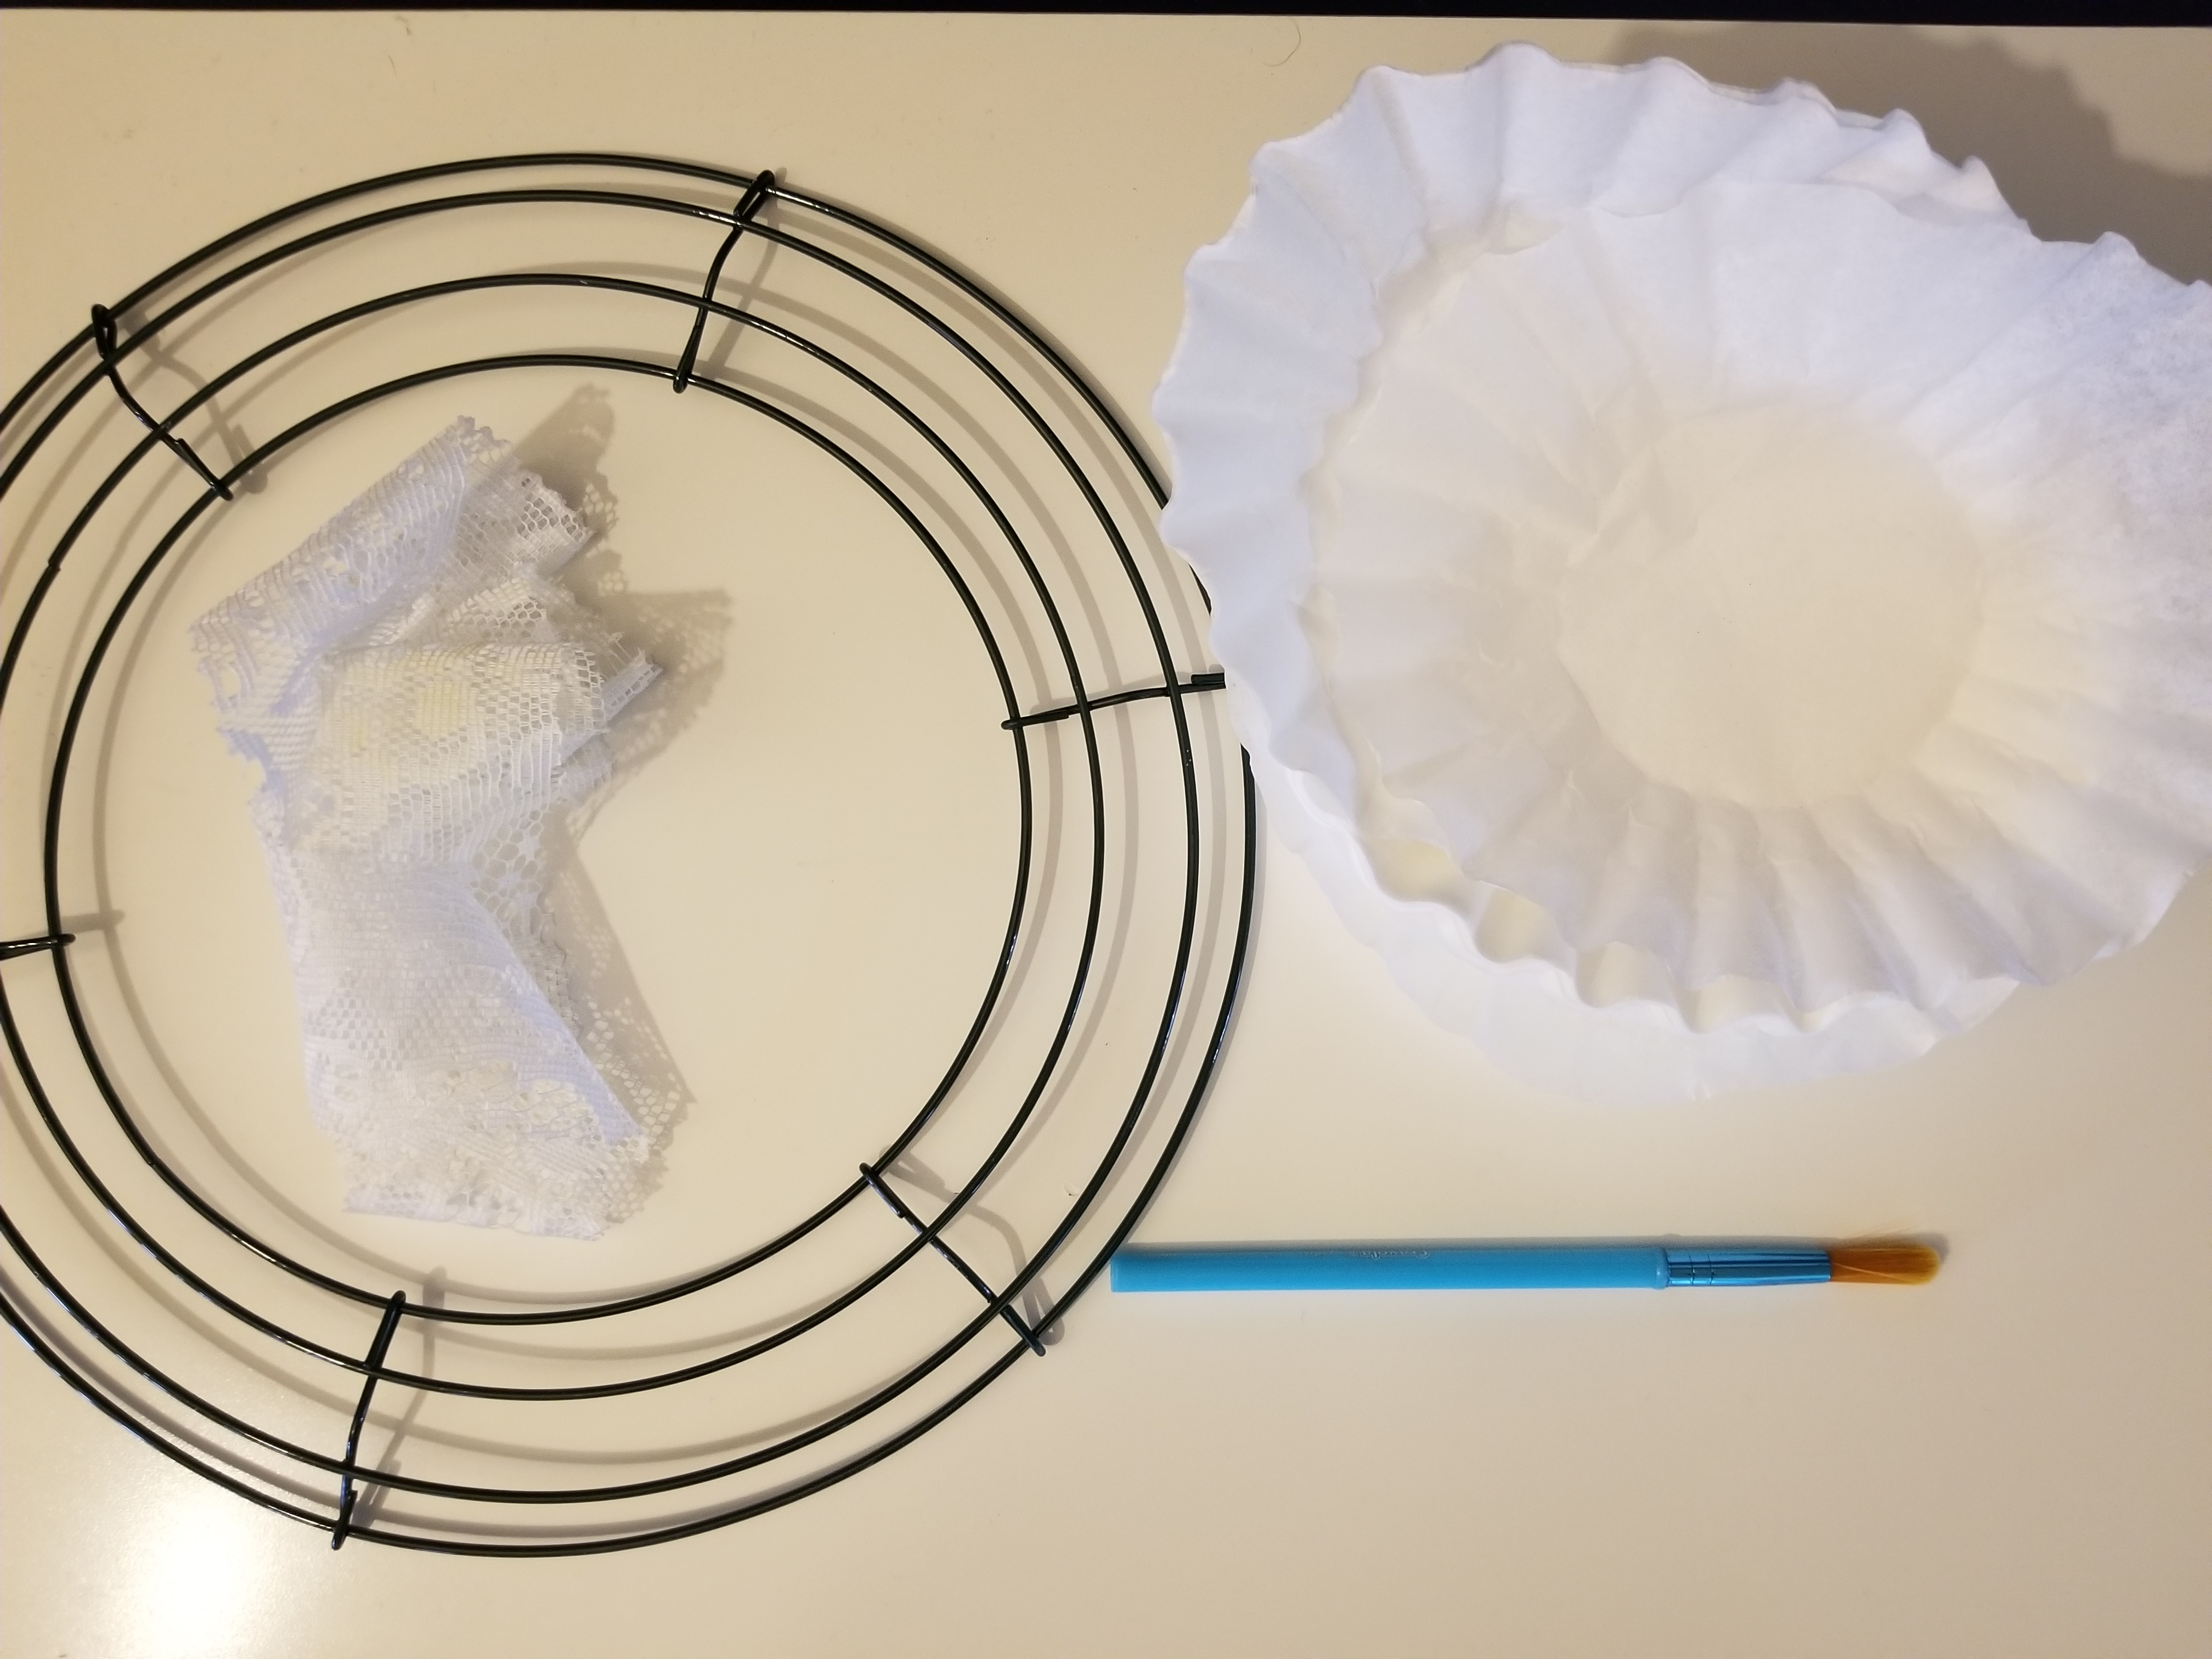
Supplies:
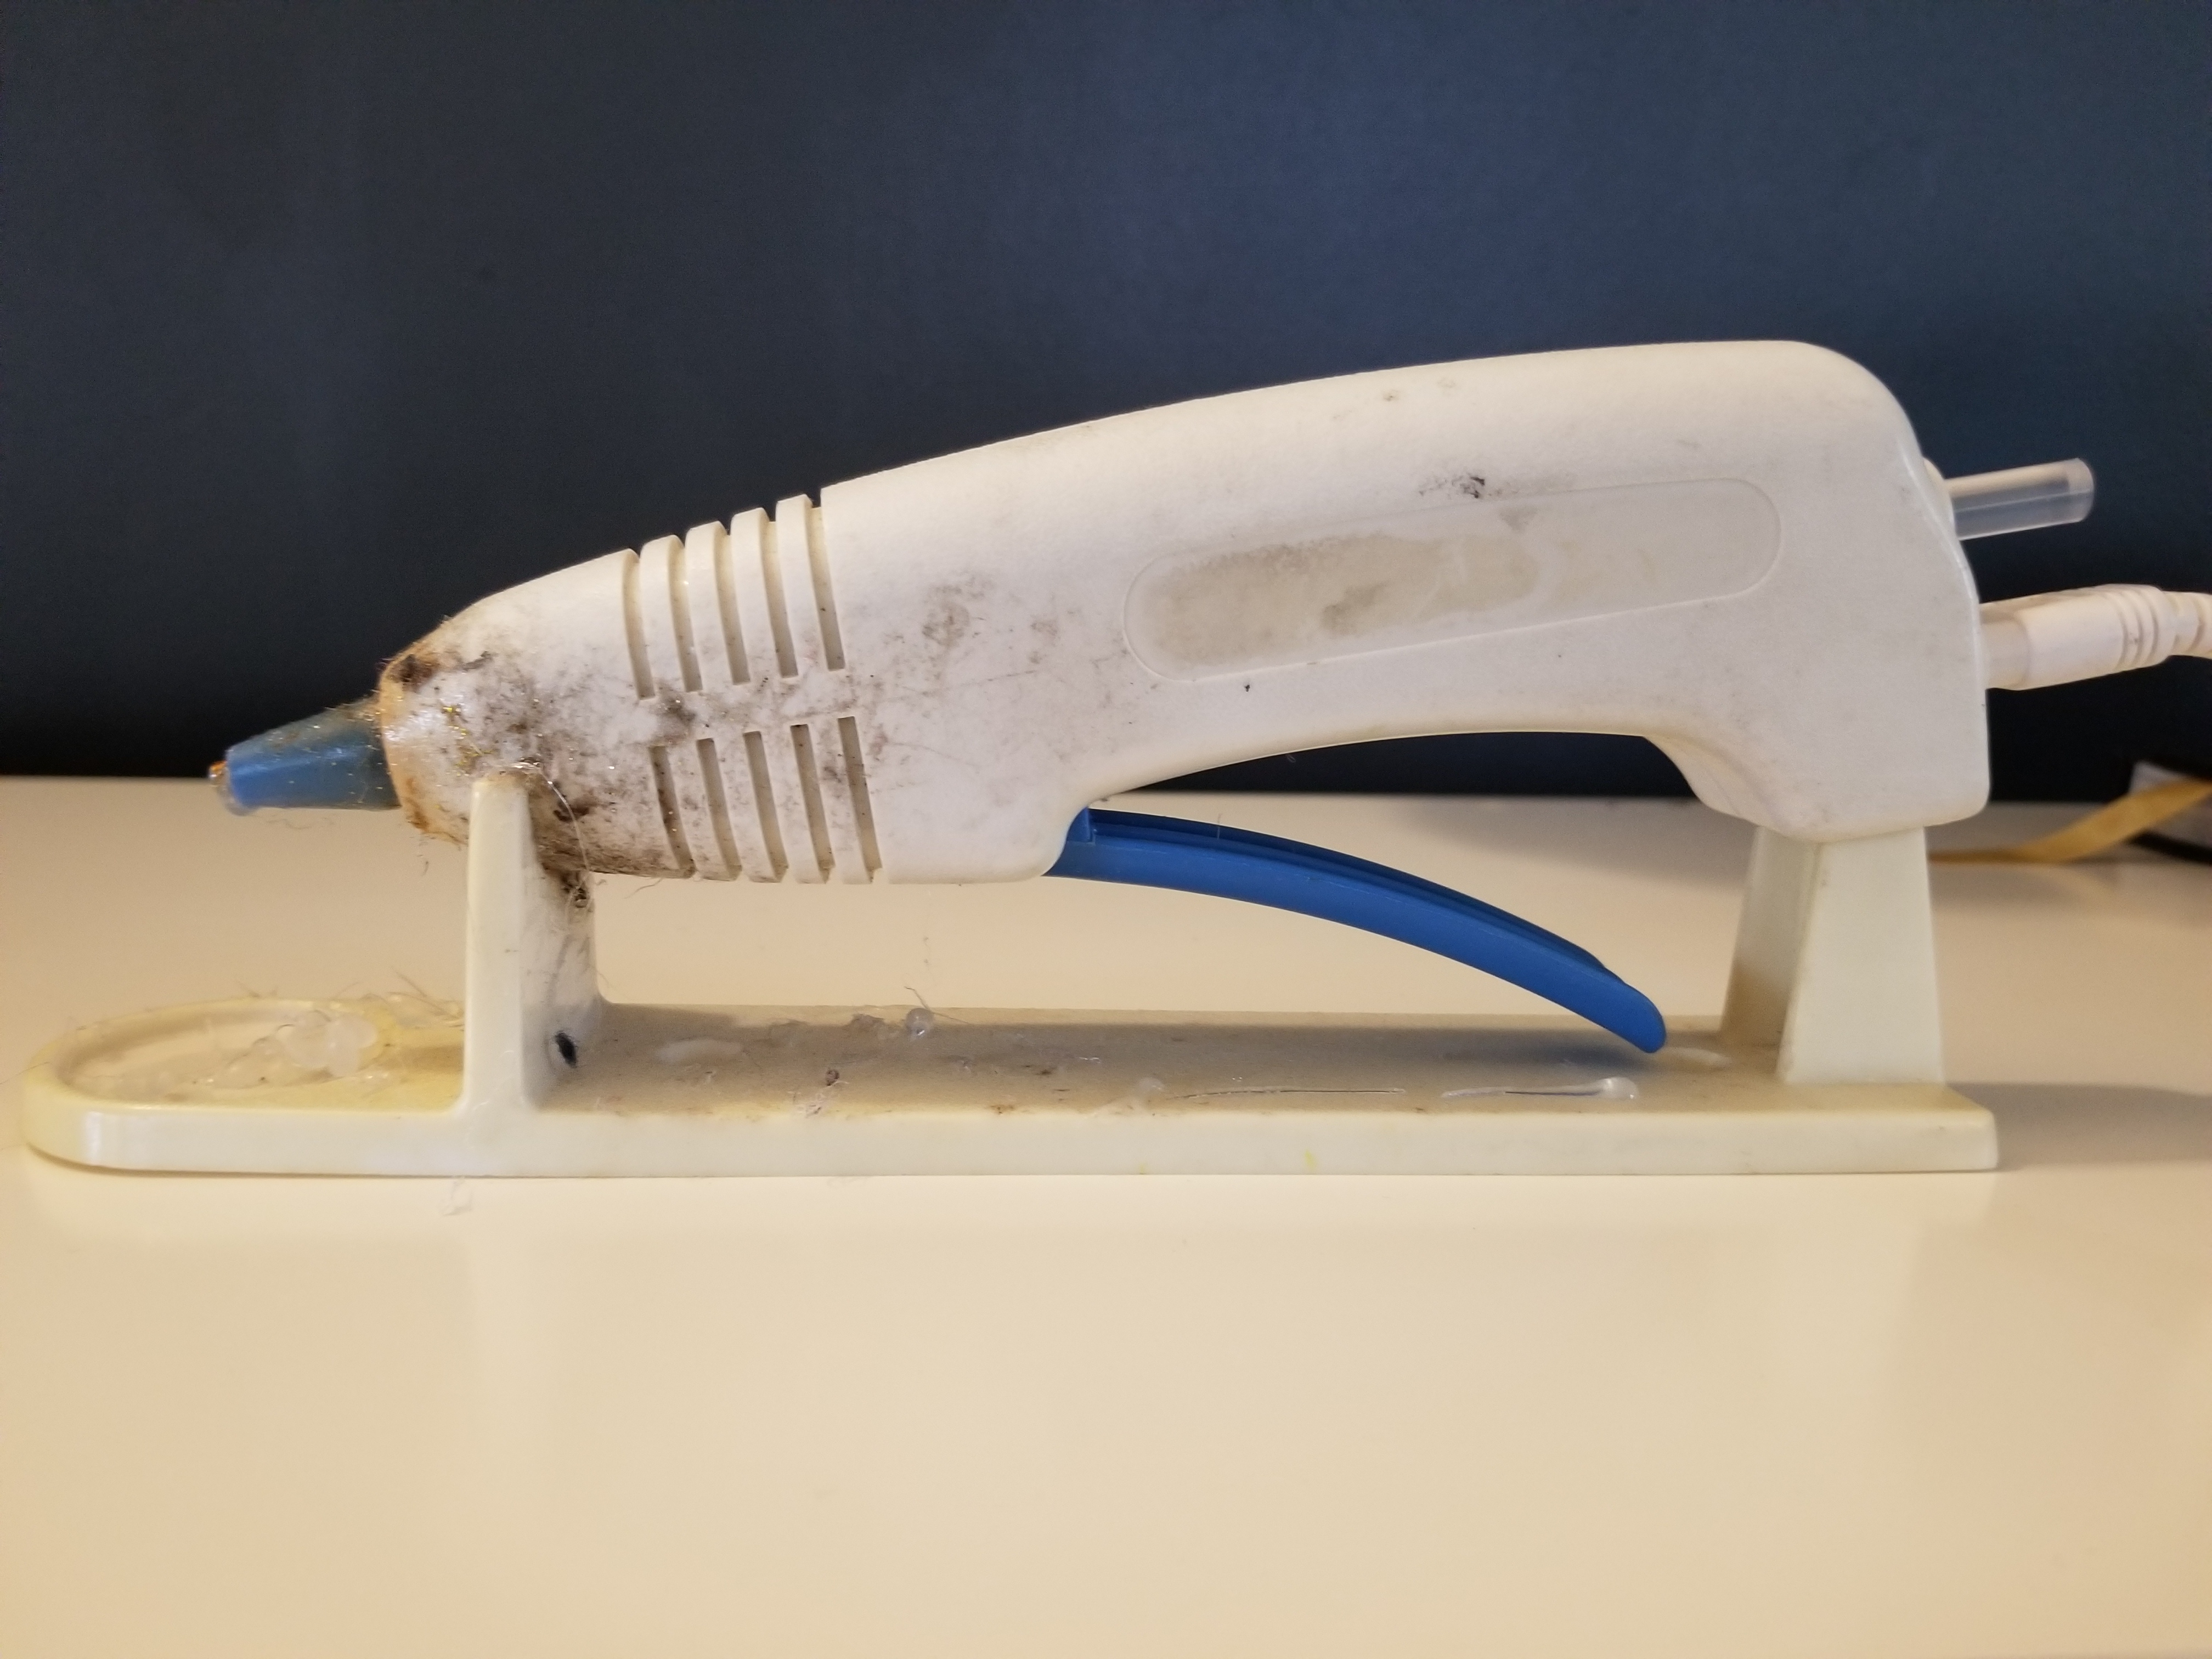
- glue gun
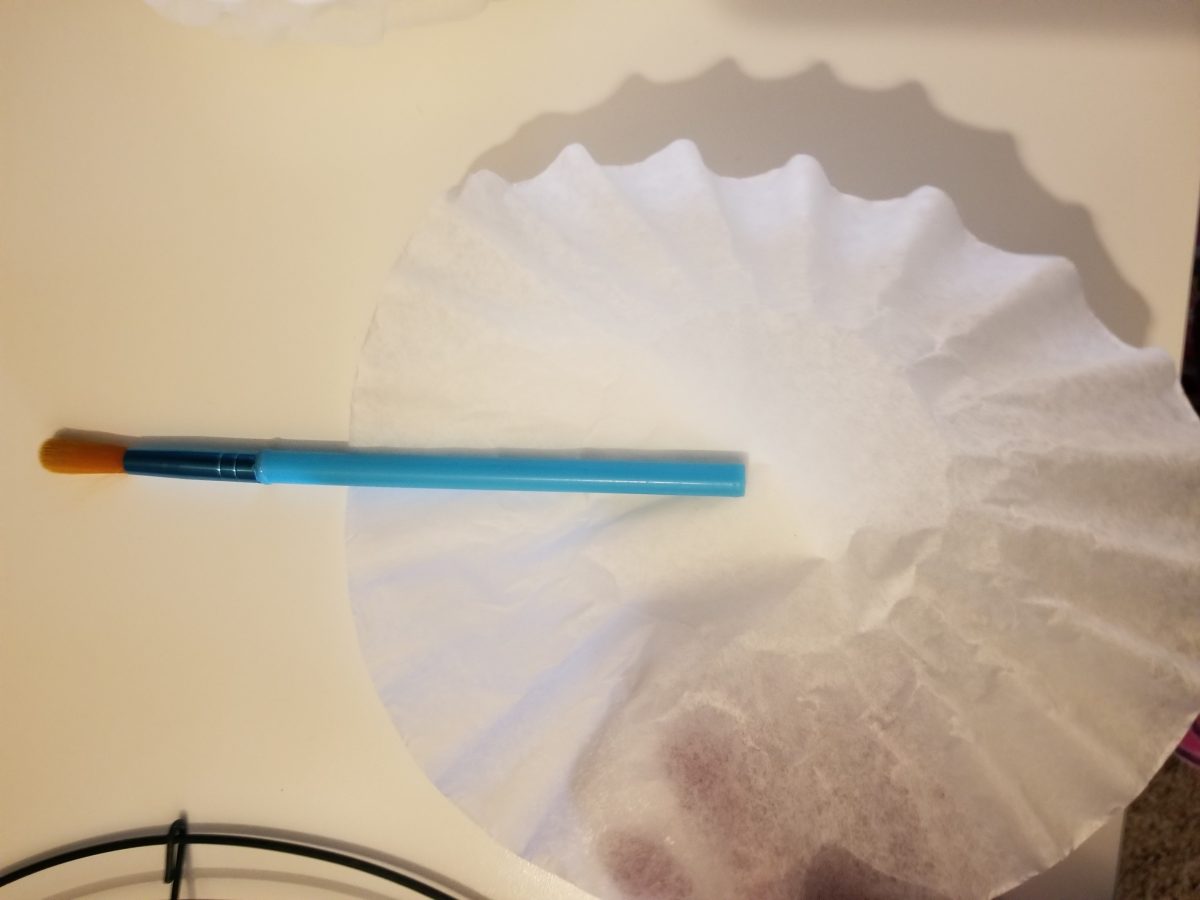
- paint brush, chopstick or pencil
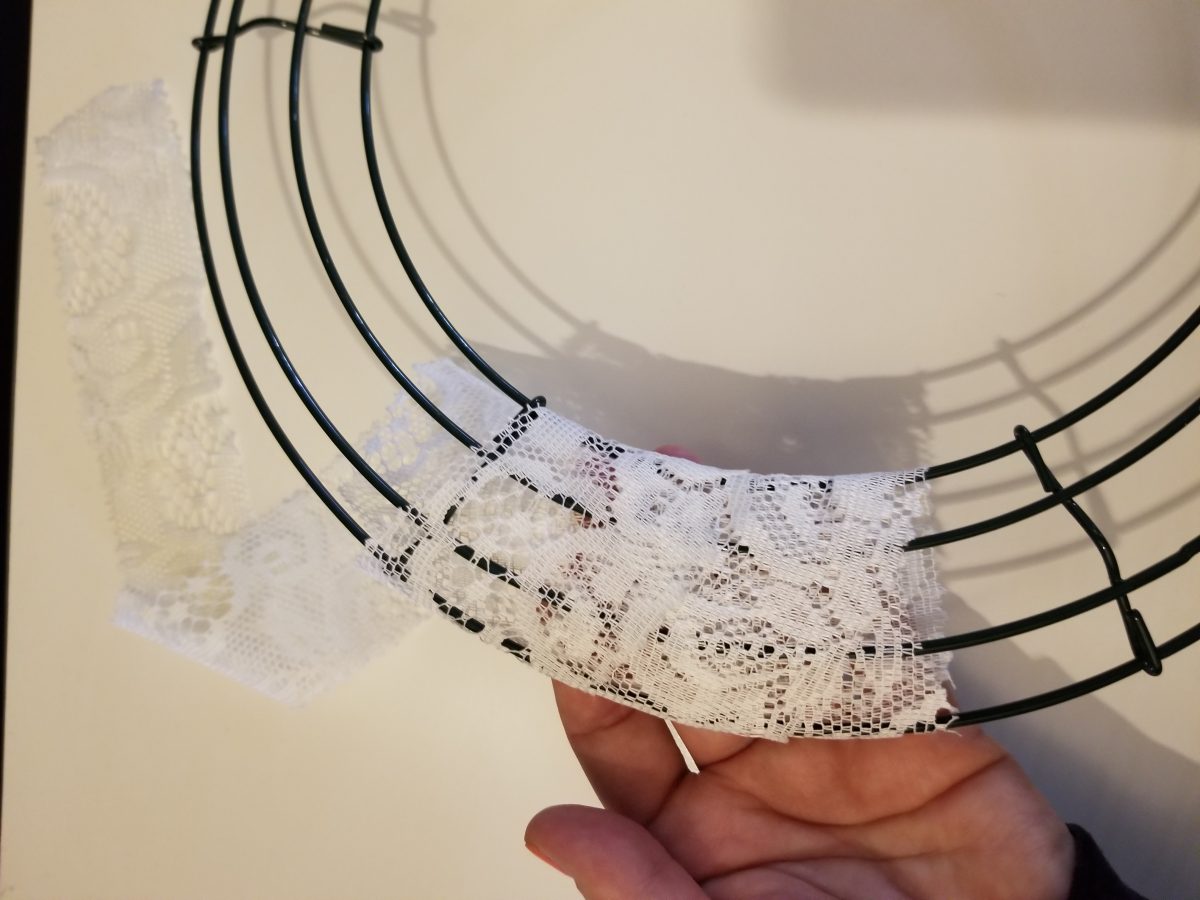
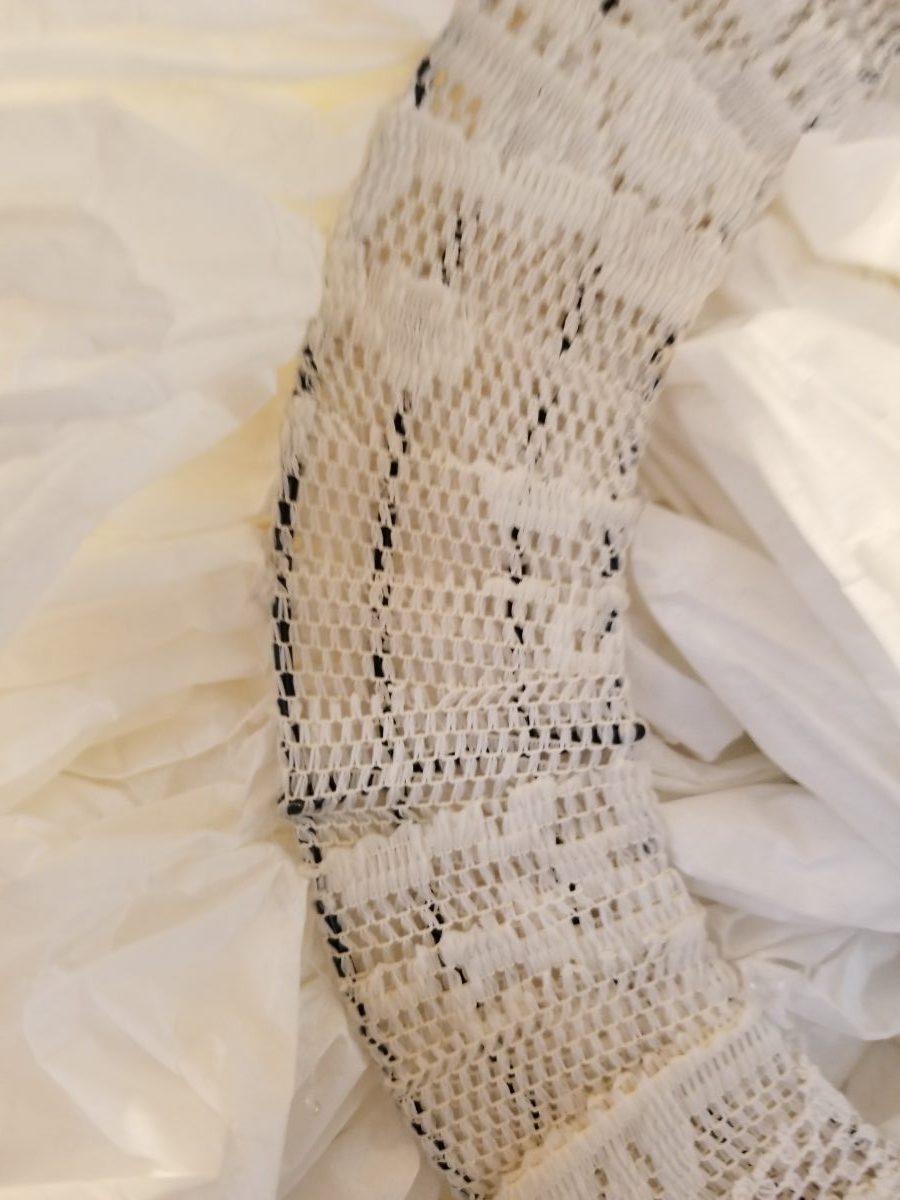
- basic wreath (if using a wire wreath like I did below, you’ll need fabric/lace to wrap around it)
- coffee filters
- burlap string
If you plan to dye your filters first you’ll need the following:
- paint
- a plastic cup to mix the paint in and spoon
- water
Step 1: Dye the coffee filters if you want a colored wreath
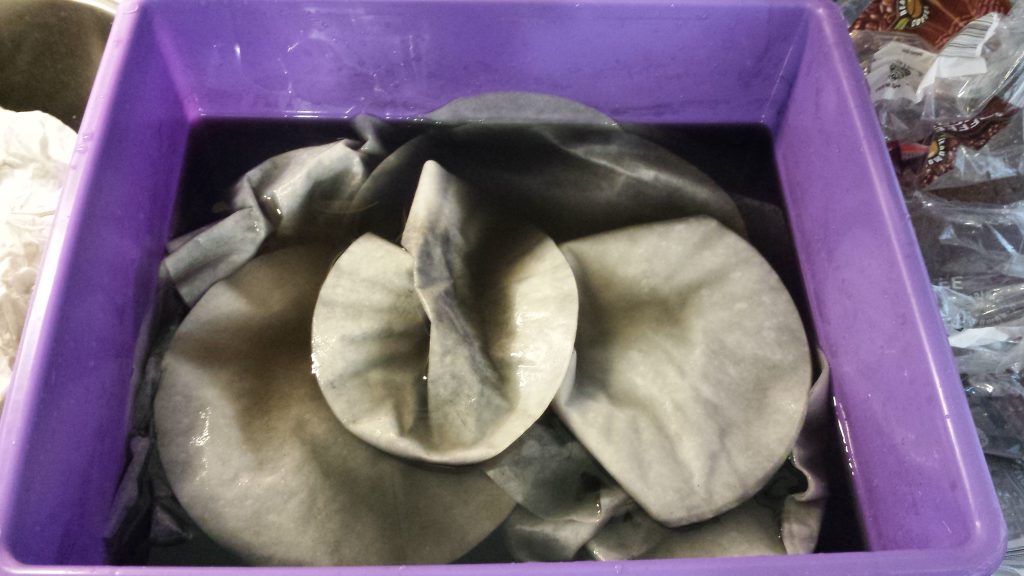
- Take your paint and squirt a bunch into a plastic cup & mix with a little water.
- Fill a plastic bin or a bucket with a little water and pour in pre-mixed cup full of paint/water mixture & stir it around.
- Grab the coffee filters and submerge a stack. Then separate one by one and swirl around in the water so each covered. Continue until all the filters are wet and dyed. You shouldn’t need to keep them in the water long — they just need a quick dip.
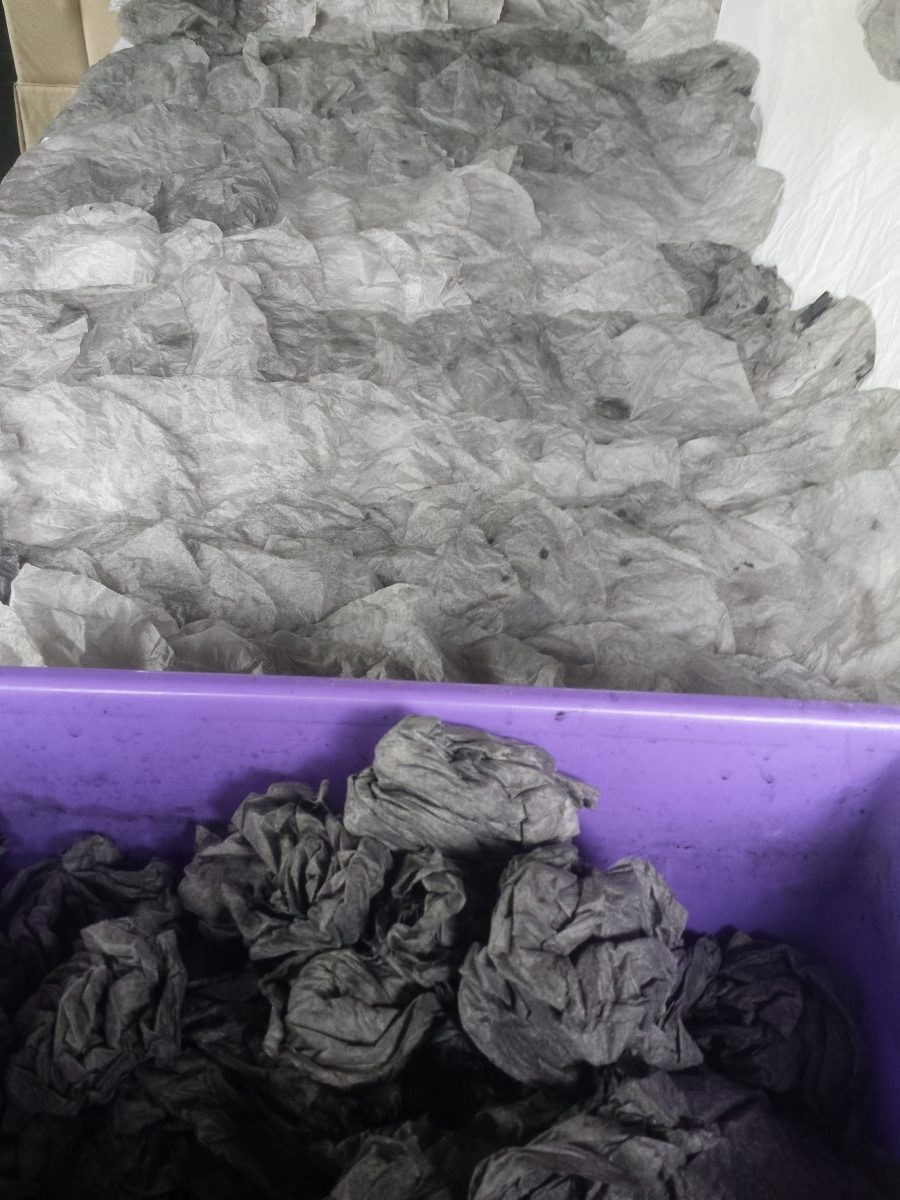
- Wring the filters out one by one and place in a bin.
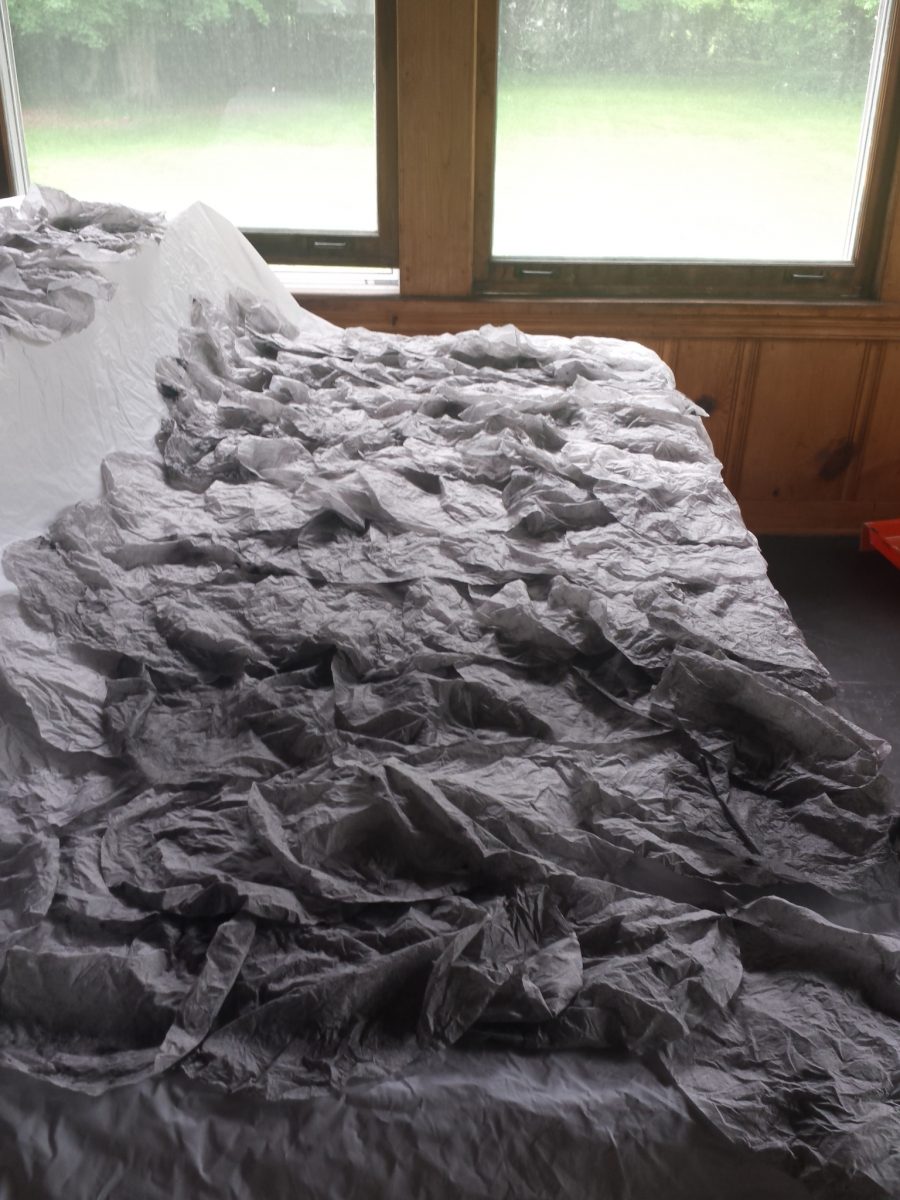
- Cover a large surface with wax paper and lay each filter out flat to dry. They can overlap slightly as long as you wrung them out completely.
- Let dry overnight or for a day. They are ready to use once they’re dry.
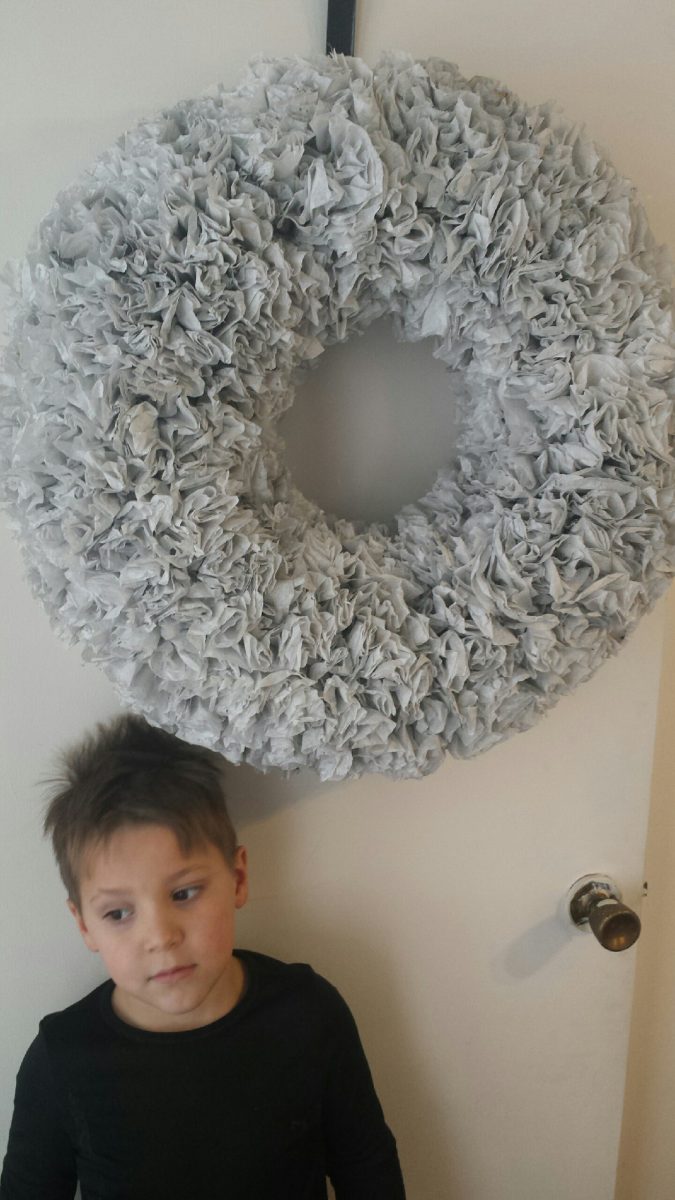
- I used black paint to dye the wreath below light gray. It’s hard to get a strong color, unless you use a lot of paint and just a little water.
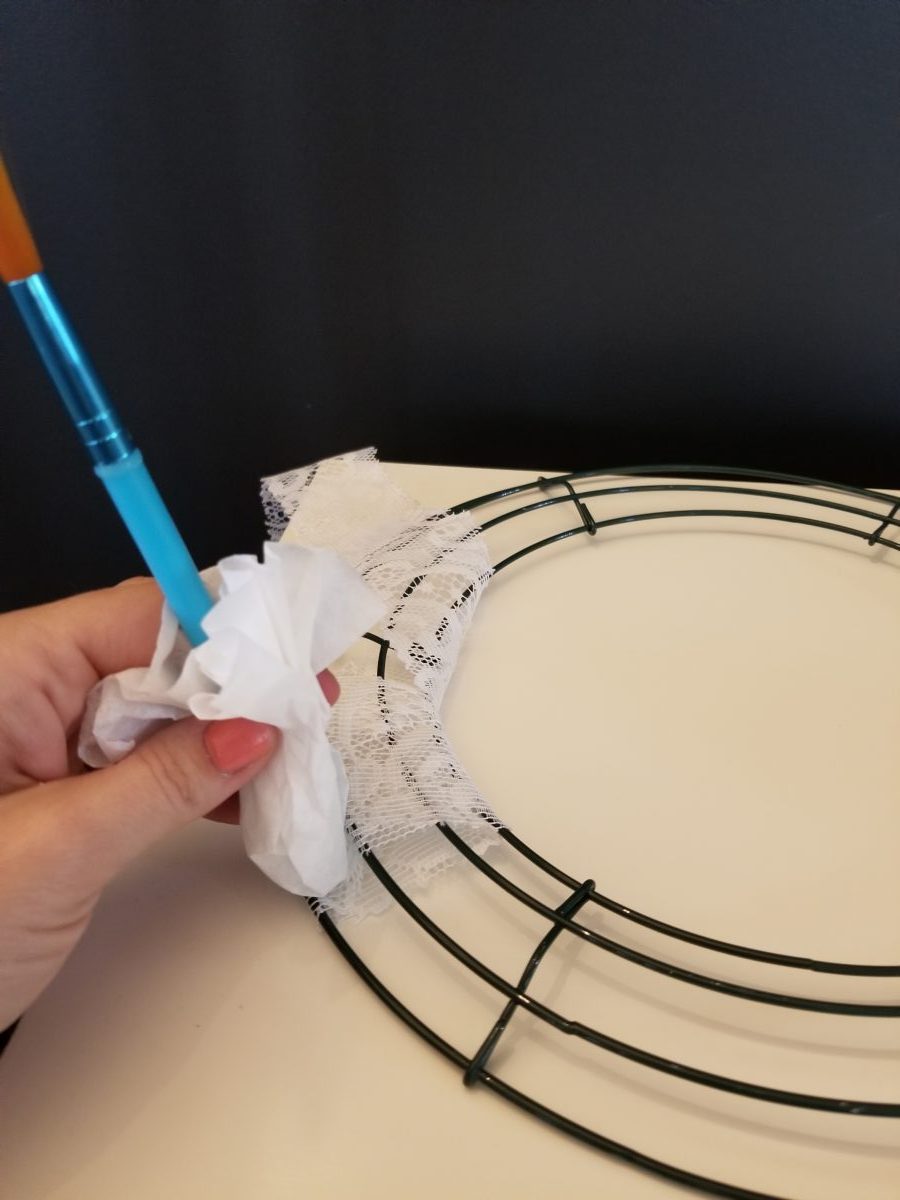
Step 2: Wrap your wreath with fabric if it’s a wire one.
- Start by gluing the fabric (lace is what I used) to the wire, then start wrapping. Glue at the very end to complete the wrap.
Step 3: Add a String to Hang it
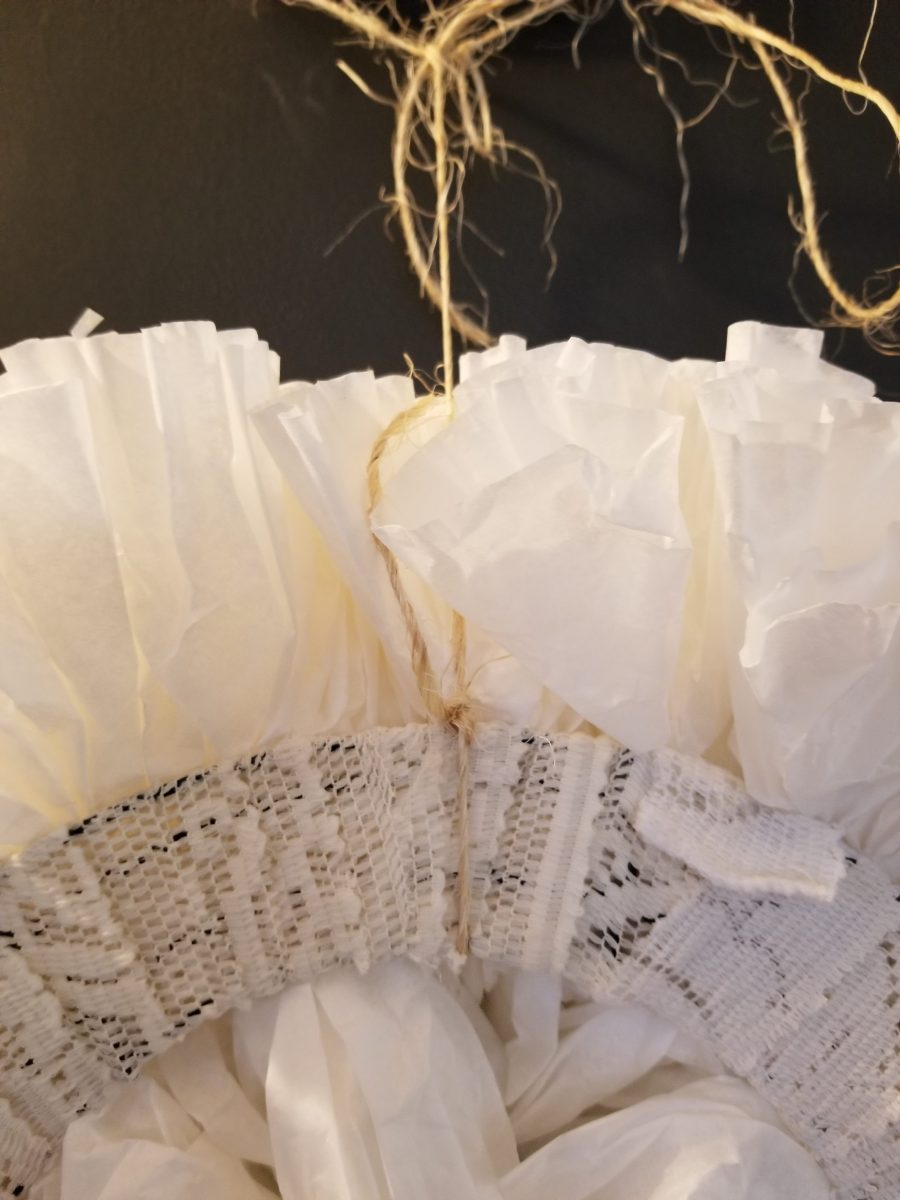
- Cut a long piece of burlap string and tie it to the wreath. This will be what you hang it with later, so extra length is helpful. It’s also nice to have the string attached at the beginning so you can hang the wreath after a day’s work (it may take more than one day to make the wreath, and being able to hang it in between keeps it from getting stepped on or smushed by your family!).
Step 3: Start Gluing the Filters
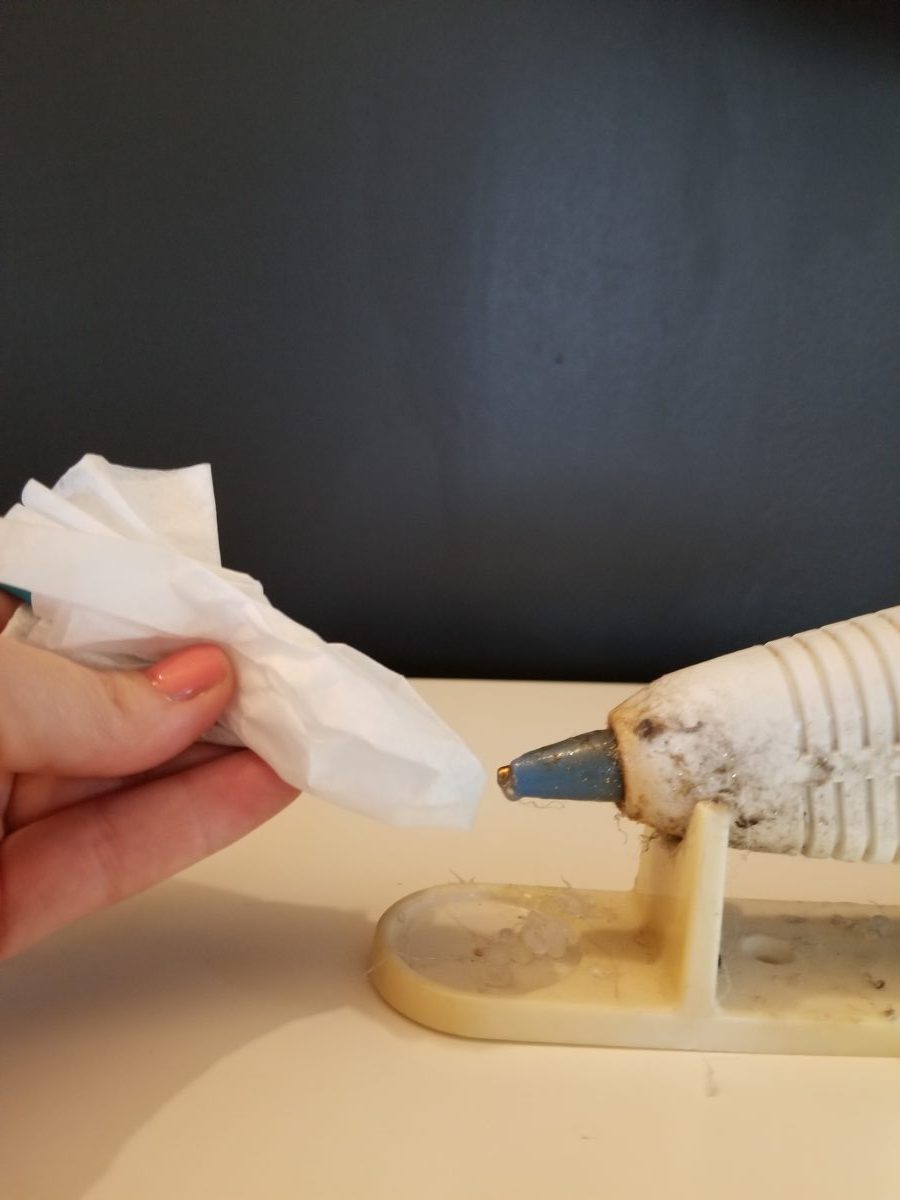
- Grab your glue gun (hopefully it looks better than mine) and get it all warmed up.
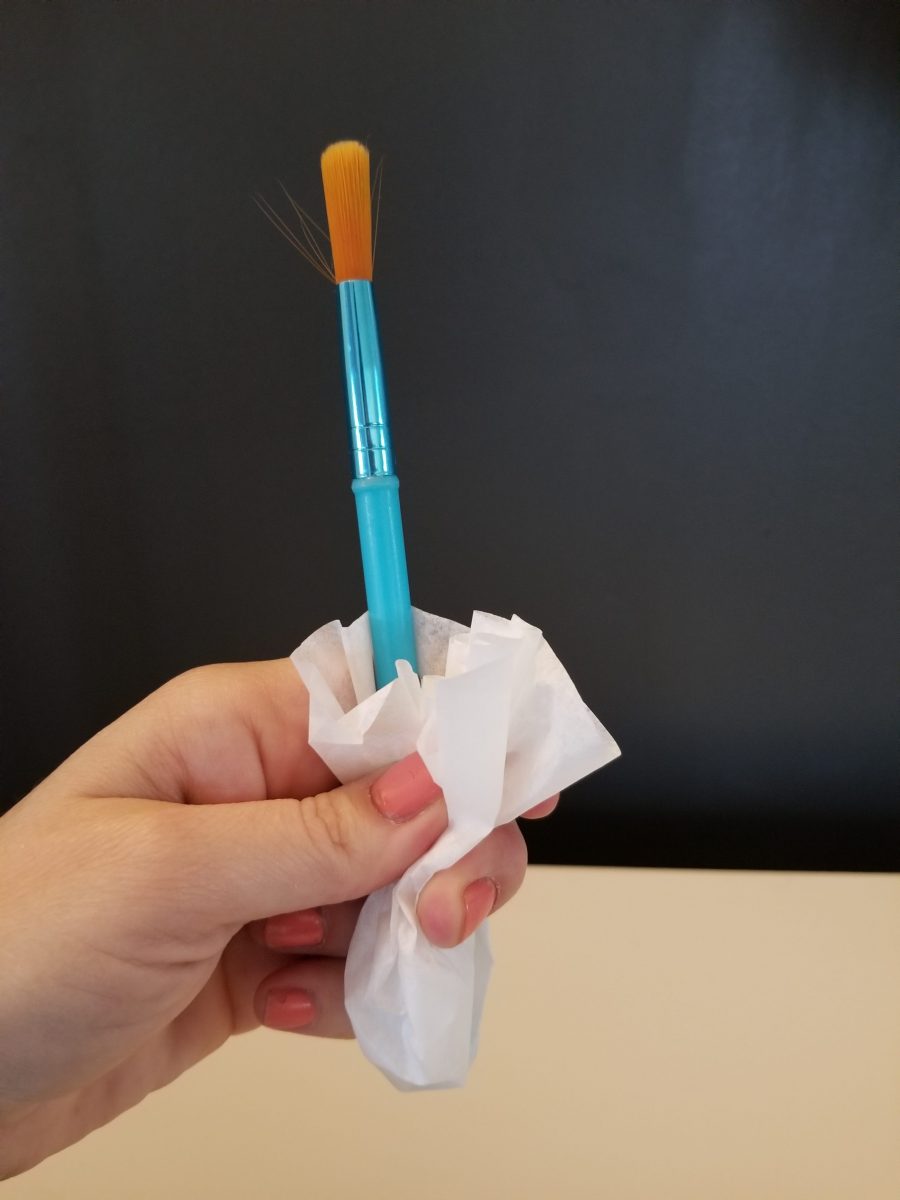
- Fold a tissue around the paintbrush or pencil and wrap it snug.
- Put a dab of glue on the folded end and then quickly press against the wreath substrate.
- Hold in place for a second and then repeat — over and over and over!
- Make sure you place each filter as close as you can to the ones already glued in place (keep it snug!). This makes for a fuller wreath.
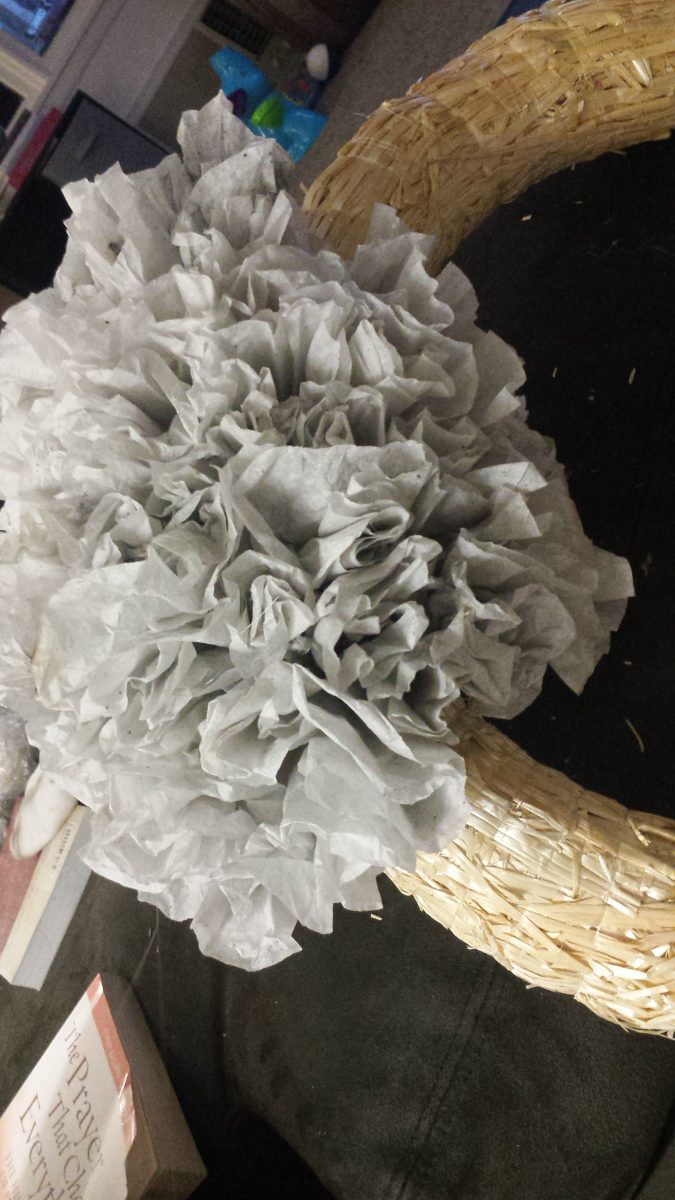
This image is from the gray wreath I made using a straw wreath.
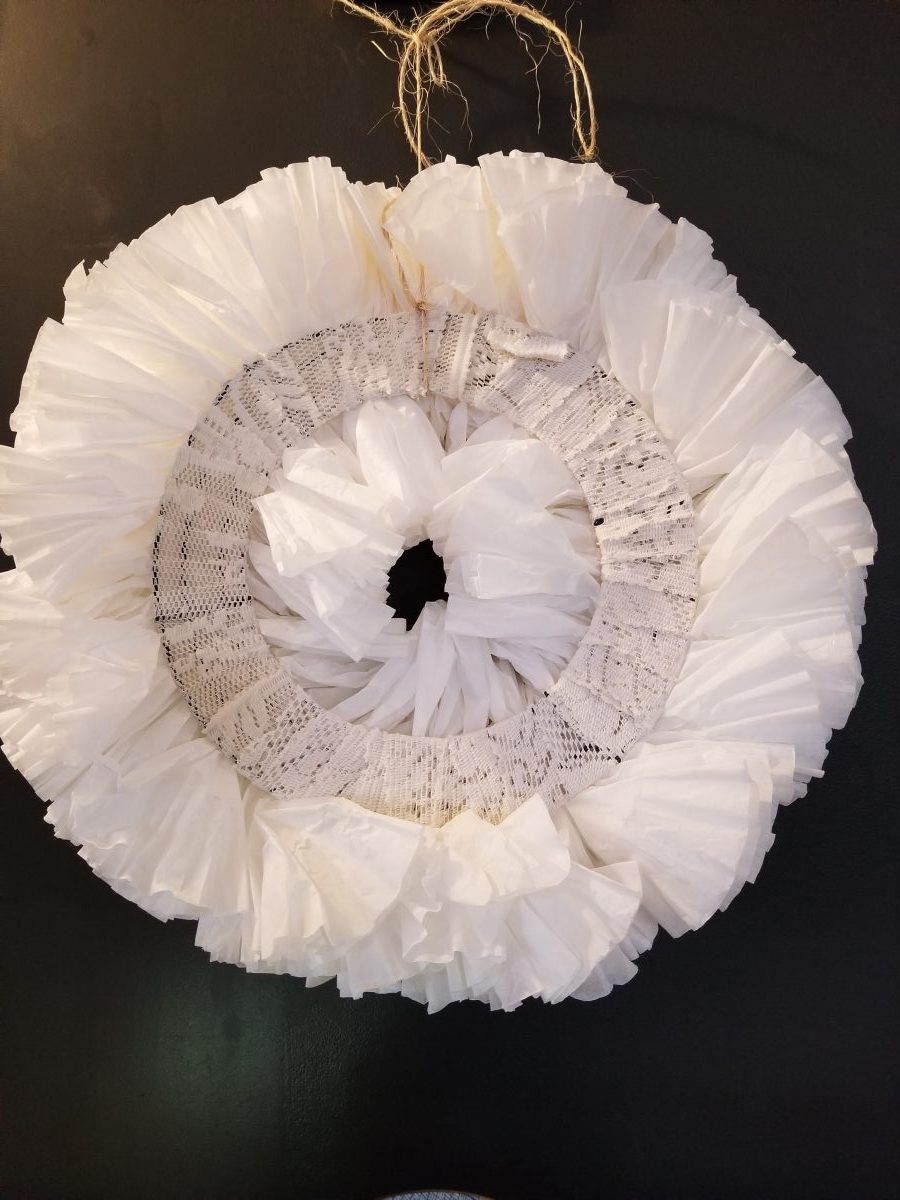
This is the back of the lace wreath. I only add the tissues to one side of the wreath and stop at the edges. This allows it to lay flat against the wall when it’s hung.
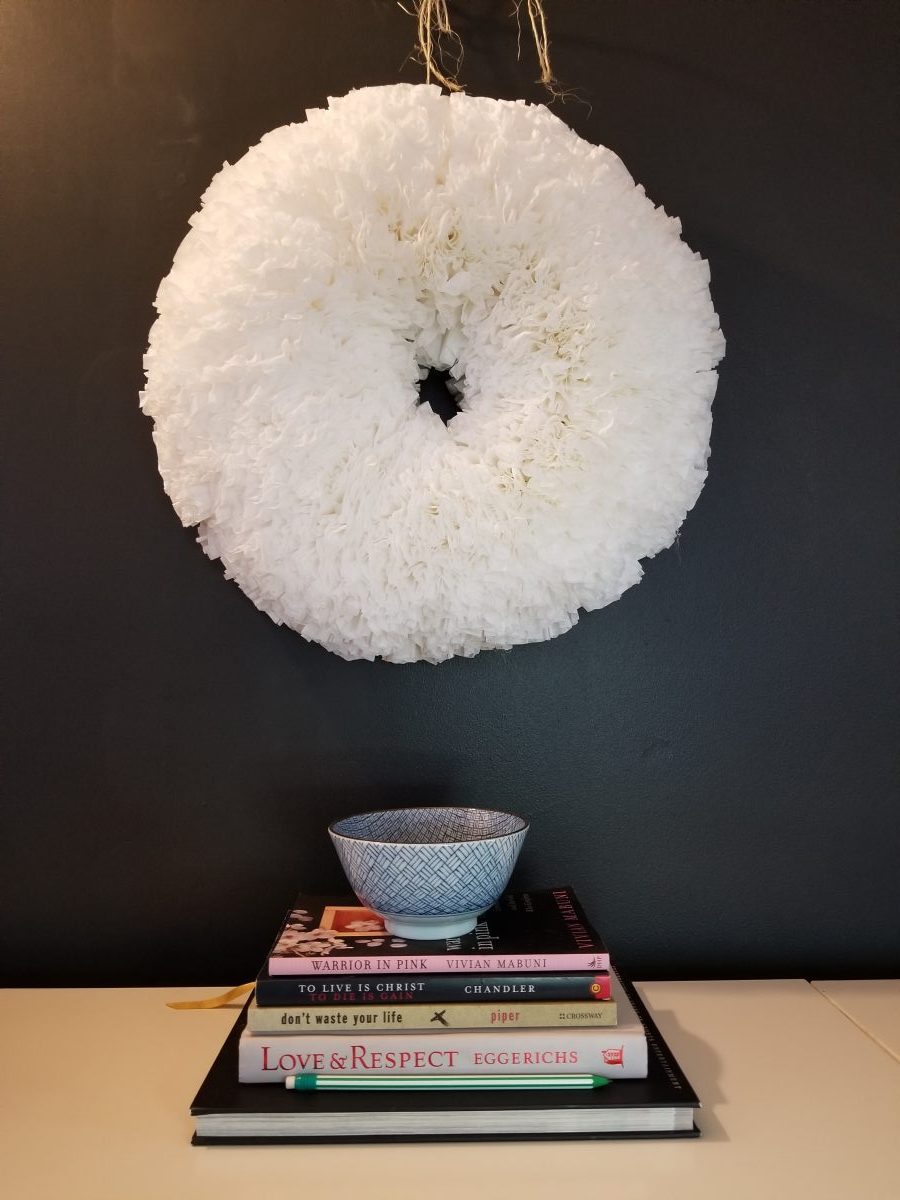
Finished Wreath
Dyed wreath
{ you can listen here or thru the player below ↓↓↓ }
Podcast: Play in new window | Download
Subscribe: Apple Podcasts | Google Podcasts | Email
New episodes every Tuesday!
All you have to do is SUBSCRIBE and automatically get new episodes on your podcast app! To subscribe:
- iphone/iTunes users, just click here
- Android users, click here to subscribe (and listen using podcast app like Podcast Addict or Podbean)
FOLLOW us on social media for weekly updates! Instagram // Facebook
And we would love it if you would comment or share this episode or our podcast!
