This week Lyndsye shares what she’s been learning about being seated with Christ. We talk about what that looks like for us as brothers and sisters in Christ, and the freedom that comes from realizing there’s a seat at the table for each of us, that we’re worthy of it, and we don’t have to strive to attain it.
We also chat about our Giving Keys and share a little of the stories behind how Spirit moved in us to pass them on.
And the design chat portion is all about Dannette’s farmhouse kitchen facelift. She shares before and after photos and some creative ways to beautify your space on the cheap.
As always, make sure to follow us on insta @lynfelsman @dannettegora @bydesignpodcast. And if you’re enjoying our podcasts, we’d love for you to hear from you! You can email us at info@bydesignpodcast.com or go all out and leave us a review on iTunes. 🙂
xo,
Lyn & Dannette
{ you can listen here or thru the player below ↓↓↓ }
Podcast: Play in new window | Download
Subscribe: Apple Podcasts | Google Podcasts | Email
LINKS & THINGS WE TALKED ABOUT
Follow us on Pinterest for easy links to everything we share each episode…
{by design} pinterest board: https://www.pinterest.com/bydesignpodcast/
Seated with Christ – by Heather Holleman
“And God raised us up with Christ and seated us with him in the heavenly realms in Christ Jesus” Ephesians 2:6
“When he had received the drink, Jesus said, ‘It is finished.’ With that, he bowed his head and gave up his spirit.” John 19:30
“But when this priest had offered for all time one sacrifice for sins, he sat down at the right hand of God…” Hebrews 10:13
Design details:
- cabinet paint color: Sherwin Williams – Window Pane SW6210
- wall paint color: Sherwin Williams – Agreeable Gray 7029
- trim and wainscot paint color: Sherwin Williams – Incredible White SW7028
- entry door color: Sherwin Williams – Naval SW6244
- light fixture – metal bulb guards from Menards
- rug – Threshold Multi-colored Runner
- magnetic knife rail from Walmart
DESIGN CHAT: Dannette’s Farmhouse Kitchen Face Lift
A few years ago we bought our own little fixer upper farmhouse. And I had big dreams for a BIG kitchen. But life happened, and my hubby got very ill, very fast, and our circumstances changed overnight. Because of that, we haven’t been able to do any of my big renovation plans (and oh, there are plenty). Over the course of the last 18 months though, I’ve done what I could to make the best of our mini farmhouse kitchen, and I’m excited to share what can be accomplished with very little money and a LOT of elbow grease 🙂
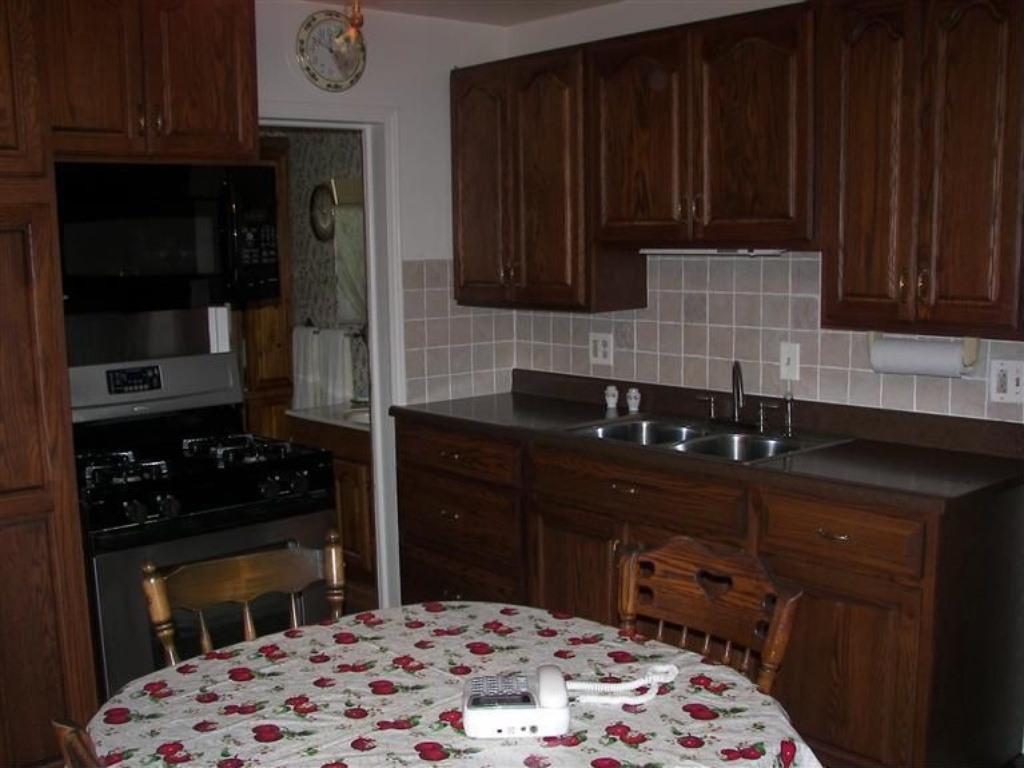
So my kitchen is small… like closet small. And it came with dark cabinets, dark appliances, dark countertops, and a dark wood wainscot. Whew. It looked and felt heavy. Too heavy for this gal. Not to mention, this little room is also our foyer, our dining room, and you have to walk right thru it to get to the main bathroom and the laundry room! It’s the smallest room in the house and gets the most foot traffic. !
Since we weren’t able to renovate, I needed to at least FEEL like there was space (even if there wasn’t). So I PAINTED. Not a big surprise if you know me at all. But it happened on a whim, as most of the decorating does around here. I’m guessing I made the decision to paint during the bewitching hour, which I also like to call “making dinner”. There were (and still are) a lot of kitchen traffic jams that involve the “cook” being bumped and cramped and spilled on while trying to cook dinner. Not a good combo for a tired momma just trying to get dinner on the table. So hence, the need for a facelift that would make the room feel spacious.
Our kitchen before. Very dark. Very country. Very not me.
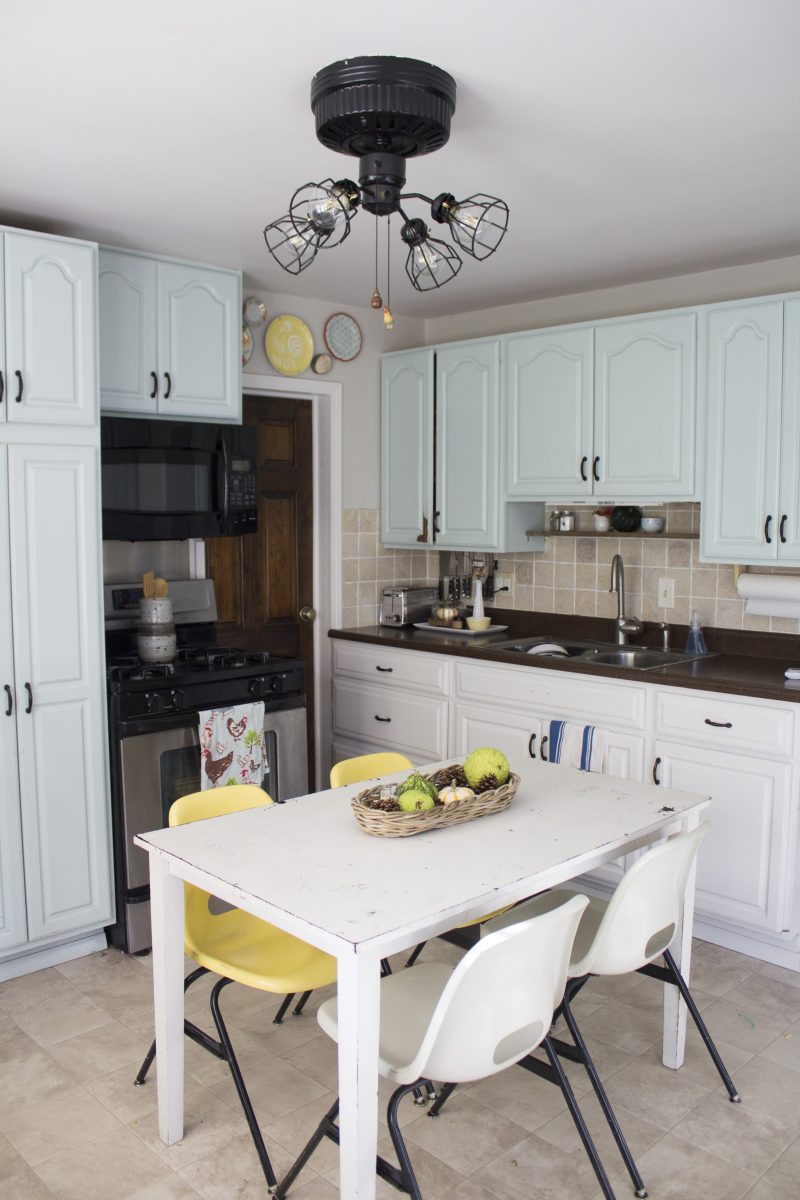
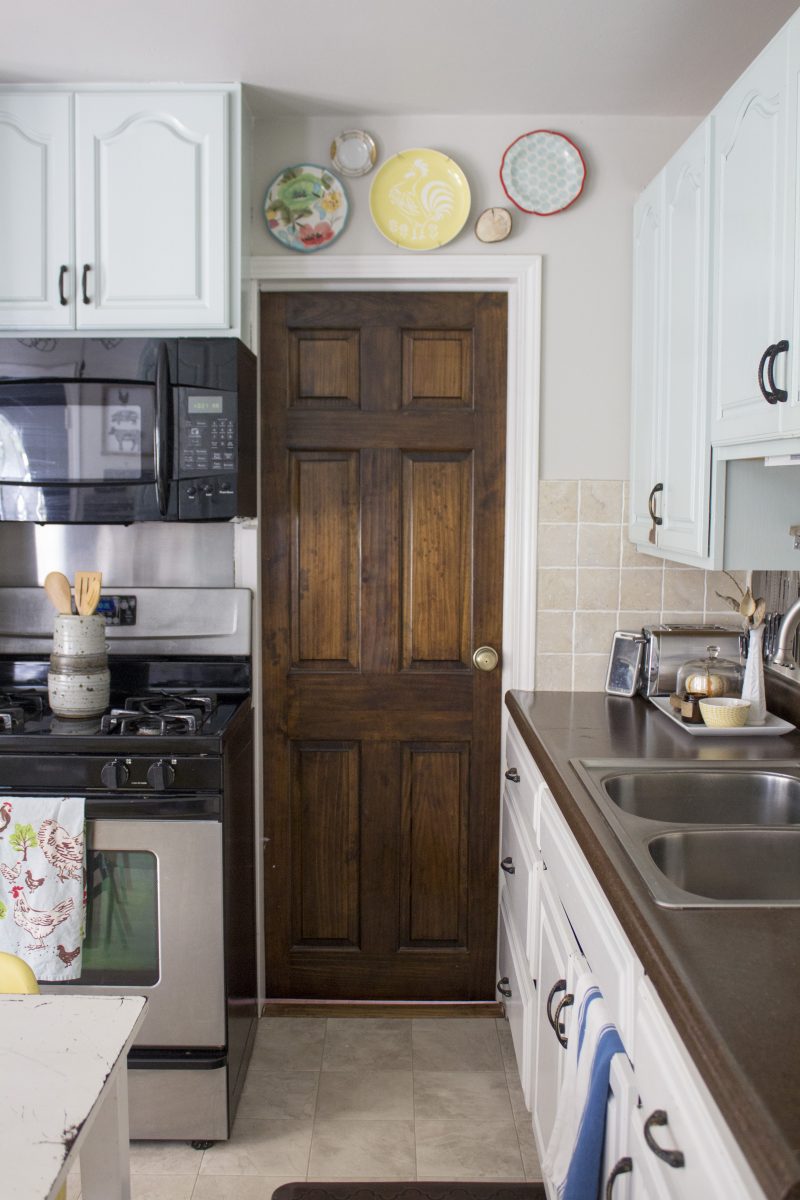
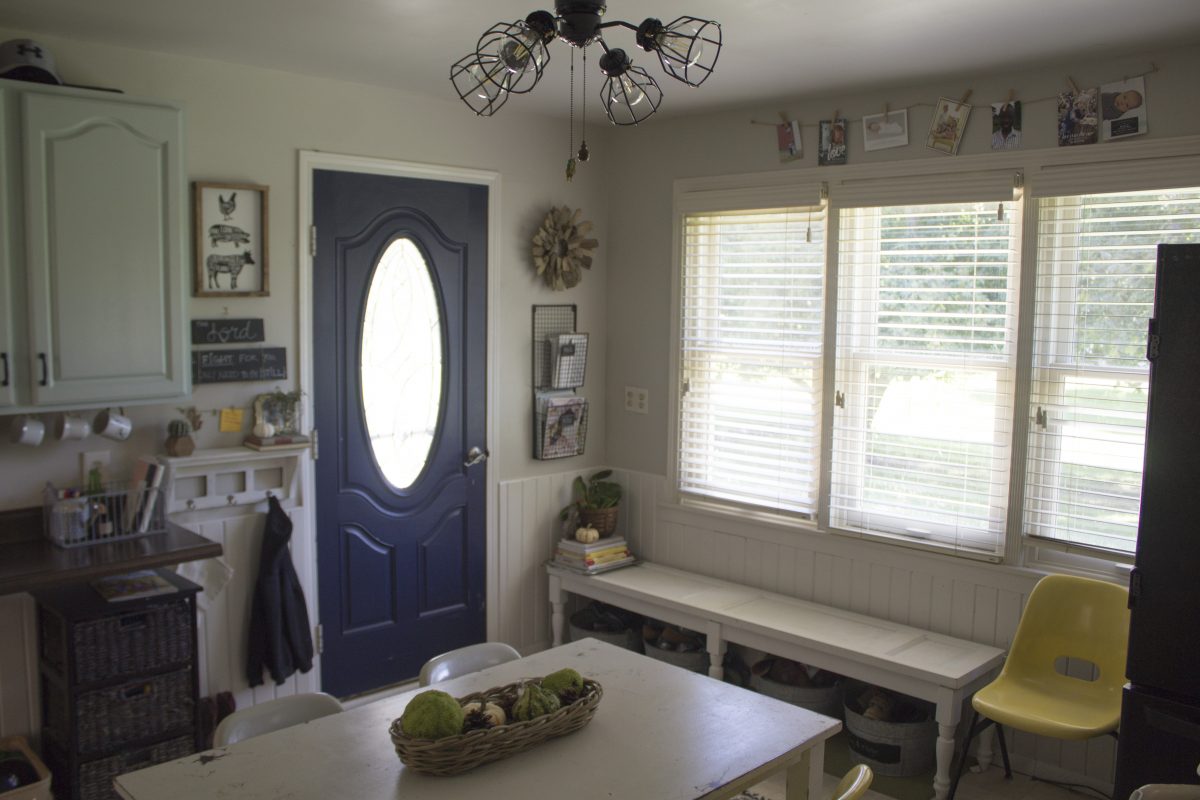
So I opted for light and airy. Here’s my kitchen now. All we did was paint, really. And add a few pretty things.
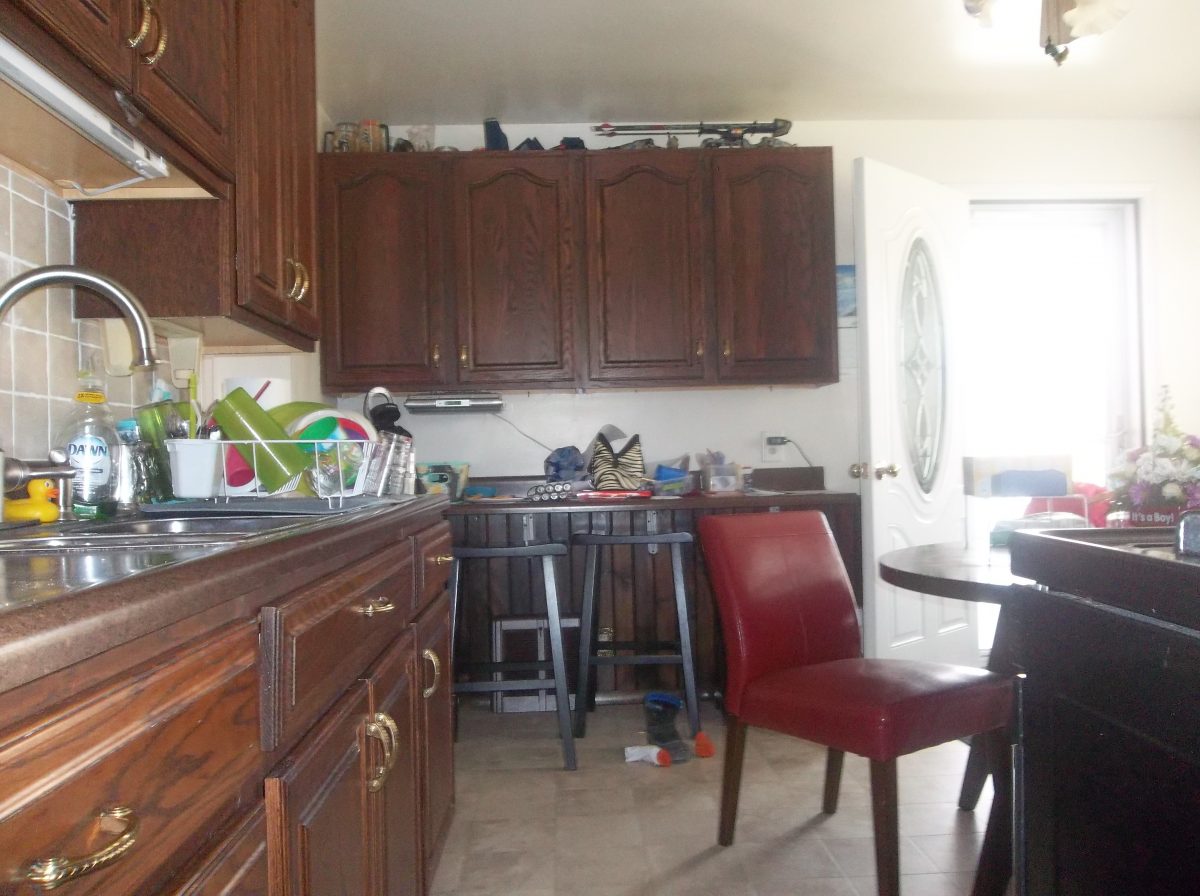
This was our kitchen right after we moved in. It’s a disaster, right? We didn’t have time to unpack or organize or anything really. We closed on our house and within a few weeks were living in the hospital because of Derek’s illness. Our house was unsightly, but during that point in time, nobody really cared. We were in survival mode and had much bigger worries than a tidy and pretty home. {looking back though, it makes me cringe!}
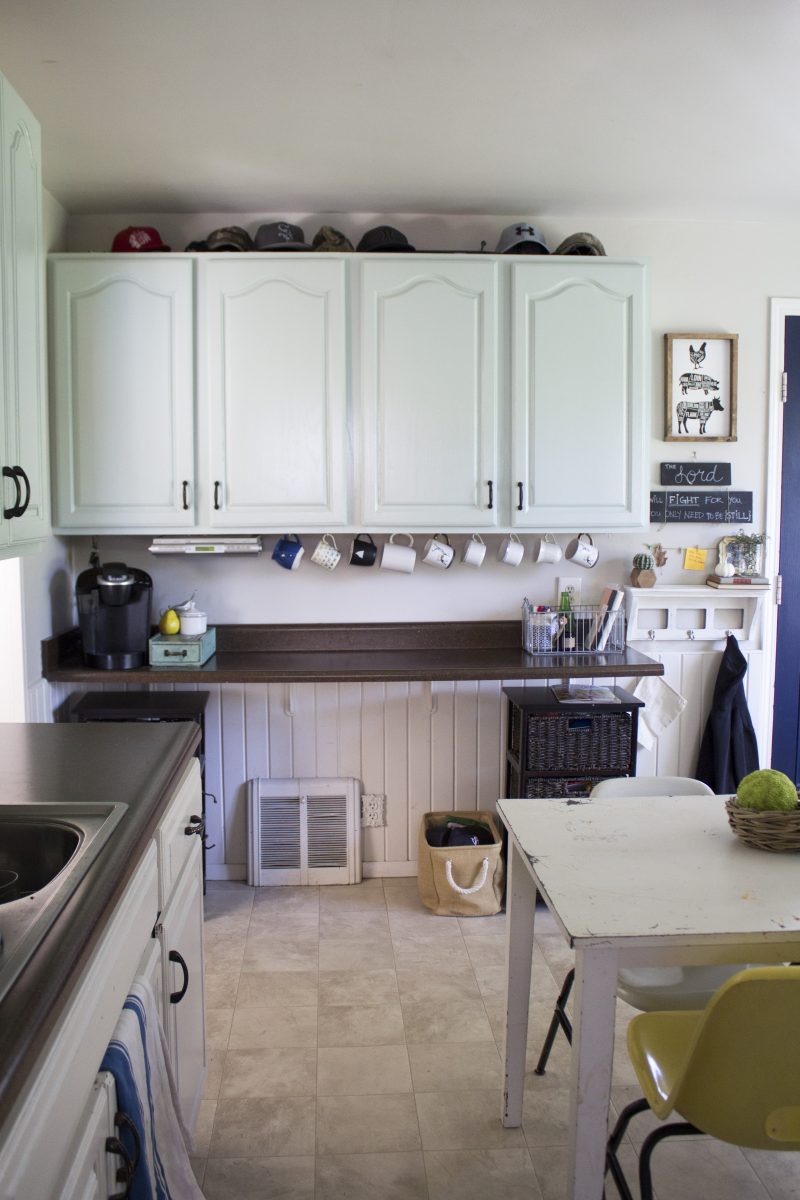
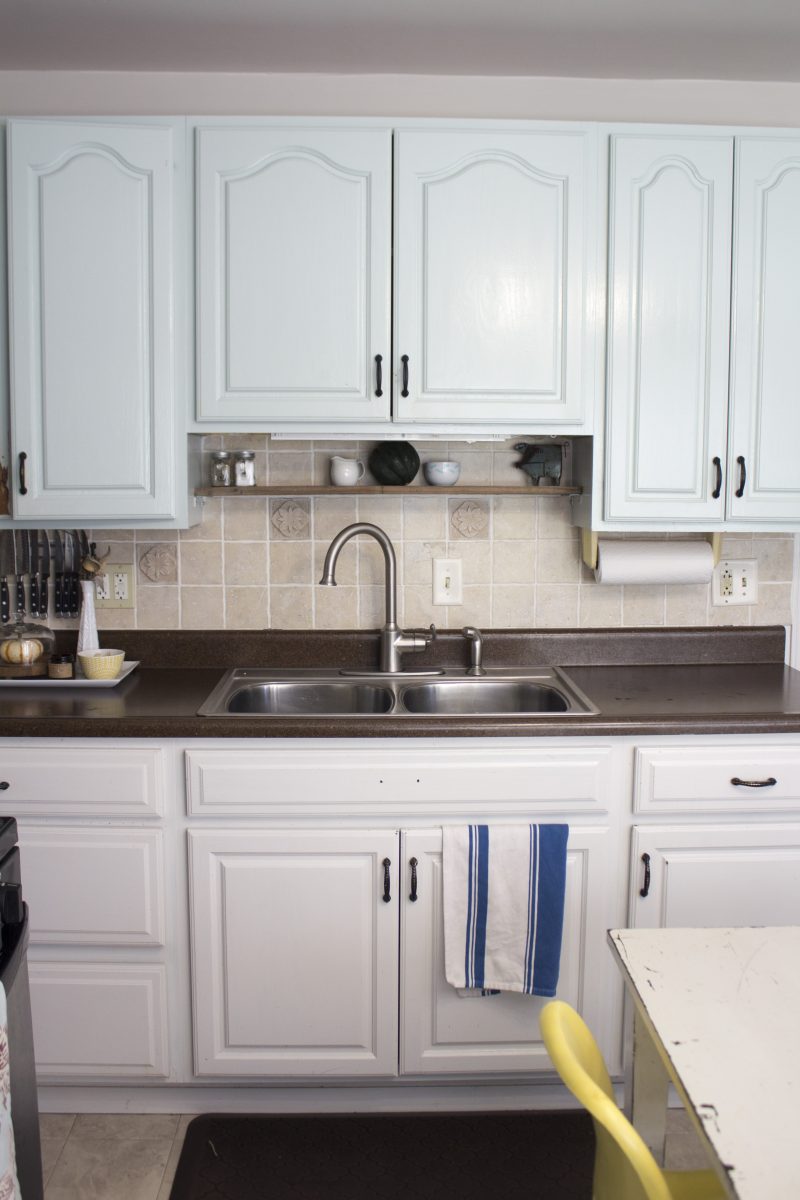
Once we were on our feet again though, we slowly started updating things.I painted the cabinets, the pulls, the walls, and the wood wainscot. We also added hooks for coffee cups. And yes, my hubby keeps his favorite hats above the cabinets. I didn’t even bother to arrange them for this photo. Honestly, I don’t think anything will make them look good! Let’s just say I pick my battles. And he can keep his goofy hats 😉
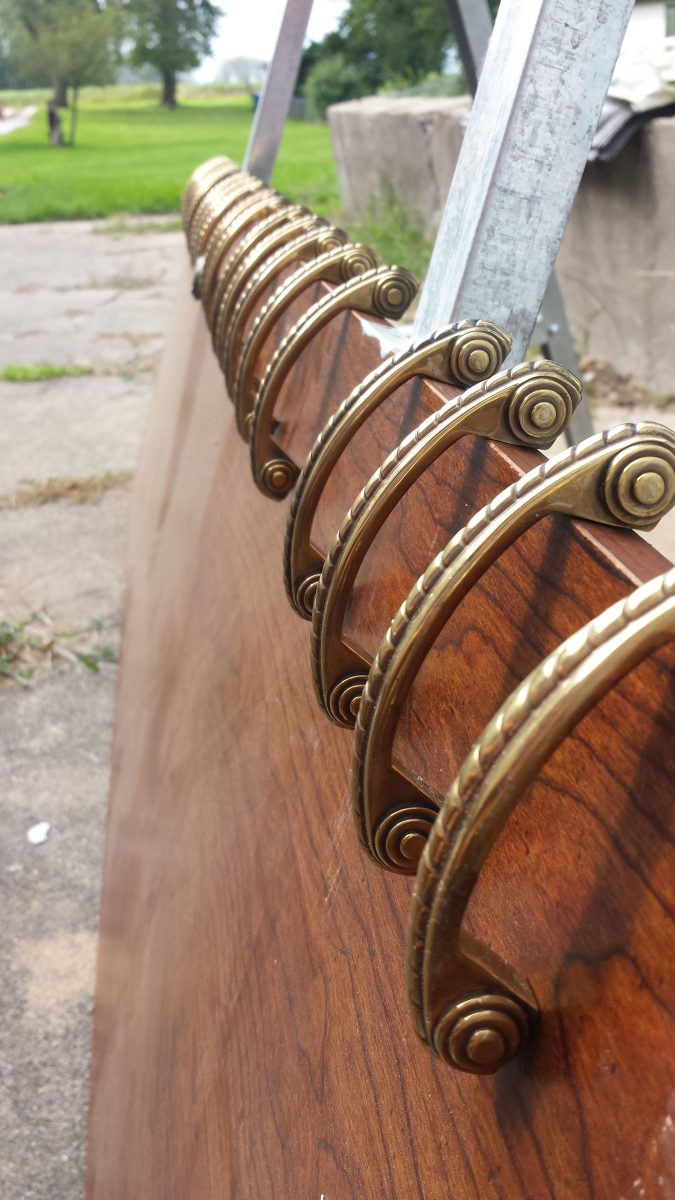
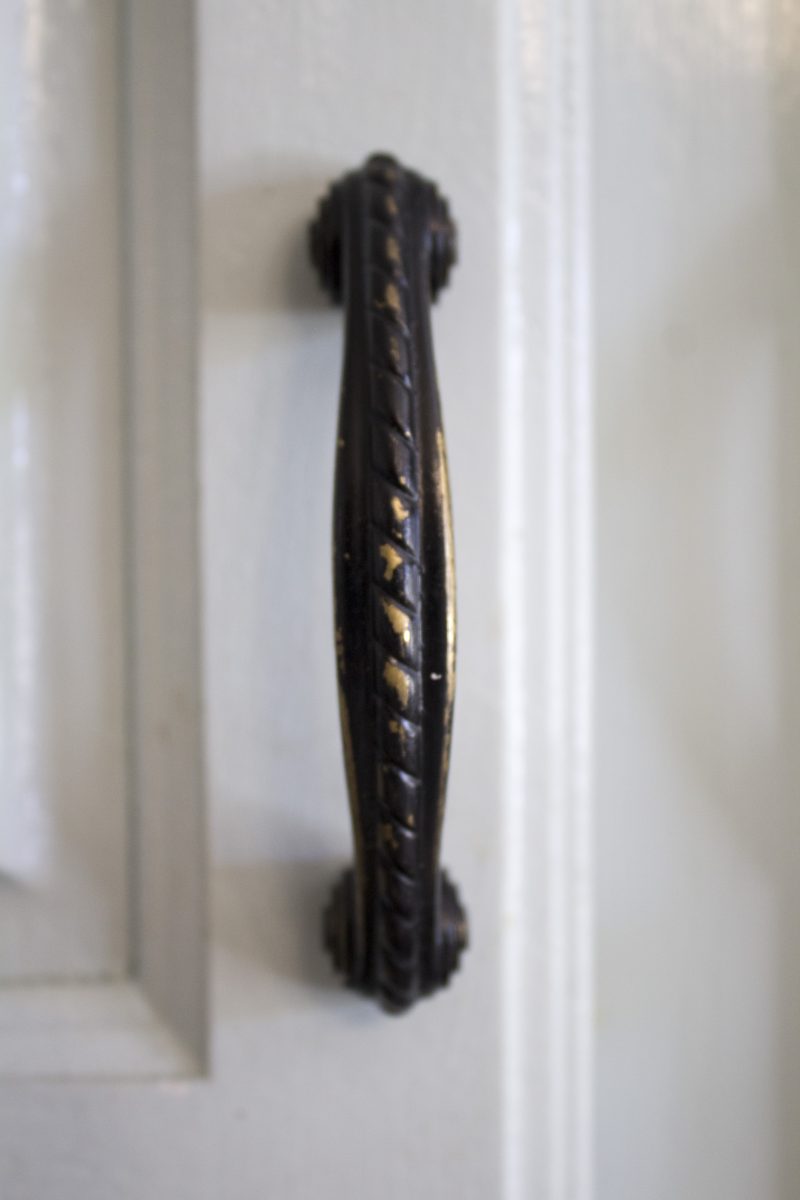
I also lined up all the existing cabinet pulls on an old piece of scrap wood and spray painted them black.
Then I sanded them lightly so the brass finish would show thru a bit.
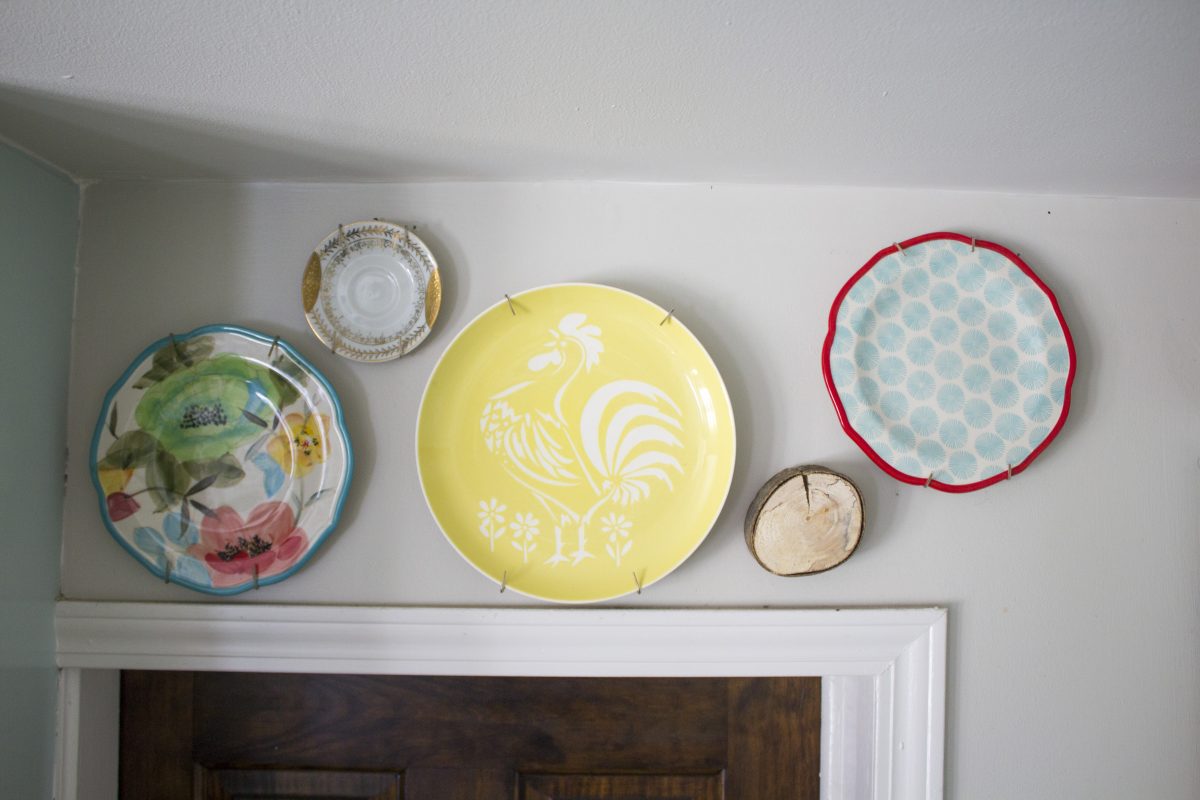
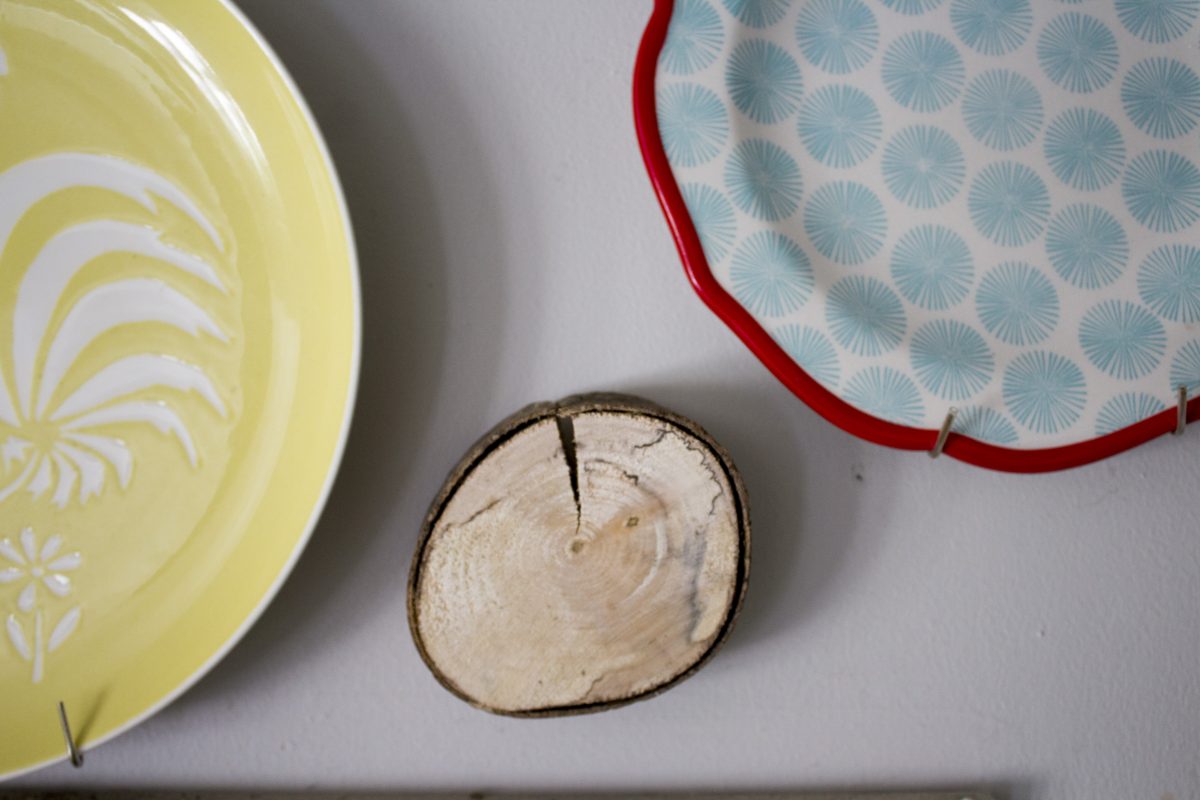
There isn’t much wall space in this kitchen so I did most of my decorating above the doors and windows. Two of the plates below are from Goodwill, two are from Walmart. And the chunk of wood is from outside, of course. I tend to use chunks of wood and twigs to fill in the gaps around here. It’s one of my design obsessions.
I also recently got a smaller toaster (great idea, mom!). Countertop space is at a minimum around here, and I’m enjoying the few extra inches more than I would 4 pieces of toast popping up at once. I even bought a magnetic knife rail from Walmart, which is also saving me counter space.
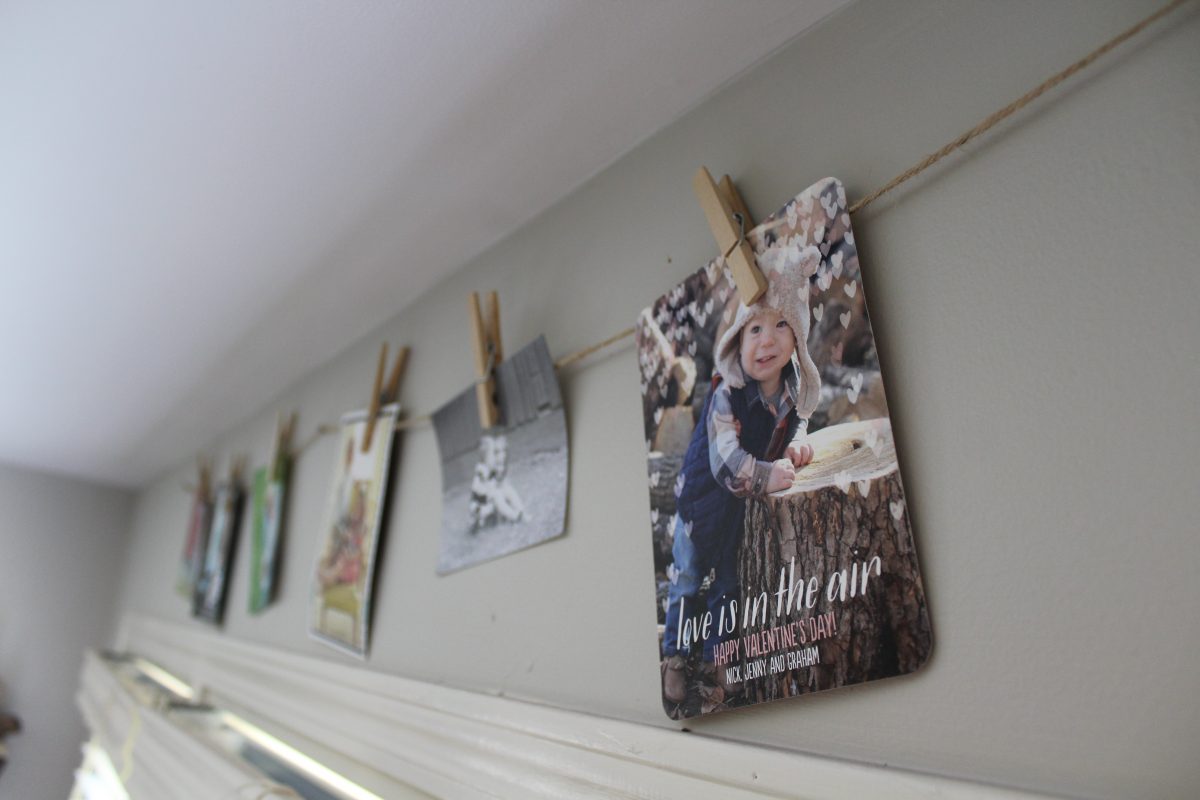
A little more above the window decorating…a simple burlap string and clothes pins to hold cards and photos.
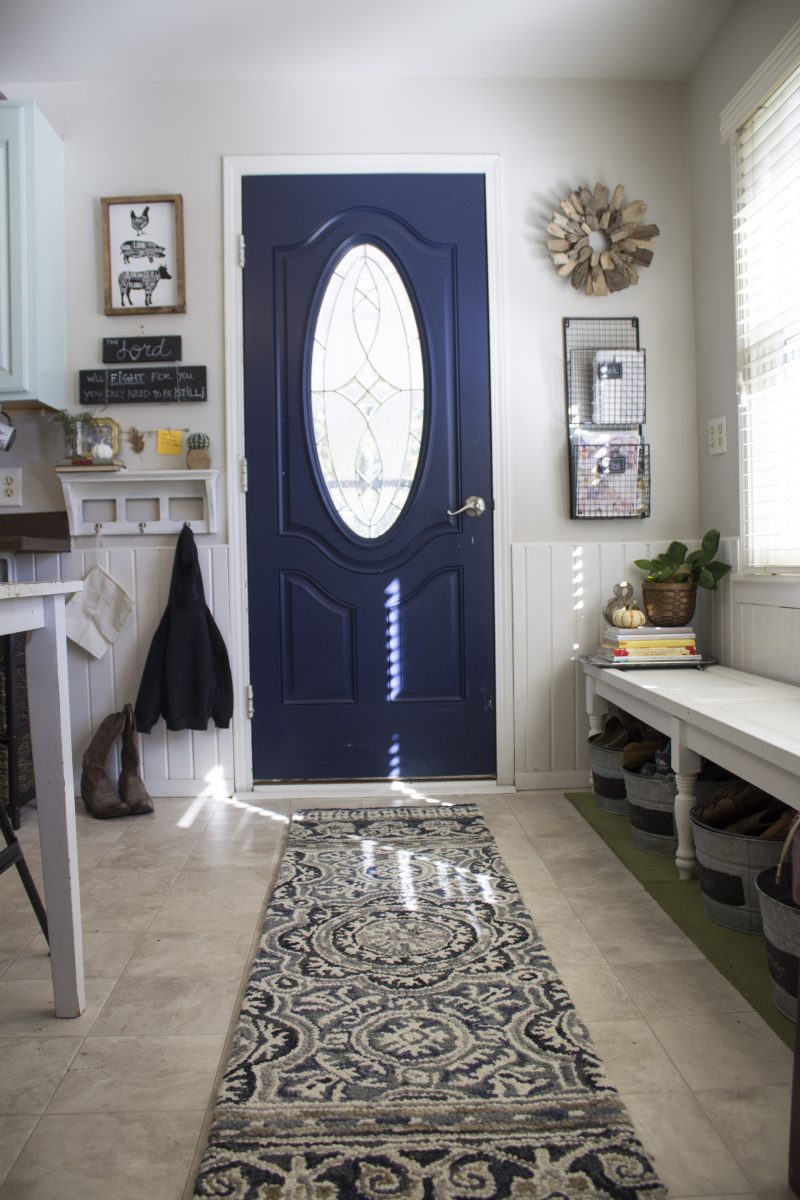
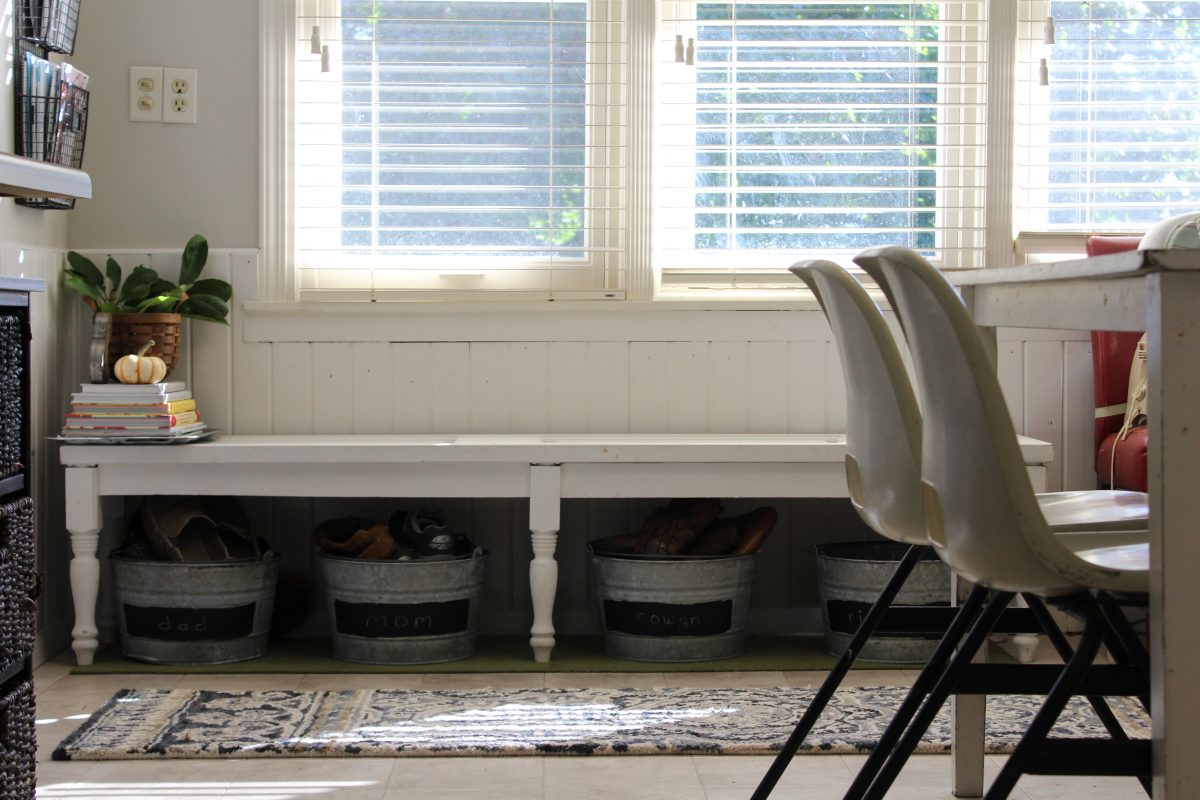
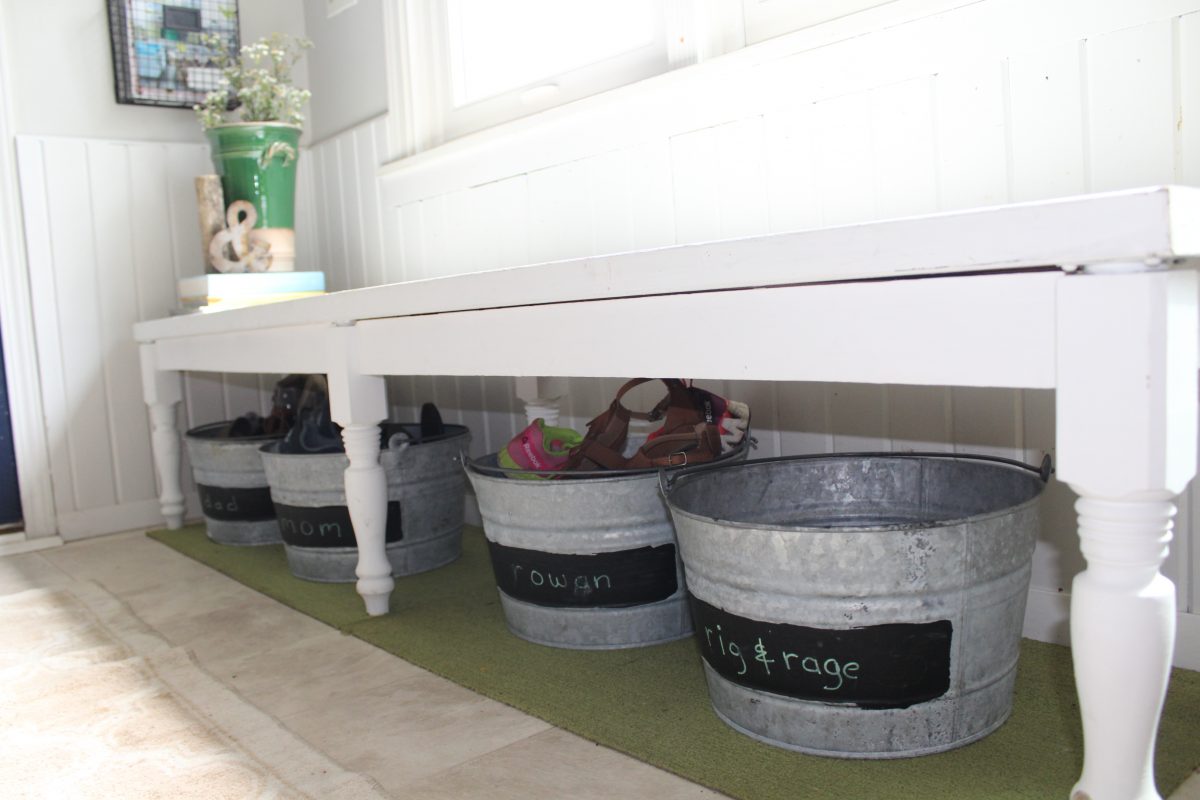
This is our “foyer”. I added a wire organizer to help contain the messy school papers and mail, and we use galvanized buckets for our shoes. I recently bought a new rug as well ( Threshold Multi-colored from Target). A runner rug seems to work best in this small kitchen/foyer space. We’ve tried ALL the sizes, let me tell ya!
I also painted the front door blue (Naval SW6244). I love the contrast with all the lighter colors in the space. The wall color is a light gray (Agreeable Gray 7029), the trim is white (Incredible White SW7028), and the cabinets are light blue-ish green (Window Pane SW6210).
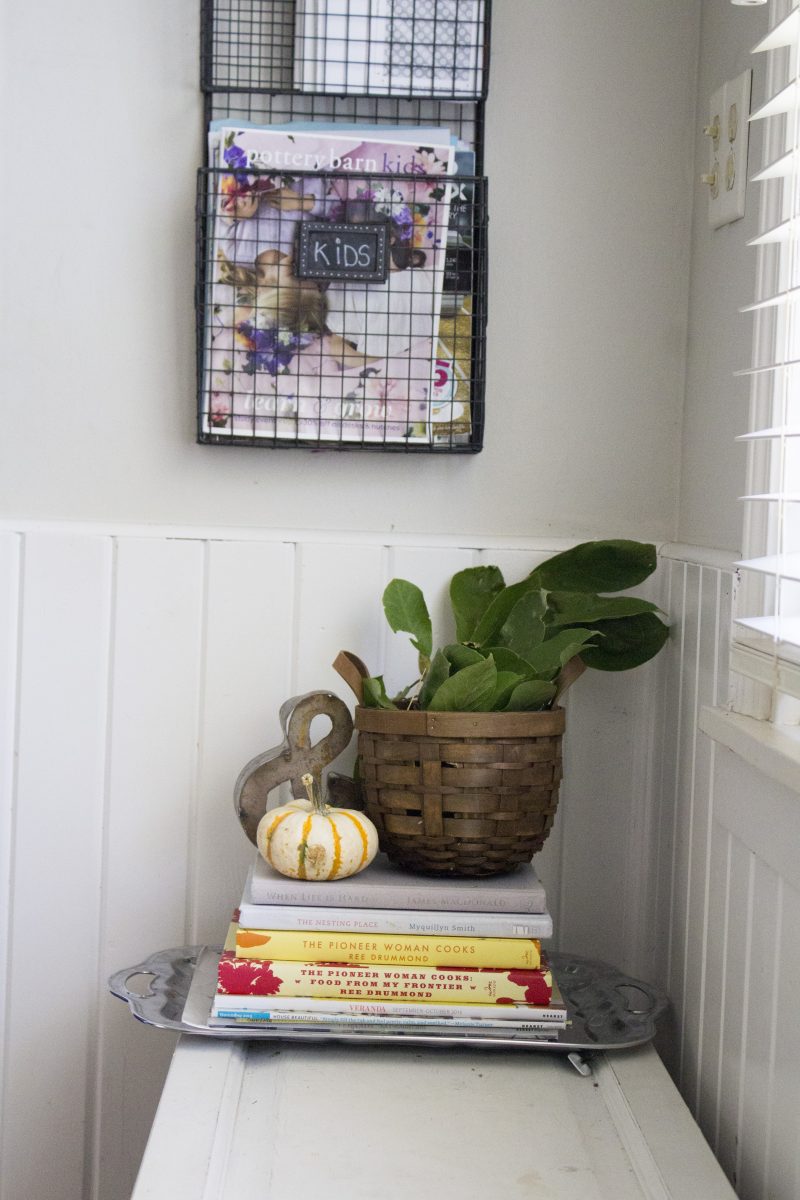
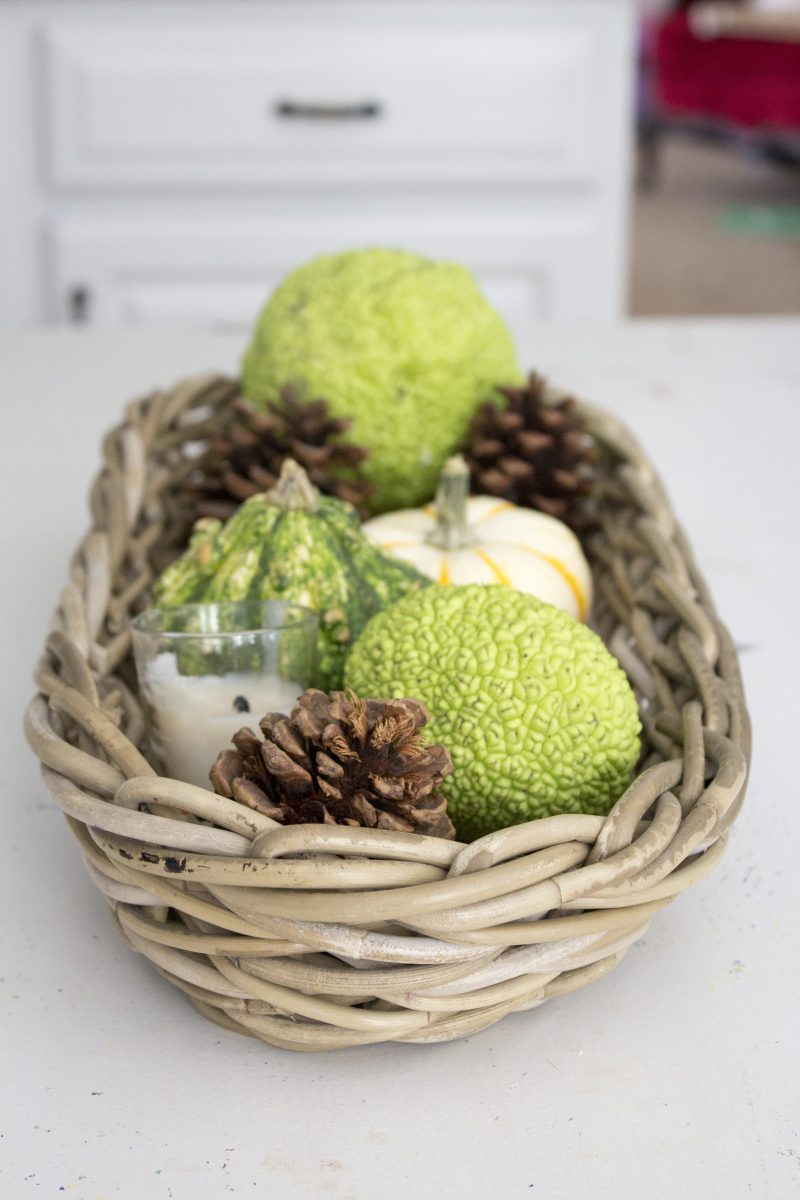
Here’s a close up of the wire organizer. I found it at goodwill and didn’t even bother adding paper labels to the name slots. I just went at it with a chalk marker and it wipes off perfectly. I tend to keep a little tablescape collection right on the end of this bench. I change it up with the seasons…this is my easy-peasey fall set up at the moment. I grabbed some branches off a tree and stuck them in a cute basket, which I also found at goodwill. Surprisingly enough, my kids don’t even bother to mess up this corner either. It’s always there and they always just ignore it. Yay!
When we moved in, the kitchen was closed off with an old bi-fold door. We took the door down and made it into a bench as you can see below. We added an apron for support and 6 furniture legs we found at Home Depot. It’s probably one of my favorite parts of my kitchen.
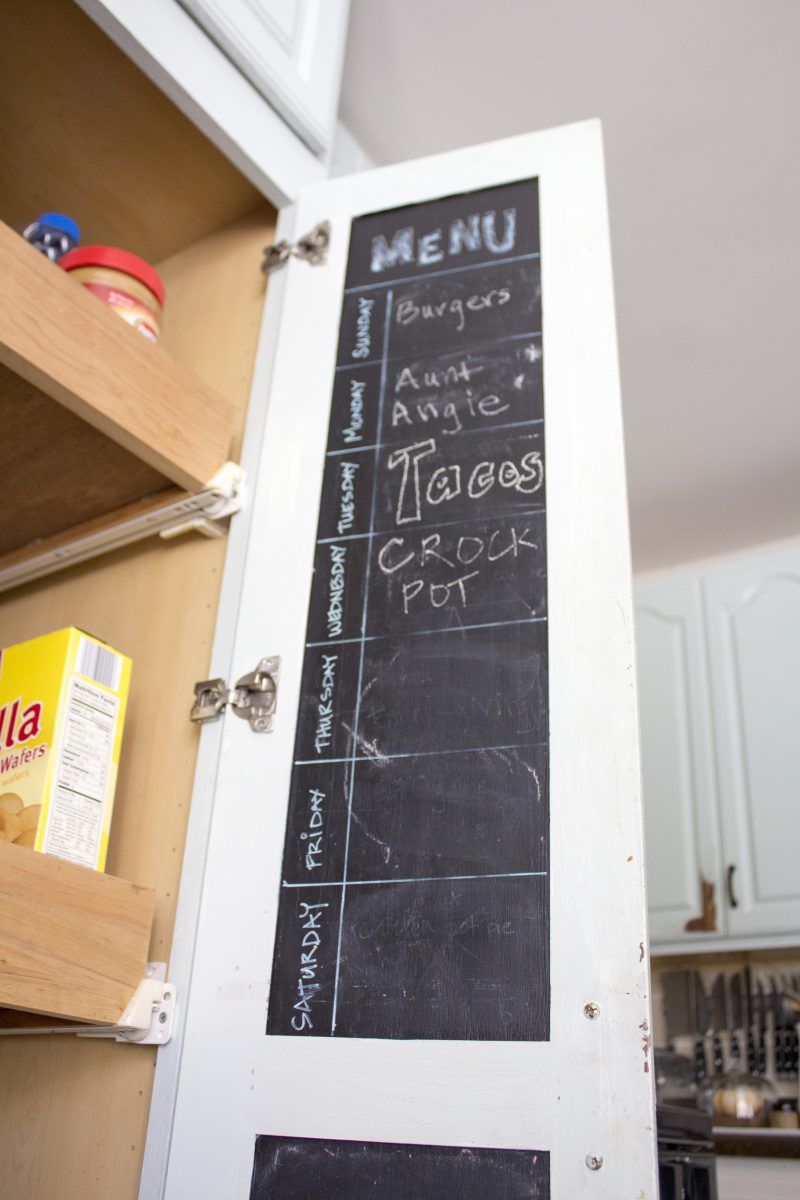
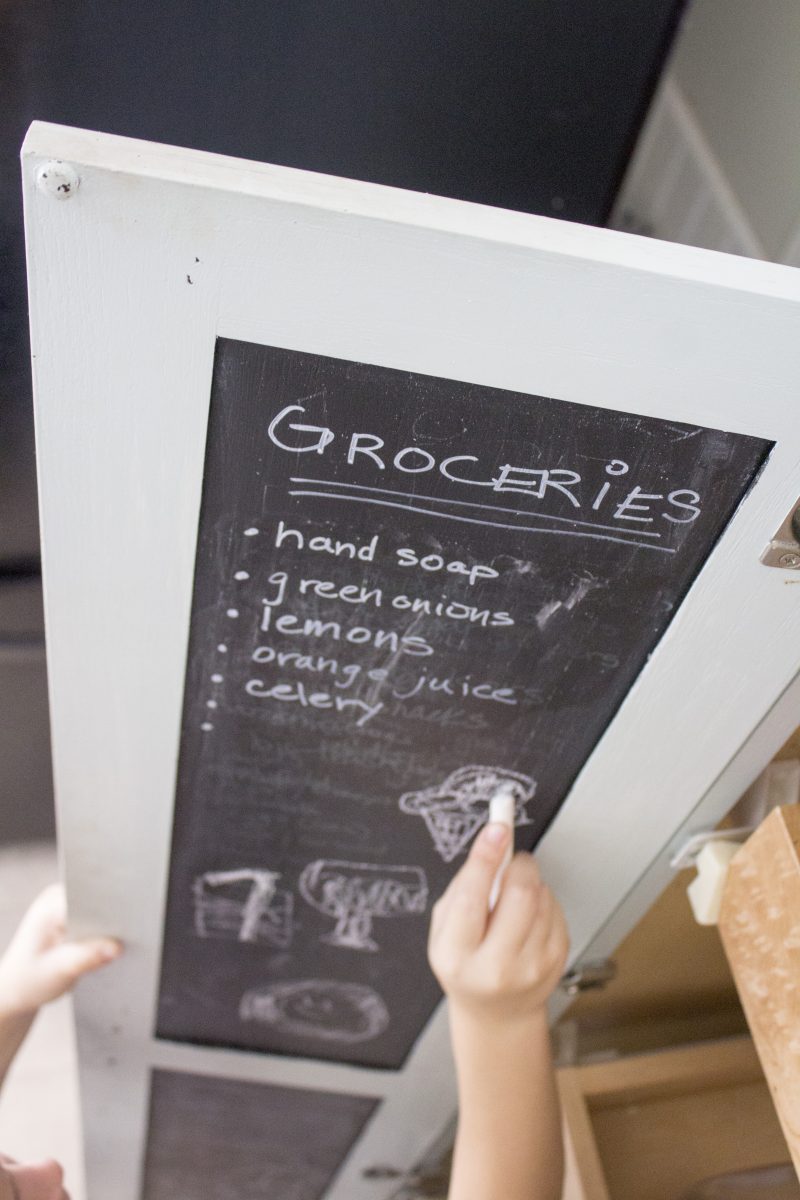
I also painted the inside of my pantry cabinet doors with chalkboard paint. We use it to write out our weekly menu, our grocery lists, and the kids like to sit and draw pictures.
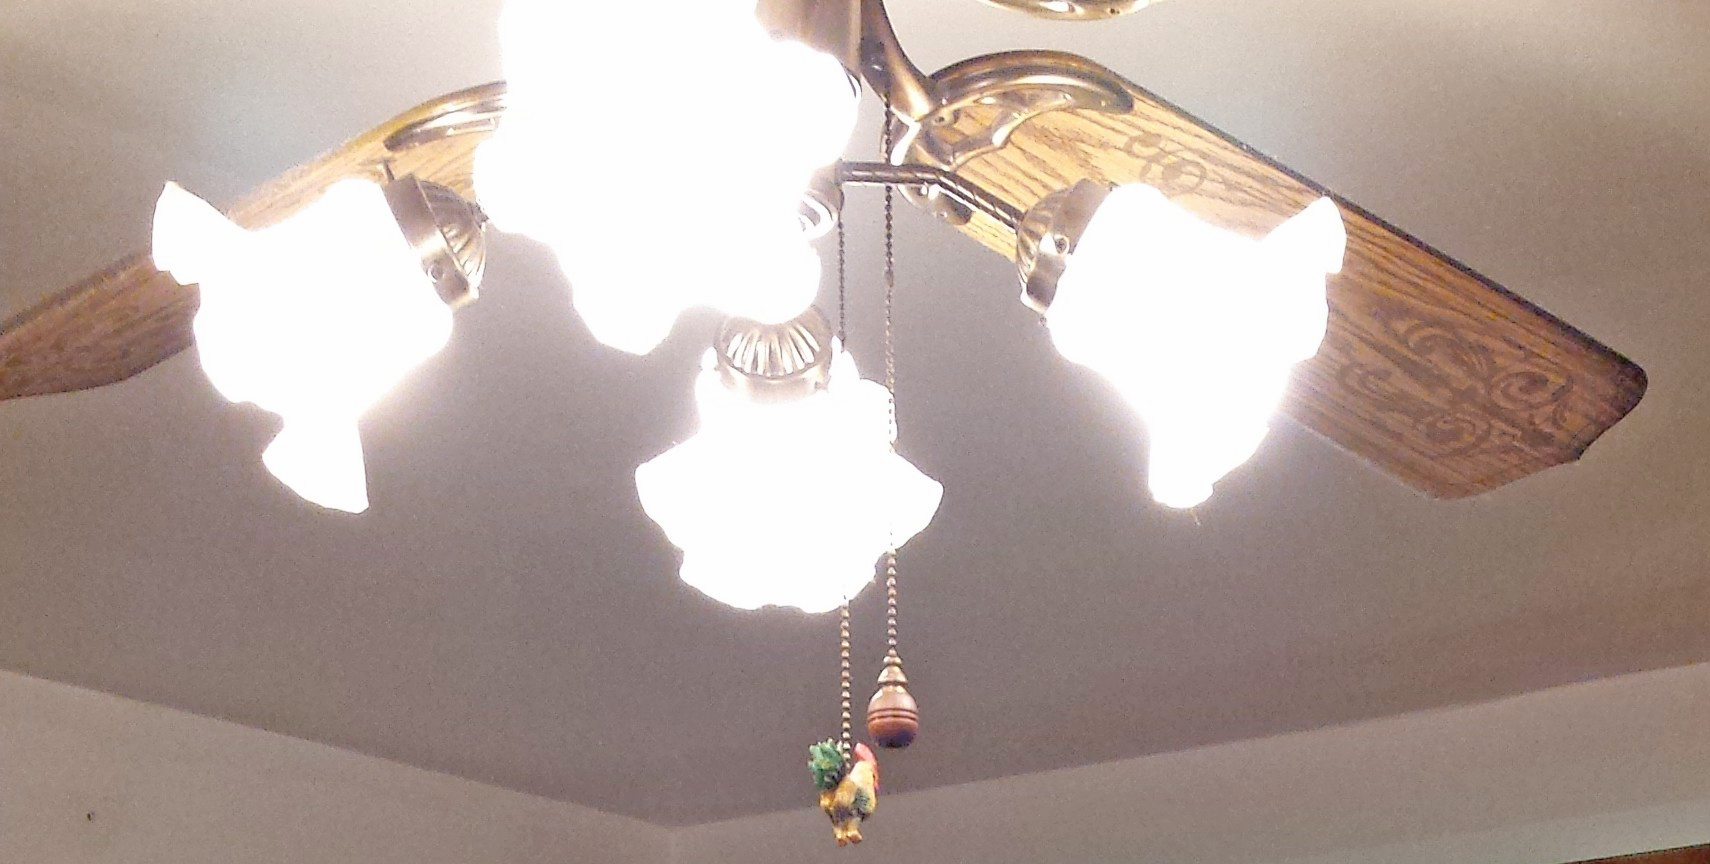
Oh. And the ceiling fan. Here it is. This happens to be the only picture of it I have of it. Projects happen fast around here. Usually we miss all the good “before” photos.
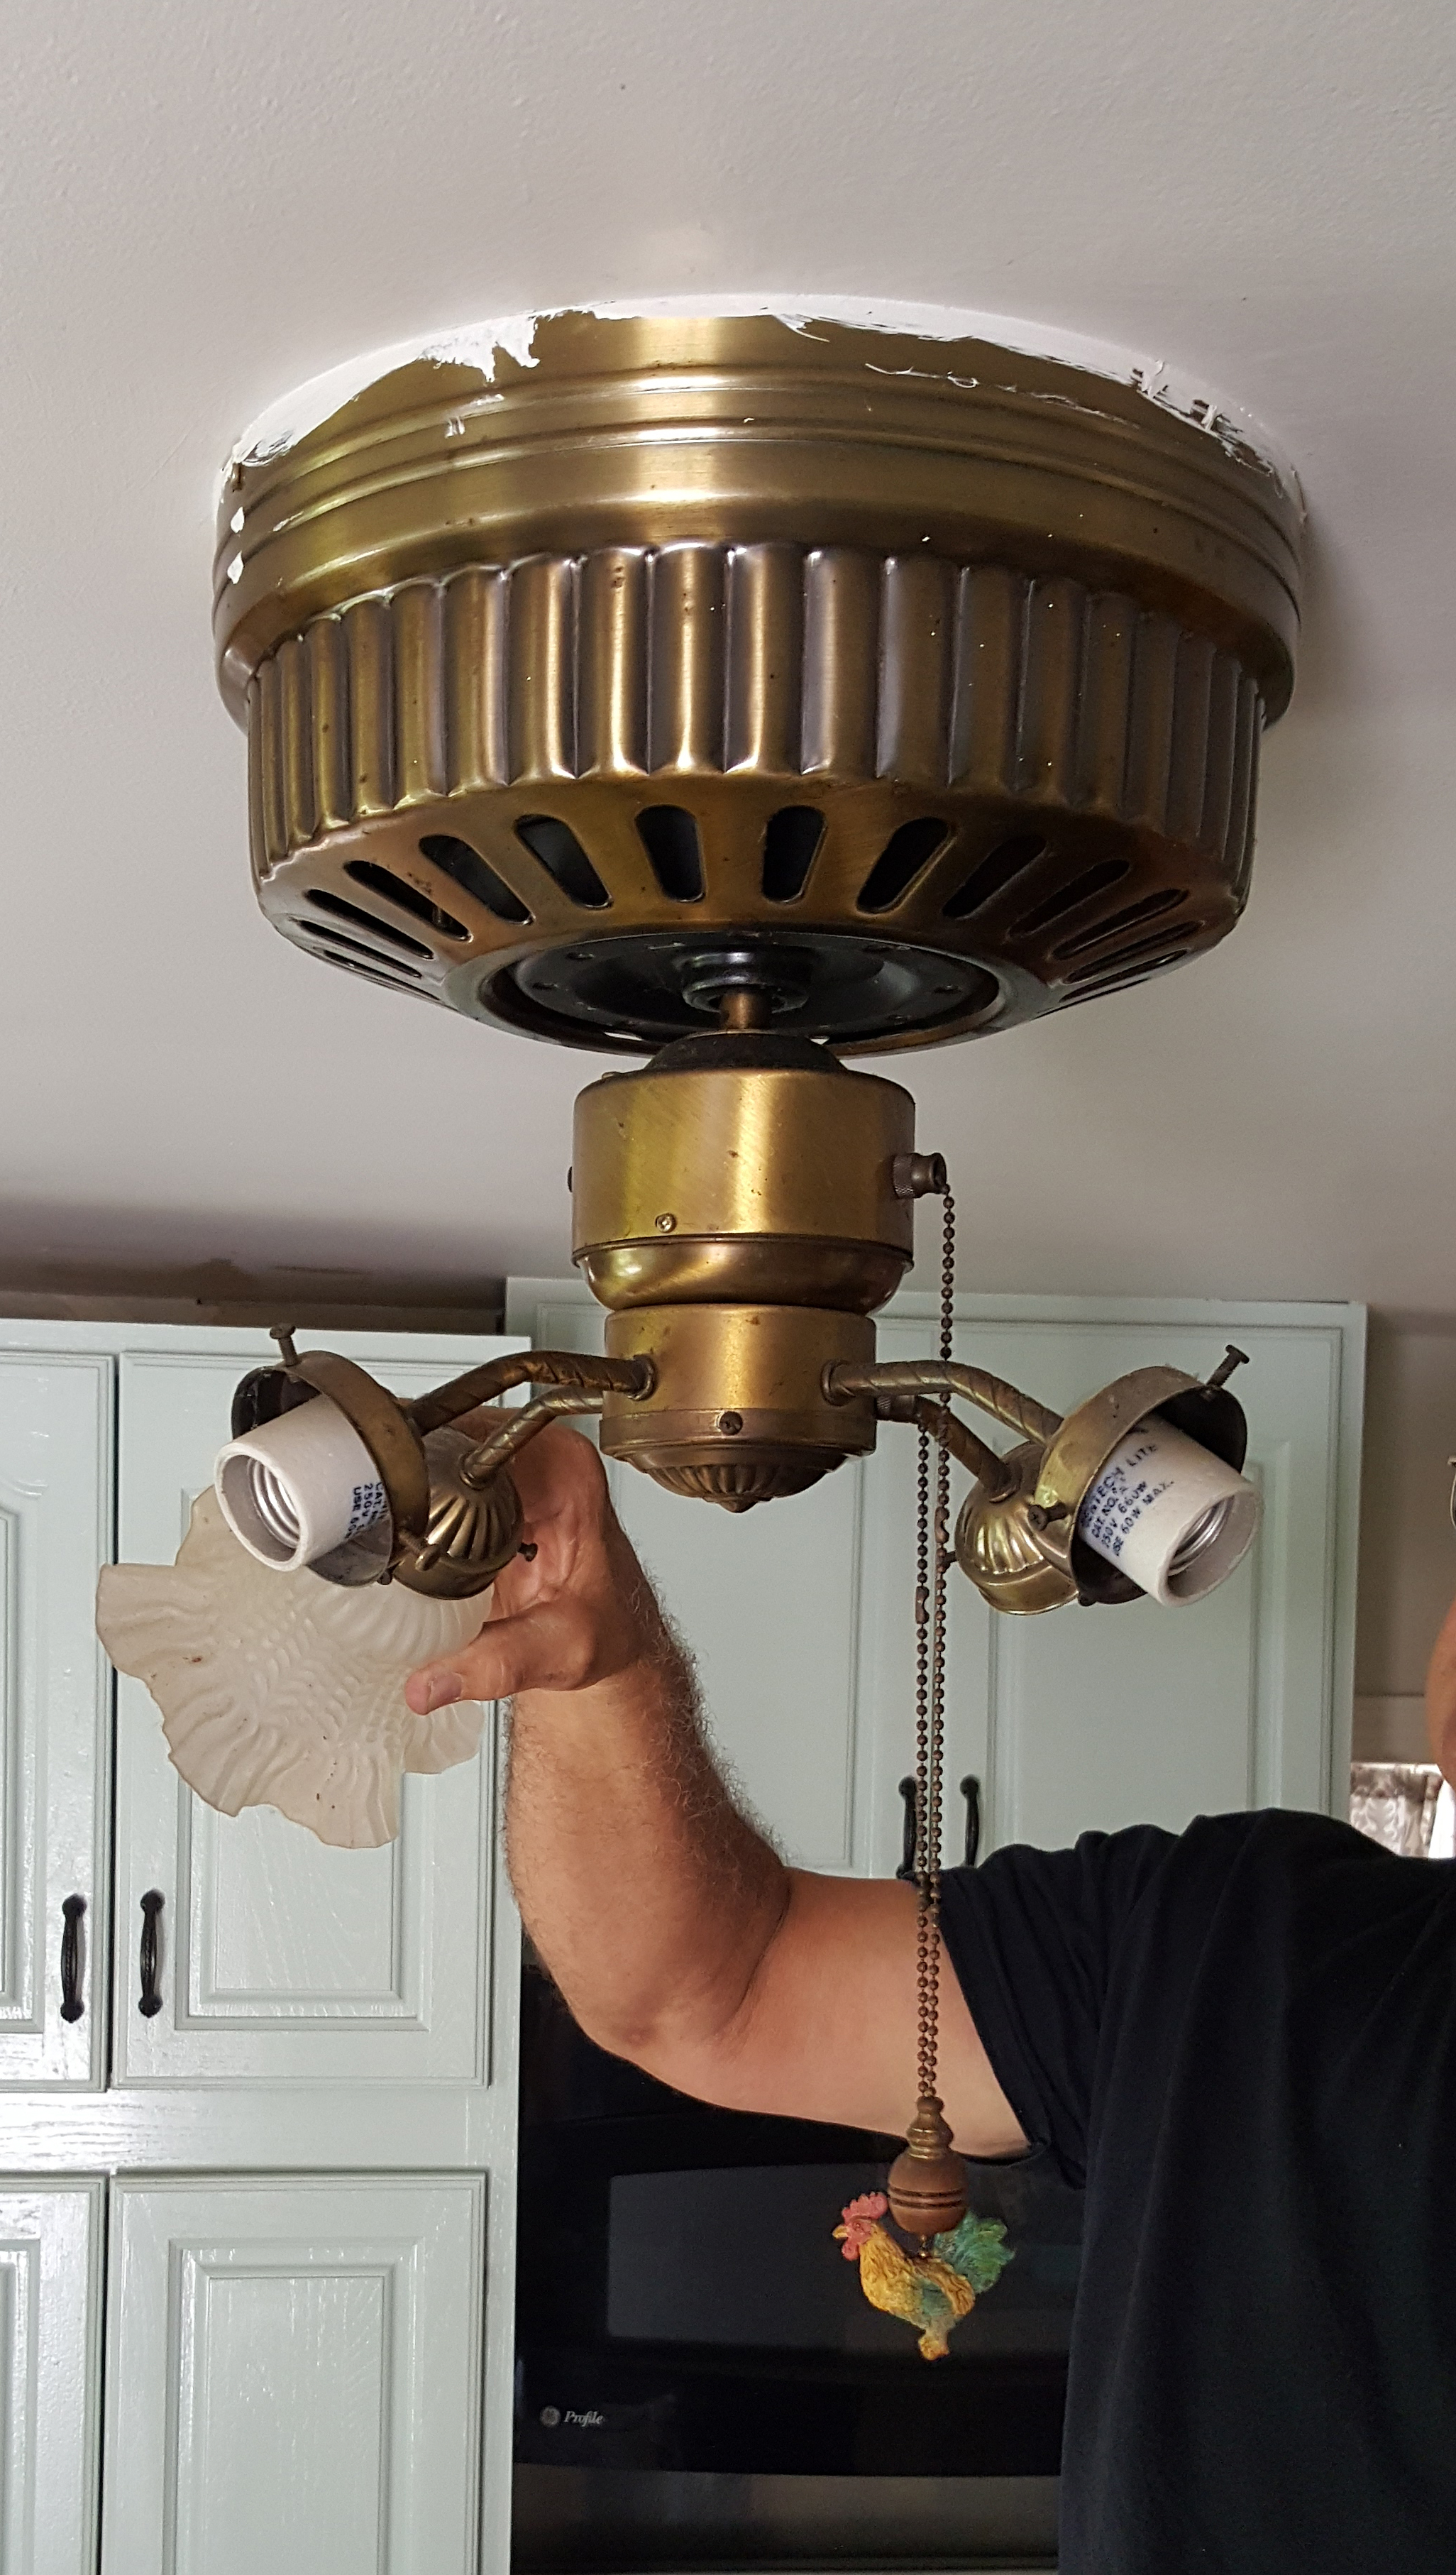
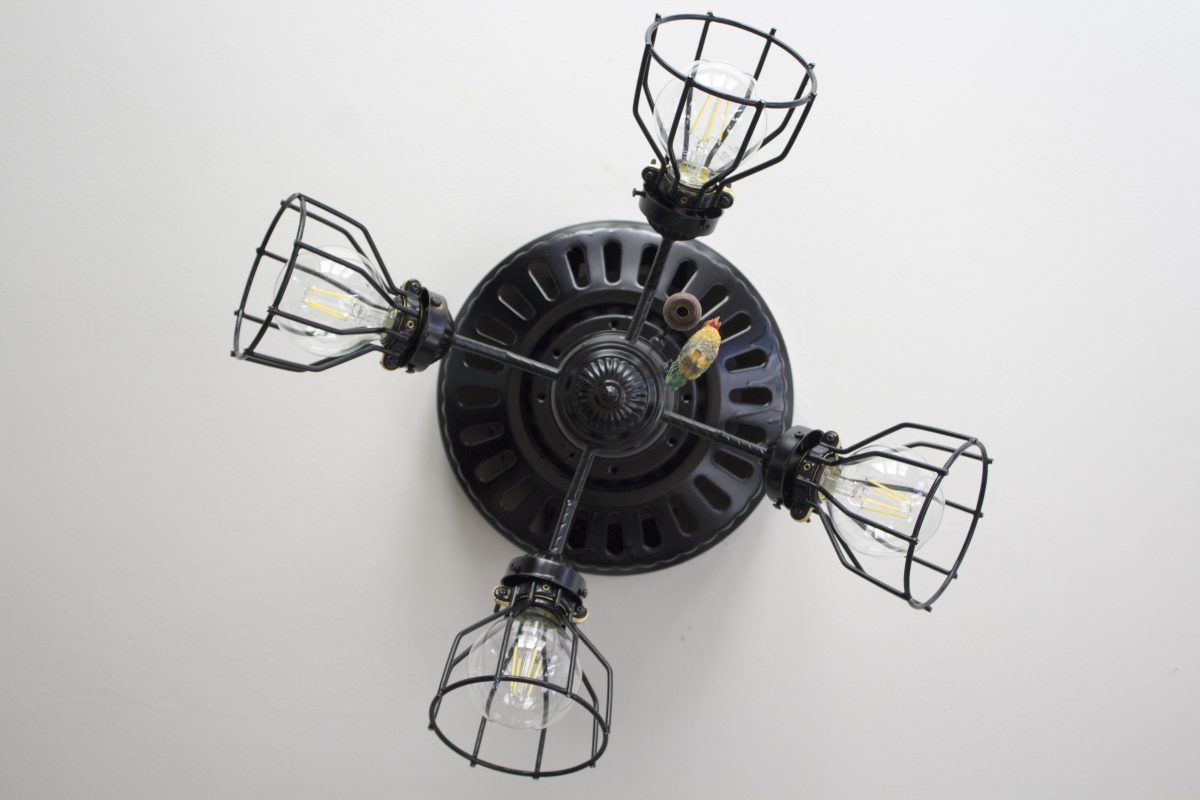
We took it down and painted it with black spray paint. And by “we”, I totally mean Papa Dan (my dad).
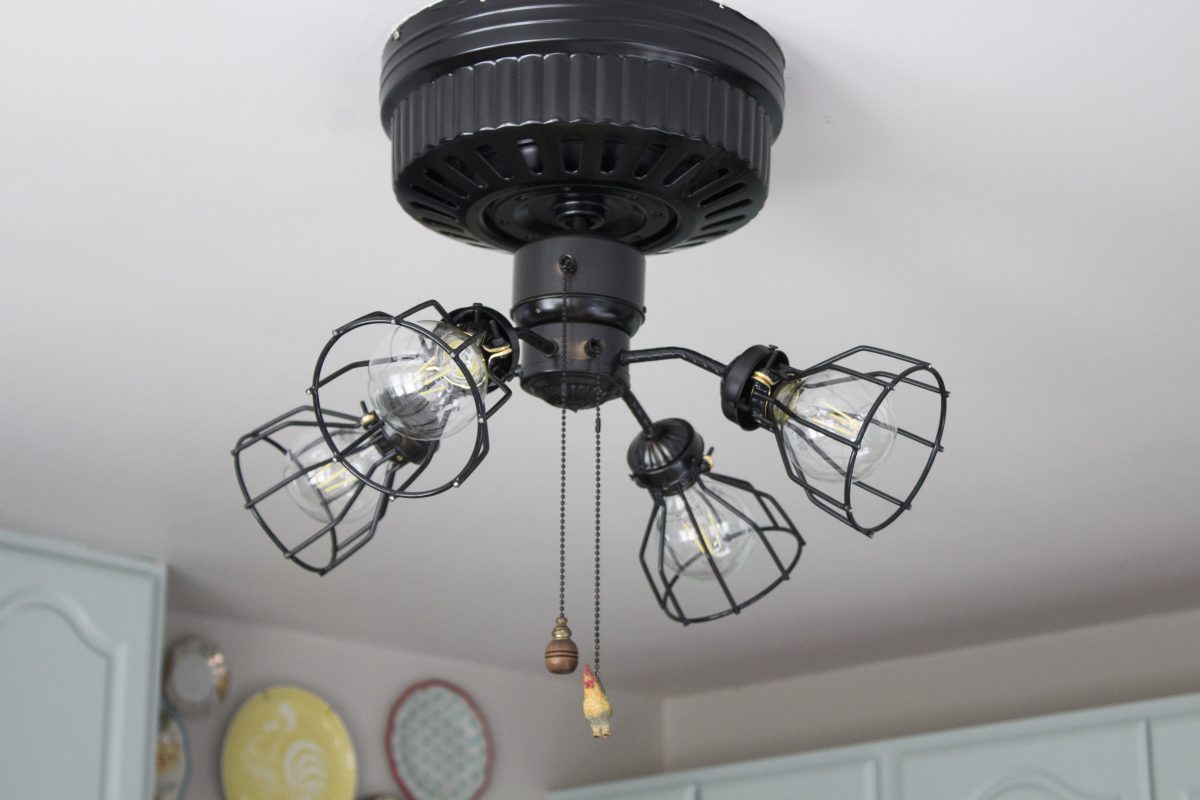
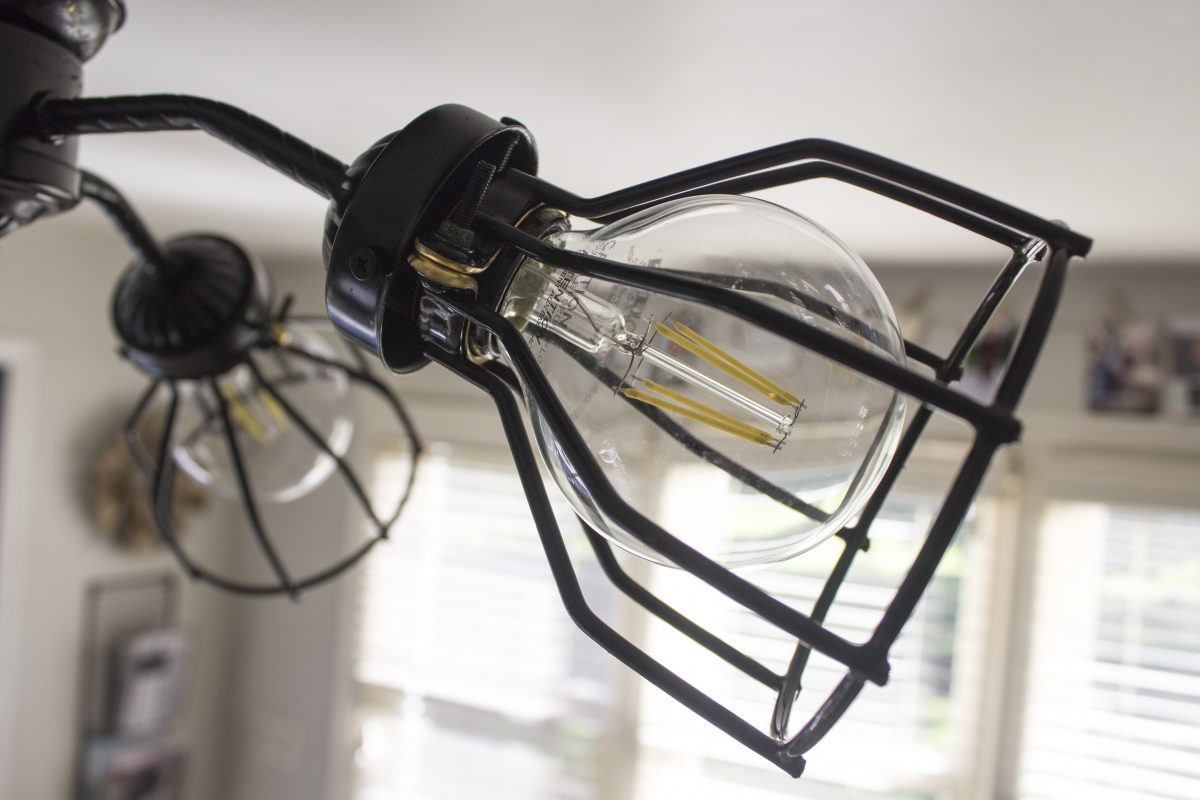
Isn’t it lovely? I didn’t even put the fan blades back in, because I sort of abhor ceiling fans. I wanted to find a way to reuse what we had, without spending much. So I bought metal bulb guards from Menards for $2.50 a piece, and added led clear round light bulbs for that more industrial look. FYI, for the bulb guards, I ended up using wire cutters to cut them down a bit so they were scaled better for the fixture.
And I kept the original fan/light pulls. They both sort of come to life now…the rooster and the brass & oak little knob.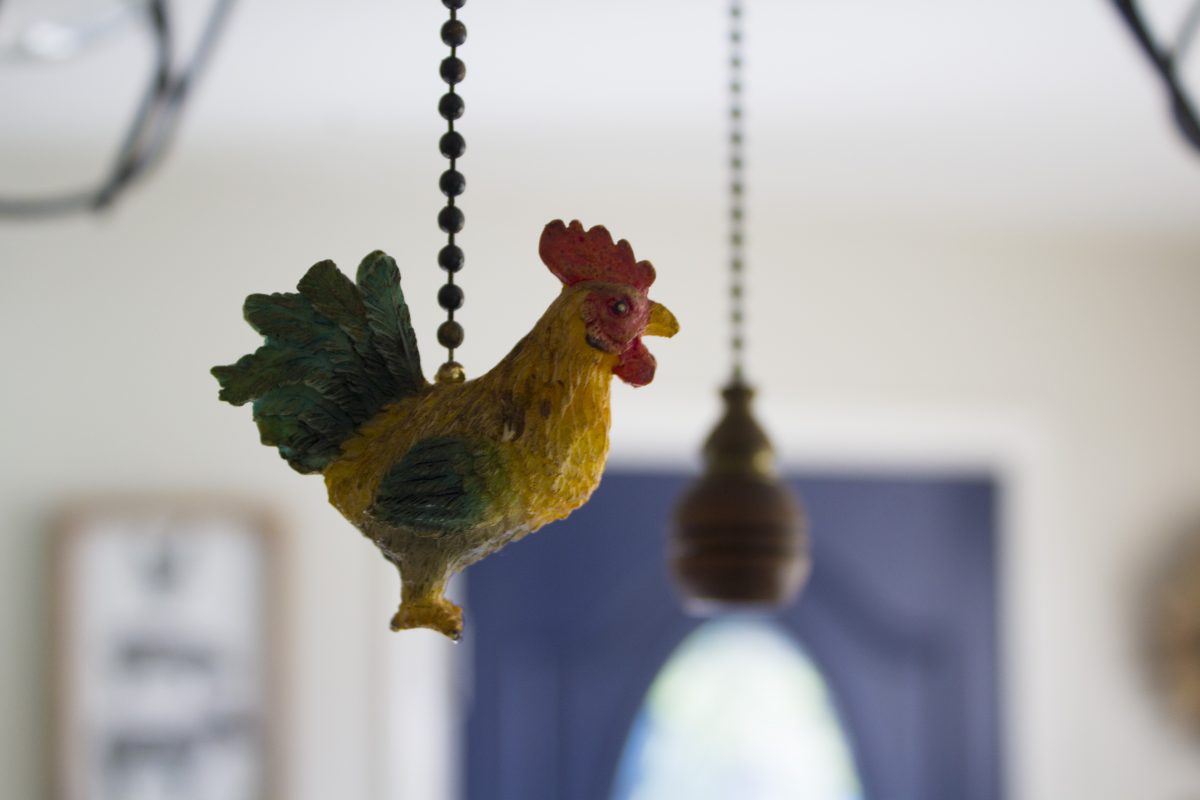
Our kitchen table sure isn’t anything to write home about, but it’s better now that it’s white (even if it’s still only primed!). It’s actually something a friend grabbed for me at a garage sale. The dining chairs we use are also from, yep… a garage sale.
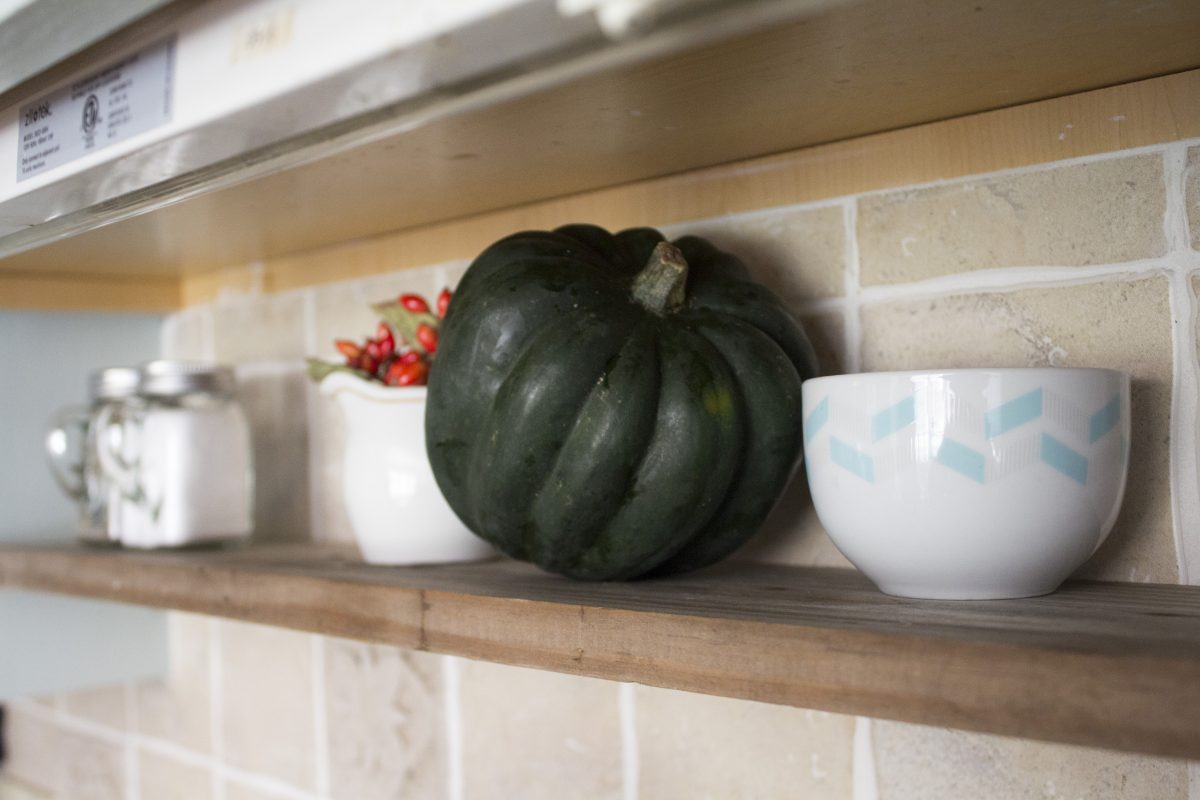
We only recently added a wood shelf above our sink. We just grabbed an old piece of wood out of our barn, cut it to fit, screwed in a few angle brackets for support, and set it in place.
In all honesty, this project has been SLOW. It didn’t come together overnight. There wasn’t a big reveal. And like most projects around here, it started with just PAINT.
Over time, we did little things, like painted a table, switched chairs out, built a bench, hung a shelf, painted the fan light, added decor. It took a lot of trips to goodwill, a few garage sale finds, and a bit of elbow grease to get it all whipped into shape. But we found ways to make it our own and didn’t have to spend money we didn’t have. It ended up brightening our perspectives a bit, and we were even able to come up with creative ways to make this mini kitchen a bit more functional since we tried things out along the way.
It’s not my dream kitchen, that’s for sure. But I’ve embraced where we are in life, and am choosing to love what we have. We might not always get to live in our dream kitchens or dream homes, but that doesn’t mean we can’t find little ways to make them dreamy. 🙂
